Introduction
Welcome to the second and final part of my blogs on how to plug some gaps in Azure Policy. If you missed part one, this second part isn’t going to be a lot of use without the context from that, so maybe head on back and read part one before you continue.
In part one, I gave an overview of Azure Policy, a basic idea of how it works, what the gap in the product is in terms of resource evaluation, and a high-level view of how we plug that gap. In this second part, I’m going to show you how I built that idea out and provide you some scripts and a policy so you can spin up the same idea in your own Azure environments.
Just a quick note, that this is not a “next, next, finish” tutorial – if you do need something like that, there are plenty to be found online for each component I describe. My assumption is that you have a general familiarity with Azure as a whole, and the detail provided here should be enough to muddle your way through.
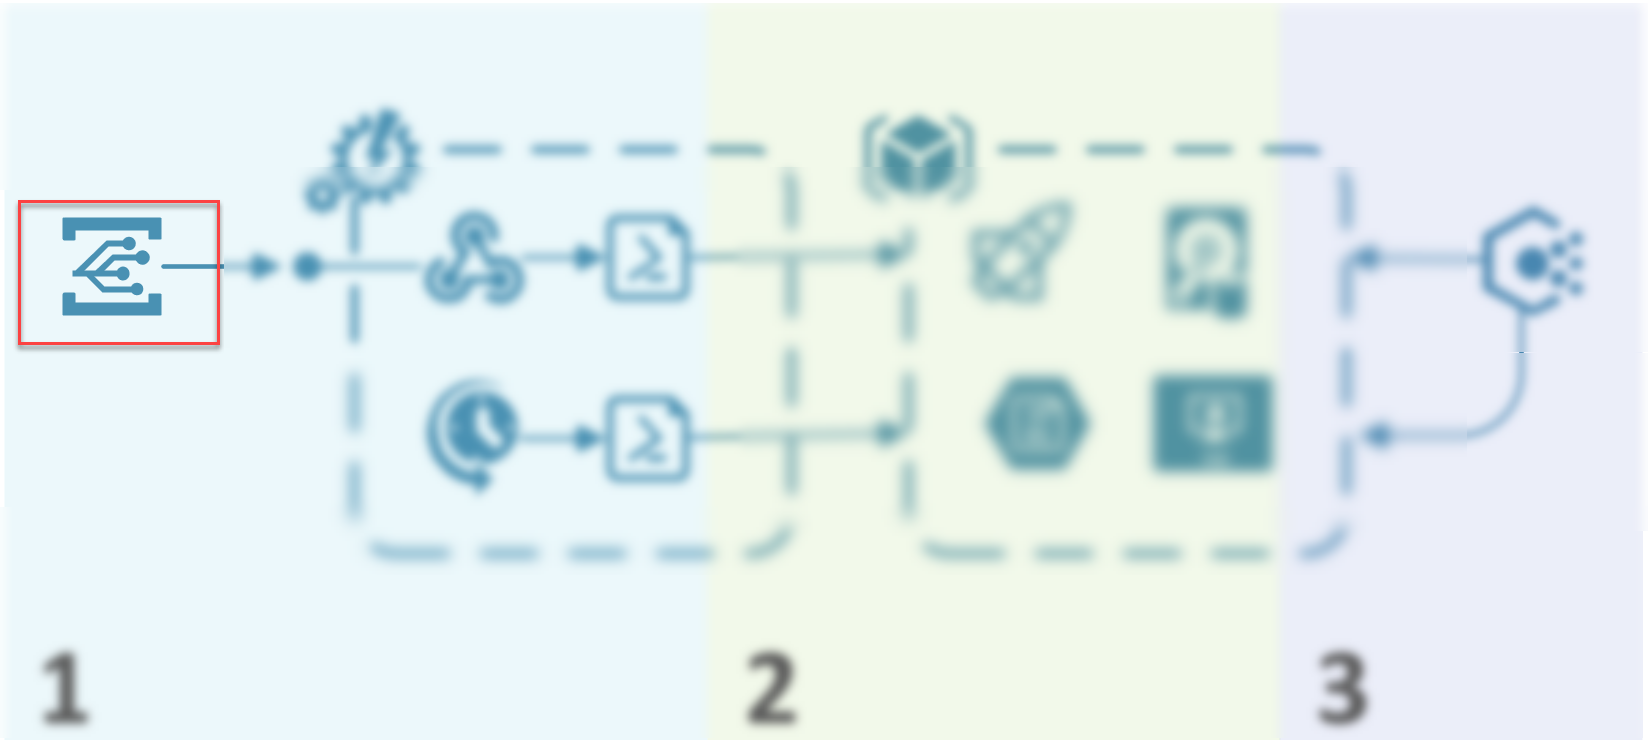
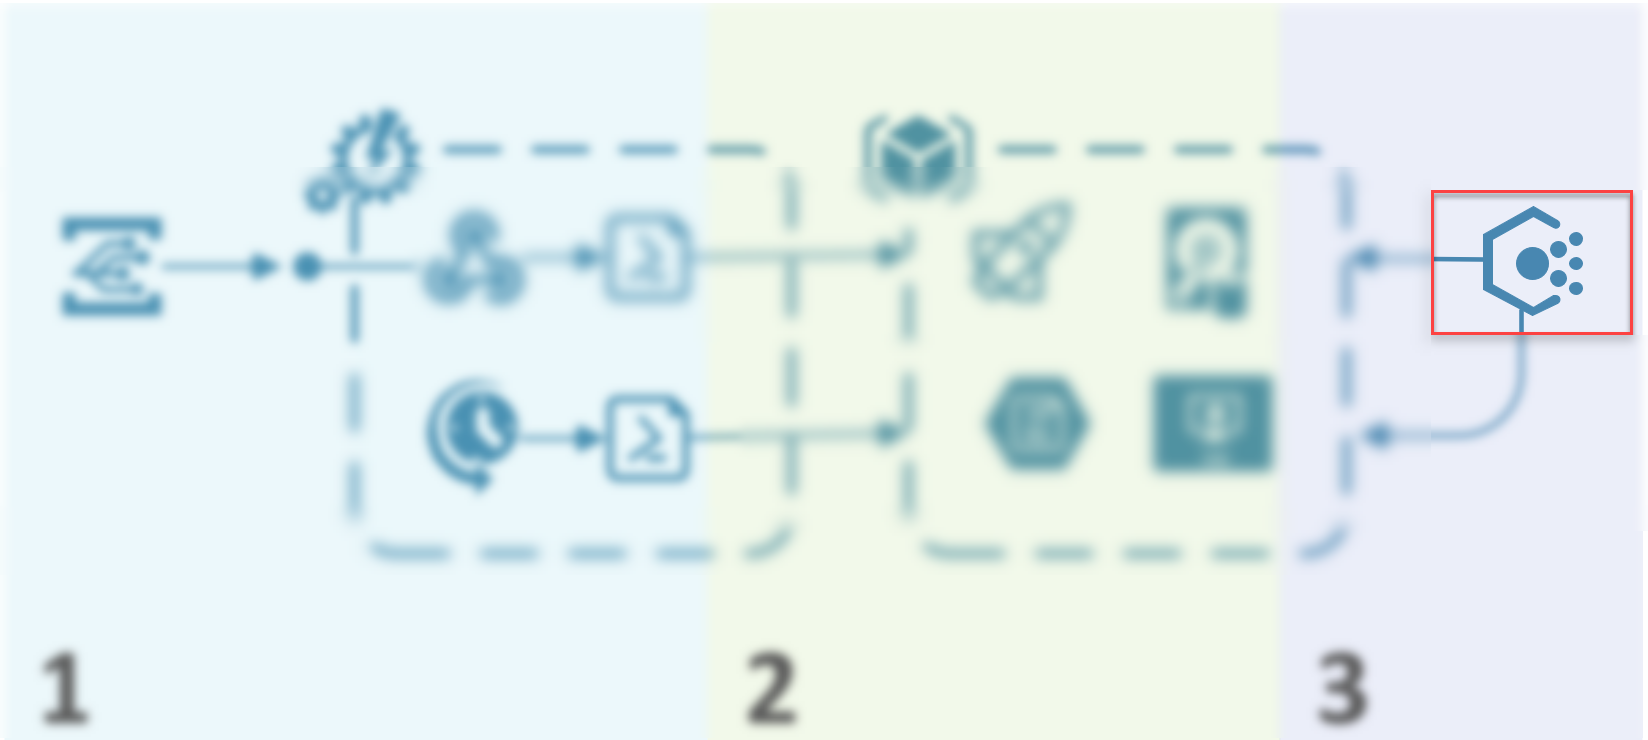
I’ll use the same image I used in part one to show you which bits we’re building, and where that bit fits in to the grand scheme of things.
We’re going to create a singular Azure Automation account, and we’re going to have two PowerShell scripts under it. One of those scripts will be triggered by a webhook, which will receive a POST from Event Grid, and the other will be fired by a good old-fashioned scheduler. I’m not going to include all the evaluations performed in my production version of this (hey, gotta hold back some IP right?) but I will include enough for you to build on for your own environment.
The Automation Account
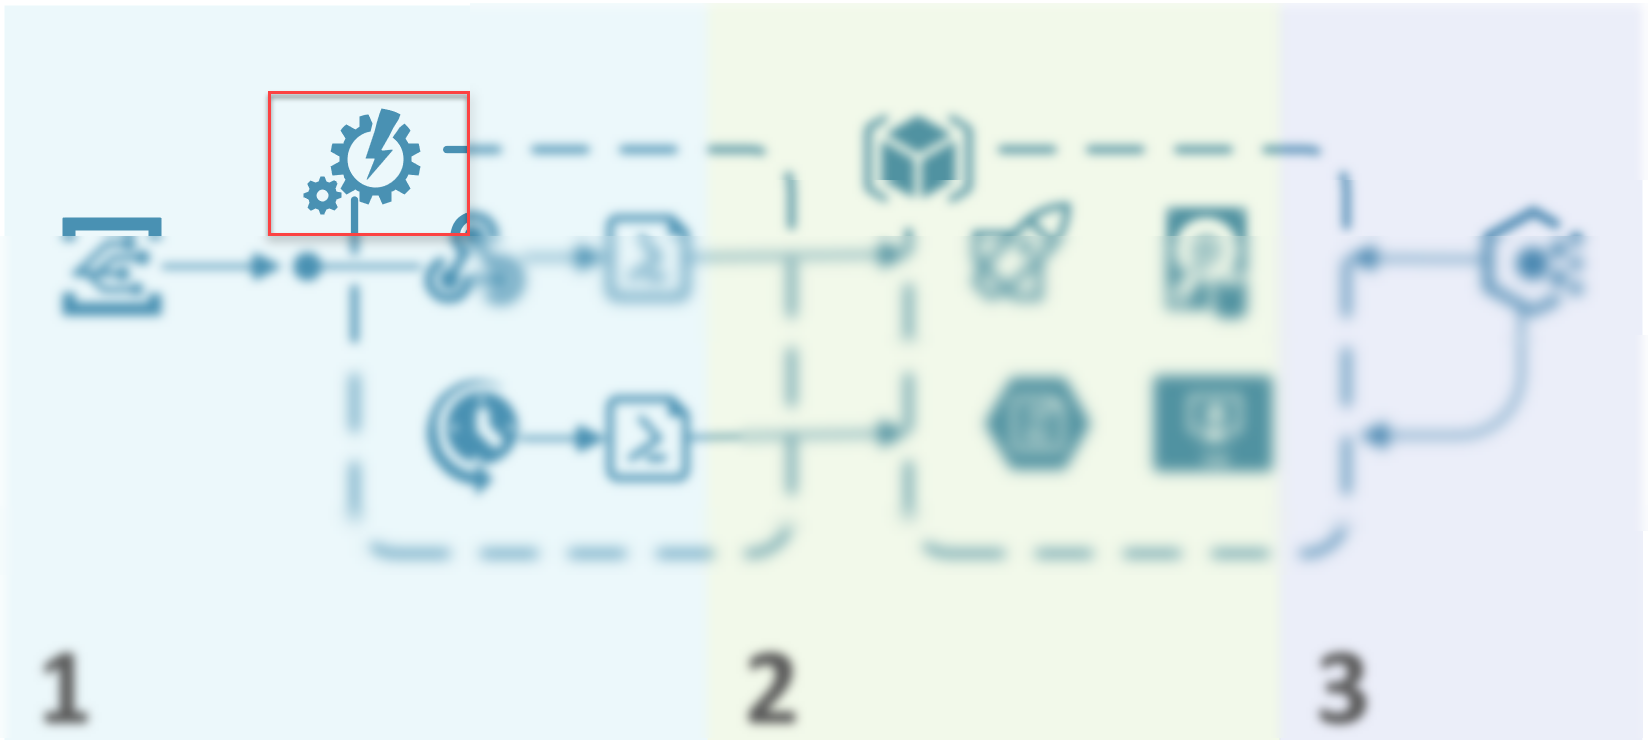
When creating the automation account, you don’t need to put a lot of thought into it. By default when you create an automation account, it is going to automatically create as Azure Run As account on your behalf. If you’re doing this in your own lab, or an environment you have full control over, you’ll be able to do this step without issue , but typically in an Azure environment you may have access to build resources within a subscription, but perhaps not be able to create Azure AD objects – if that level of control applies to your environment, you will likely need to get someone to manually create an Azure AD Service Principal on your behalf. For this example, we’ll just let Azure Automation create the Run As account, which, by default, will have contributor access on the subscription you are creating the account under (which is plenty for what we are doing). You will also notice a “Classic” Run As account is also created – we’re not going to be using that, so you can scrap it. Good consultants like you will of course figure out the least permissions required for the production account and implement that accordingly rather than relying on these defaults.
The Event-Based Runbook
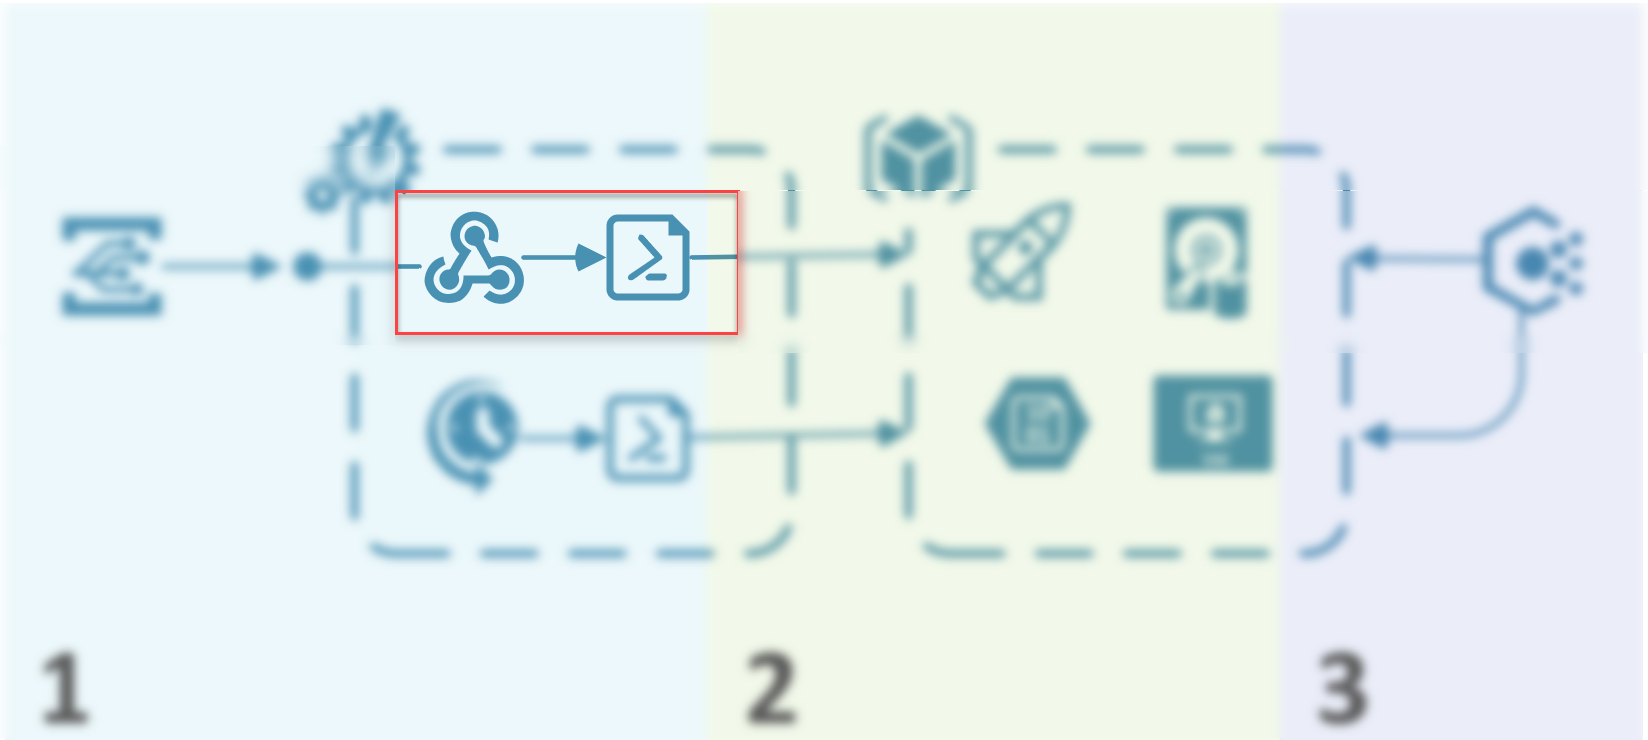
The Event-Based Runbook grabs parameters from POSTed JSON which we get from Event Hub. The JSON we get contains enough information about an individual resource which has been created or modified that we are able to perform an evaluation on that resource alone. In the next section, I will give you a sample of what that JSON looks like.
When we create this event-based Runbook, obviously we need somewhere to receive the POSTed JSON, so we need to create a Webhook. If you’ve never done this before, it’s a fairly straight forward exercise, but you need to be aware of the following things
- When creating the Webhook, you are displayed the tokenized URL at the point of creation. Take note of it, you won’t be seeing it again and you’ll have to re-create the webhook if you didn’t save your notepad.
- This URL is open out to the big bad internet. Although the damage you can cause in this instance is limited, you need to be aware that anyone with the right URL can hit that Webhook and start poking.
- The security of the Webhook is contained solely in that tokenised URL (you can do some trickery around this, but it’s out of scope for this conversation) so in case the previous two points weren’t illustrative enough, the point is that you should be careful with Webhook security.
Below is the script we will use for the event-driven Runbook.
So, what are the interesting bits in there we need to know about? Well firstly, the webhook data. You can see we ingest the data initially into the $WebhookData variable, then store it in a more useful format in the $InputJSON variable, and then break it up into a bunch of other more useful variables $resourceUri, $status and $subject. The purpose in each of those variables is described below
| Variable | Purpose |
| $resourceUri | The resource URI of the resource we want to evaluate |
| $status | The status of the Azure operation we received from Event Grid. If the operation failed to make a change for example, we don’t need to re-evaluate it. |
| $subject | The subject contains the resource type, this helps us to narrow down the scope of our evaluation |
As you can see, aside from dealing with inputs at the top, the script essentially has two parts to it: the tagging function, and the evaluation. As you can see from the evaluation (line 78-88) we scope down the input to make sure we only ever bother evaluating a resource if it’s one we care about. The evaluation itself, as you can see is really just saying “hey, does this resource have more than one NIC? If so, tag the resource using the tagging function. If it doesn’t? remove the tag using the tagging function”. Easy.
The Schedule-Based Runbook
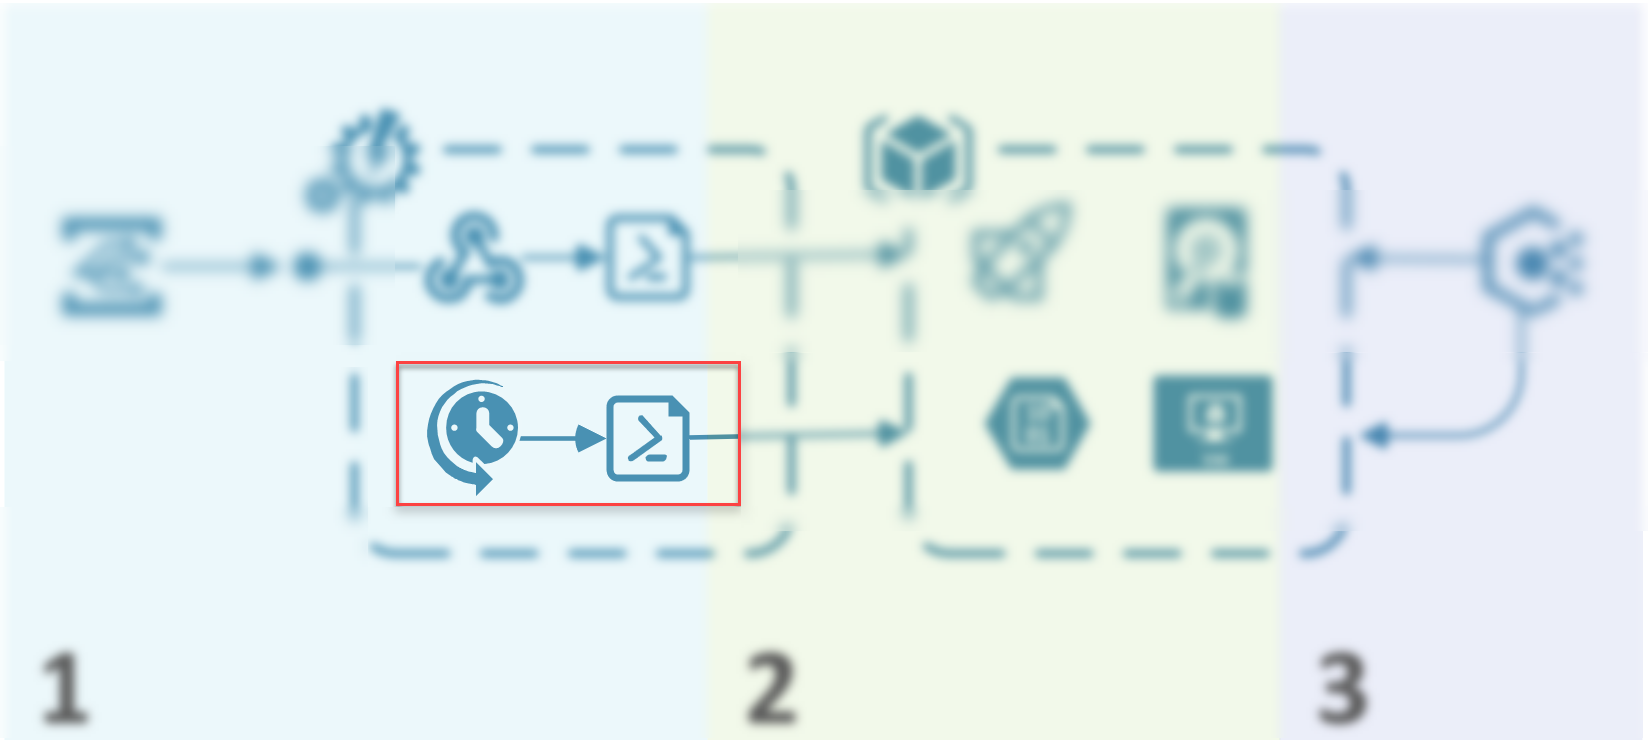
The evaluations (and the function) we have in the schedule-based Runbook is essentially the same as what we have in the event-based one. Why do we even have the schedule-based Runbook then? Well, imagine for a second that Azure Automation has fallen over for a few minutes, or someone publishes dud code, or one of many other things happens which means the automation account is temporarily unavailable – this means the fleeting event which may occur one time only as a resource is being created is essentially lost to the ether, Having the schedule-based books means we can come back every 24 hours (or whatever your organisation decides) and pick up things which may have been missed.
The schedule-based runbook obviously does not have the ability to target individual resources, so instead it must perform an evaluation on all resources. The larger your Azure environment, the longer the processing time, and potentially the higher the cost. Be wary of this and make sensible decisions.
The schedule-based runbook PowerShell is pasted below.
Event Grid
Event Grid is the bit which is going to take logs from our Azure Subscription and allow us to POST it to our Azure Automation Webhook in order to perform our evaluation. Create your Event Grid Subscription with the “Event Grid Schema”, the “Subscription” topic type (using your target subscription) and listening only for “success” event types. The final field we care about on the Event Subscription create form, is for the Webhook – this is the one we created earlier in our Azure Automation Runbook, and now is the time to paste that value in.
Below is an example of the JSON we end up getting POSTed to our Webhook.
Azure Policy
And finally, we arrive at Azure Policy itself. So once again to remind you, all we are doing at this point is performing a compliance evaluation on a resource based solely on the tag applied to it, and accordingly, the policy itself is very simple. Because this is a policy based only on the tag, it means the only effect we can really use is “Audit” – we cannot deny creation of resources based on these evaluations.
The JSON for this policy is pasted below.
And that’s it, folks – I hope these last two blog posts have given you enough ideas or artifacts to start building out this idea in your own environments, or building out something much bigger and better using Azure Functions in place of our Azure Automation examples!
If you want to have a chat about how Azure Policy might be useful for your organisation, by all means, please do reach out, as a business we’ve done a bunch of this stuff now, and I’m sure we can help you to plug whatever gaps you might have.