Apply custom css to SharePoint Modern Pages using SPFx webpart

With the absence of content editor web part (CWEP) or script editor web part in SharePoint Modern experience, power users have the challenge to style the page as per their requirements.

The only approach is to create a custom SPFx component that can add the custom css onto the page. That’s it !! Easy right. But how to do it? In this blog we will look at the steps for the same and is also a link (with steps) in case to easily build it.… [Keep reading] “Apply custom css to SharePoint Modern Pages using SPFx webpart”

How to make cool modern SharePoint Intranets Part 1 – Strategize (scope & plan)

Over the last year, we have seen many great advancements with SharePoint communications sites that have bought it more closer of being an ideal Intranet. In this blog series, I will be discussing about some of my experiences for the last years in implementing Modern Intranet and best practices for the same.

In this specific blog, we will look at the strategies about the first block of building a great Intranet – Strategize the Intranet approach.… [Keep reading] “How to make cool modern SharePoint Intranets Part 1 – Strategize (scope & plan)”

Great SharePoint Modern updates Feb 2019 #makespintranetcoolagain

During Ignite 2018, Microsoft showcased some great updates that are going to change how we implement SharePoint Intranets. It will scale Modern Communication sites to new heights to become the Next-gen Intranet.

Since Ignite 2018, there have been many steady releases and some great updates on SharePoint Modern communication sites. Following this blog, I am planning to start with a detailed blog series about how to build cool Modern Intranets in SharePoint #makespintranetcoolagain.

Here is quick blog for these updates.… [Keep reading] “Great SharePoint Modern updates Feb 2019 #makespintranetcoolagain”

Retrieve Office 365 audit logs using Office Management API and Azure Functions

For creating custom reports on Office 365 content, the best approach is to fetch the Audit data from Office 365 Management Audit log, store it in a custom database and then create reports through it. In an earlier blog here, we looked at steps to retrieve Office 365 Audit log data using PowerShell. In this blog, we look at a similar process to gather audit data by using Office 365 Management API in Azure Functions.… [Keep reading] “Retrieve Office 365 audit logs using Office Management API and Azure Functions”

Selectively prevent and secure content from External sharing using Labels and DLP policies in Office 365

In a recent project, we had a requirement to prevent specific selective content from shared externally while still allowing the flexibility of external sharing for all users. We were able to make it possible through Security and Compliance Center. There are few ways to achieve this, Auto-classify (see below conclusion section for more info), Selective apply via Labels and both.

Note: Till recently (Dec 2018), there was a bug in Office 365 which was preventing this DLP policy with Labels to work. This is fixed in the latest release so available for use.

In this blog, we will look at the process where business users can decide the content to be shared externally or not. This is a nifty feature, because there are cases when the content could be classified as secured even when they don’t have any sensitive info such as contracts (without business info) or invoices (with only business name). Also, there are cases when content could be public even when the document has sensitive info because the company has decided to make it public. So, at the end it is up to the discretion of the owner to decide the content’s privacy and hence this feature a great value in these scenarios.

Note: If you would like to auto classify the content using Sensitive info types, please refer to the great article here. This process leverages the machine learning capabilities of Office 365 engine to identify secure content and automatically apply the security policy on it.

The first step is to create a Retention label (somehow this doesn’t work with Security labels, so must create retention label). After creating a label, publish the label to the selected locations, for our use case we will post it to SharePoint Sites only. While the label is published, we could go ahead and create a DLP policy to prevent sharing with external users (I was not able to make it work while set to Test with notification so put it to on state to test also). After this, when you apply the label to a document, after some time (takes about 1-2 min to affect), then the content is not able to be shared with external users. Lets’ look at each of the above steps in detail below.

Steps:

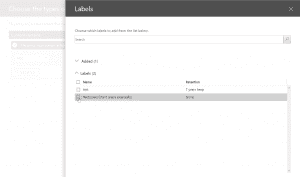
  1. First step is to create a retention label in Security and Compliance center. To my astonishment, the selective process doesn’t work with Security Labels but Retention Labels, so will create Retention Labels. If it is optional to apply a retention period to the content, then the retention period can be left, so not required for this exercise.
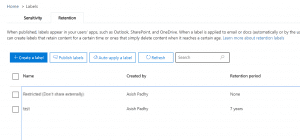
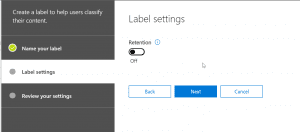
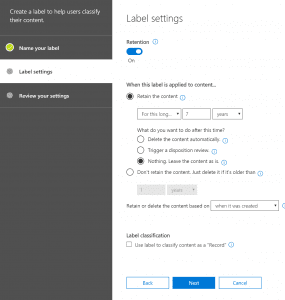
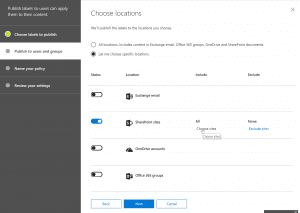
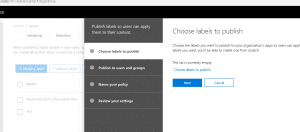
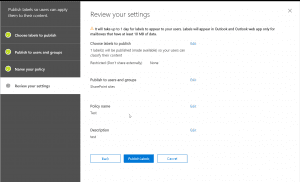
  2. Secondly, we will publish the label to SharePoint Sites, for our requirement. I haven’t tried the process with other sources such as Outlook and One Drive but should work the same when applied.
    Note: It takes about a day for the retention labels to publish to SharePoint sites, so please wait for that to become available. We can move to the next configuration step right away but will have to wait for the label to be published to stop sharing.
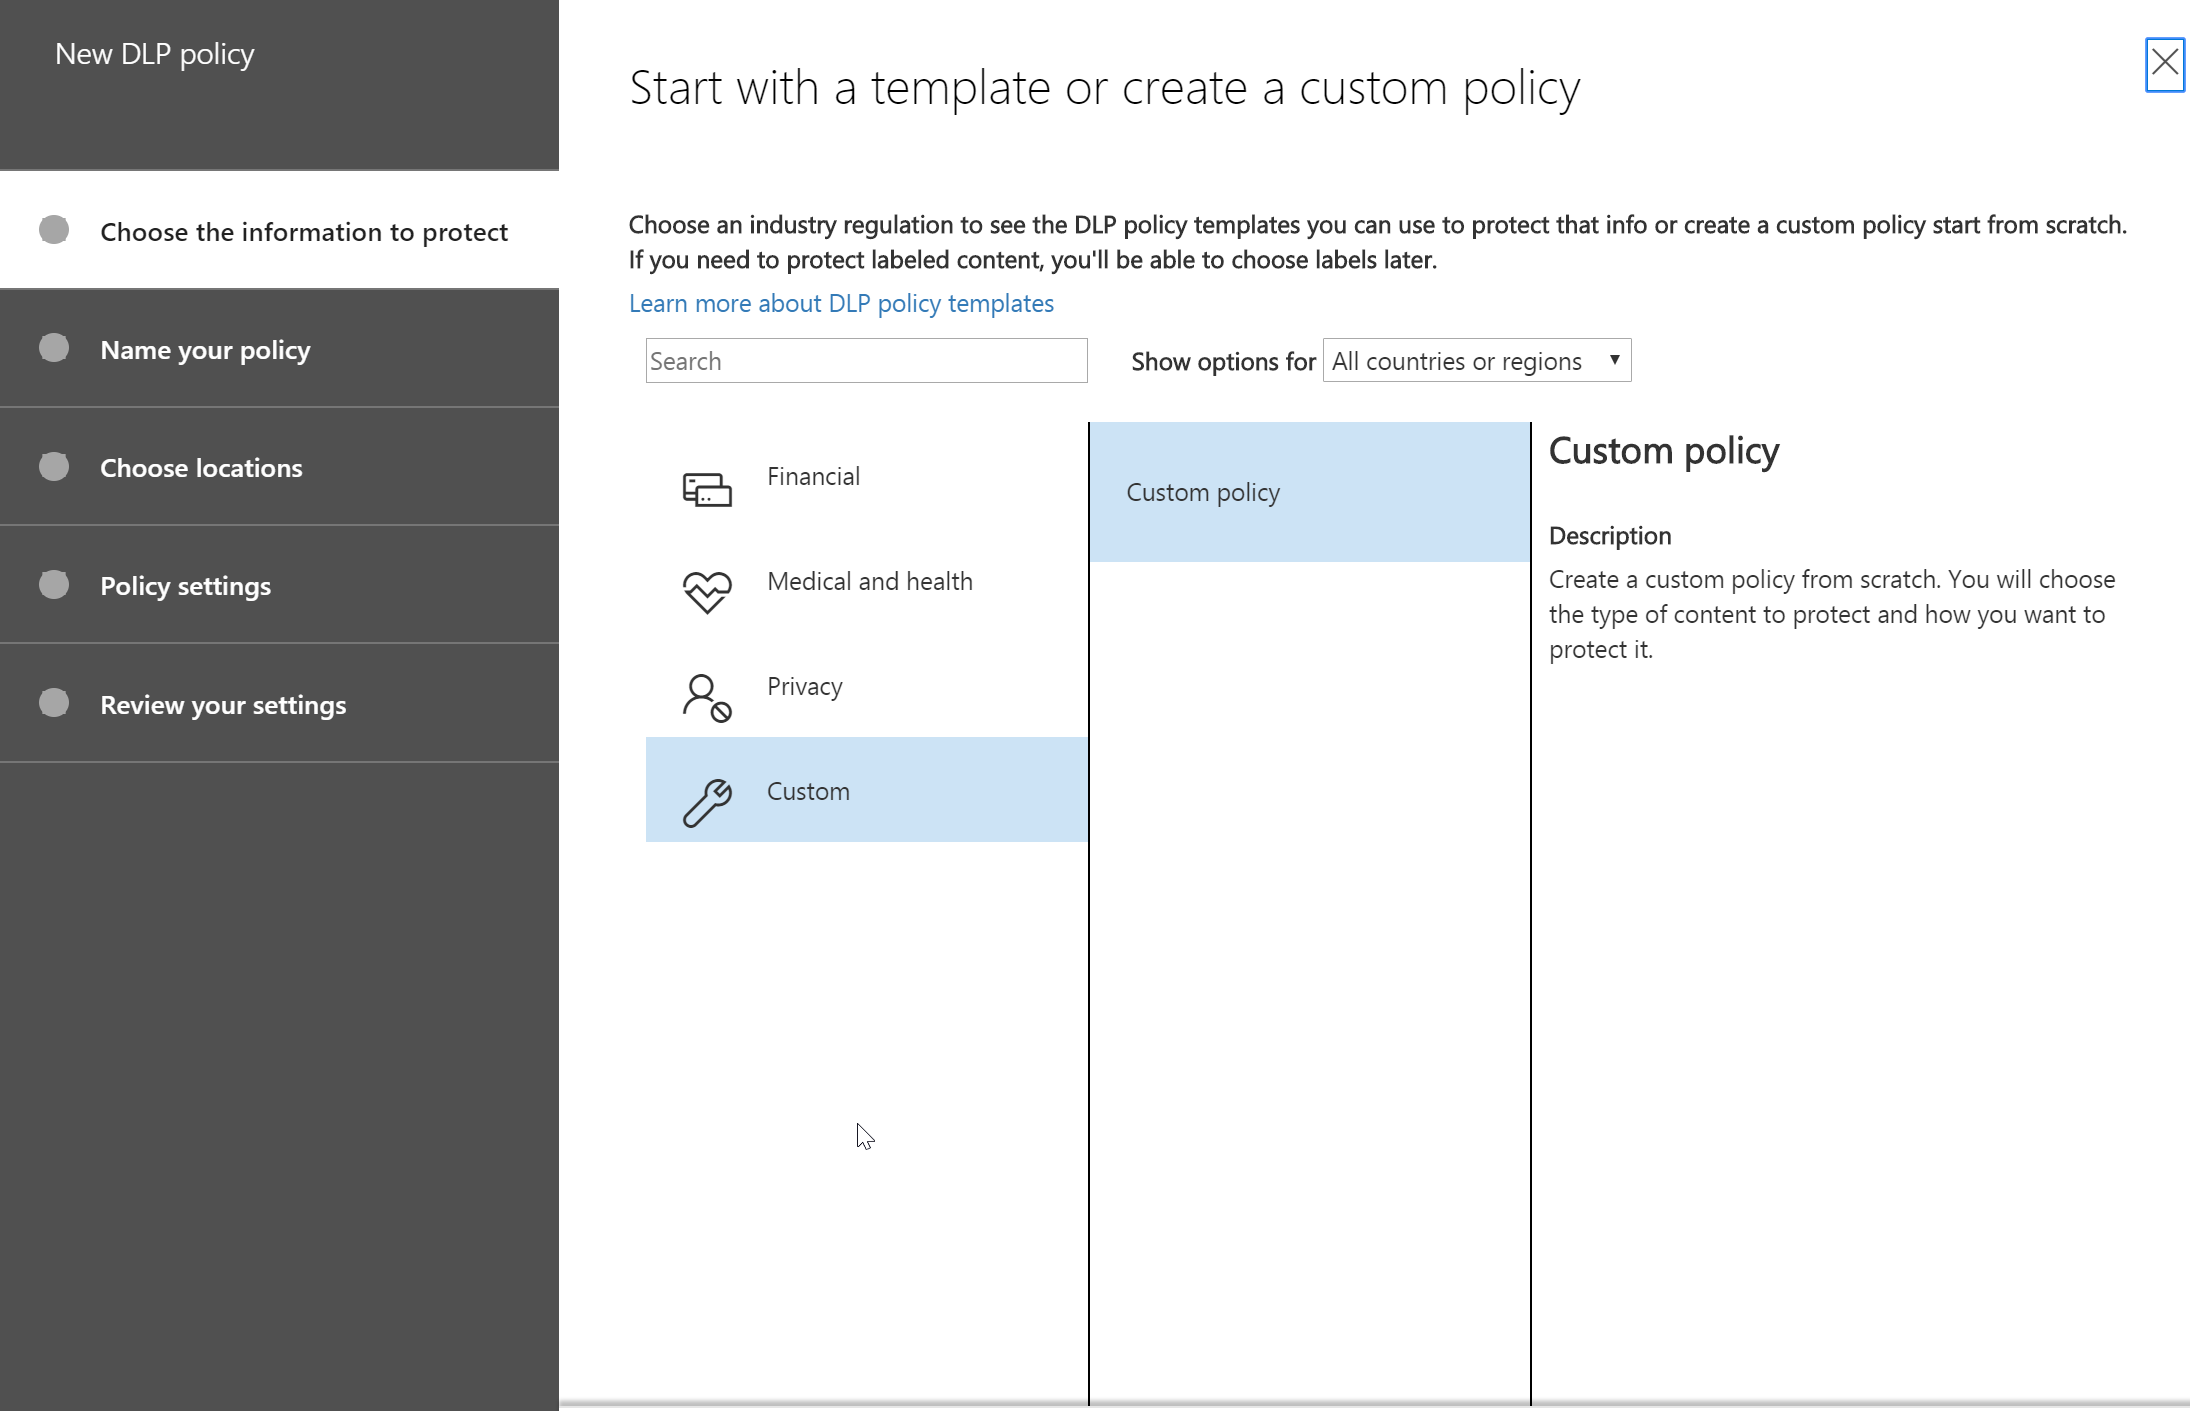
  3. Next, we could create a DLP policy for the content to be applied. For creating a DLP policy we need to follow the below configuration steps. Once created, we might have to turn it on in order to test it.
    SecurityAndCompliance_DLPPolicy1
  4. First step of the policy creation would be select Custom Policy for DLP policy creation and give it a name.
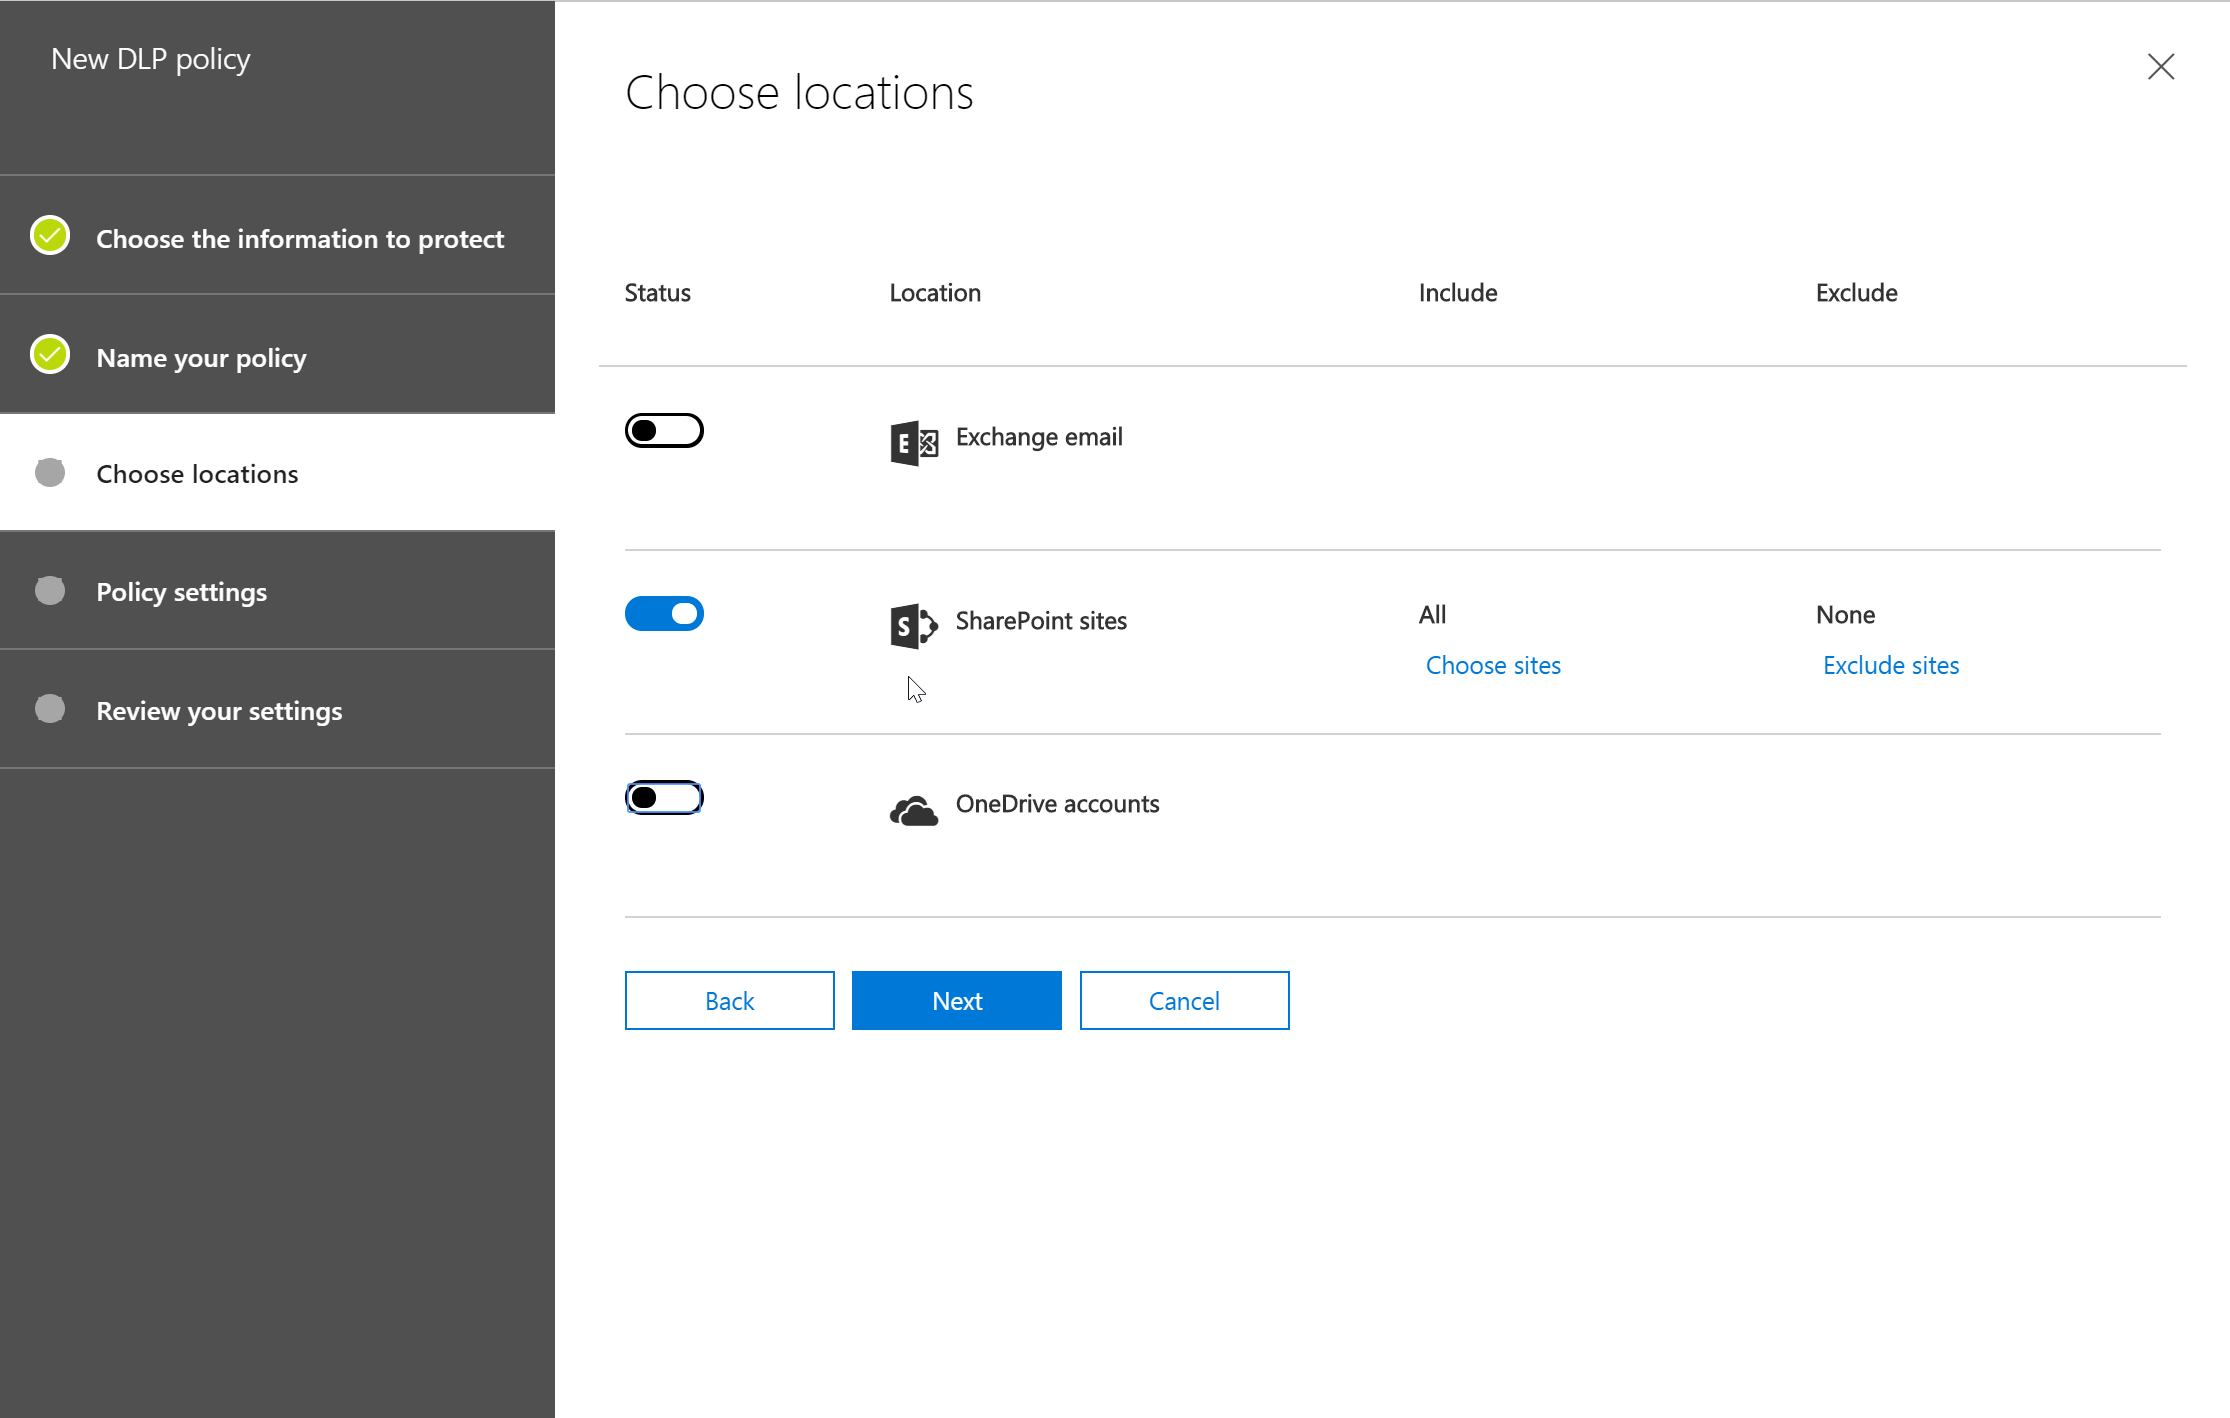
  5. Then, we would select the sources to be included for this policy. In our case, it is only SharePoint.
    SecurityAndCompliance_DLPPolicy2
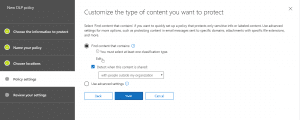
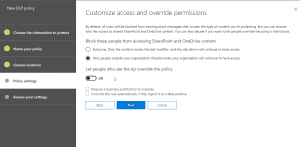
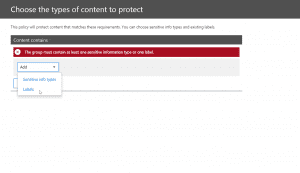
  6. After the above, we will set rule settings for the DLP policy where we will select the label to which the policy to apply, then select the policy tips, block sharing rules and override rules as shown in the below screenshots. We could also set the admins (provided) to get notified when such as content is shared externally.
     
  7. Next, we could allow the users to override the policy if needed. For this blog and our requirement, we had decided to not allow it to happen.
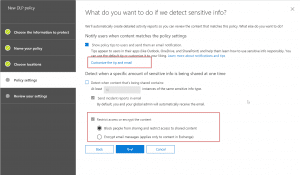
     
  8. After this is setup, we could turn on the DLP policy so that it could start applying the rules. There doesn’t seem to be any wait time for applying the policy later but give it some time if you don’t see it happening right away.
  9. Now the policy is enabled and if the label are published, the user can then apply the label on a content as shown in below screenshot.
    Note: In some cases, it takes about 2-3 min for the policy to be effective on the content after applying the label so give it some time.
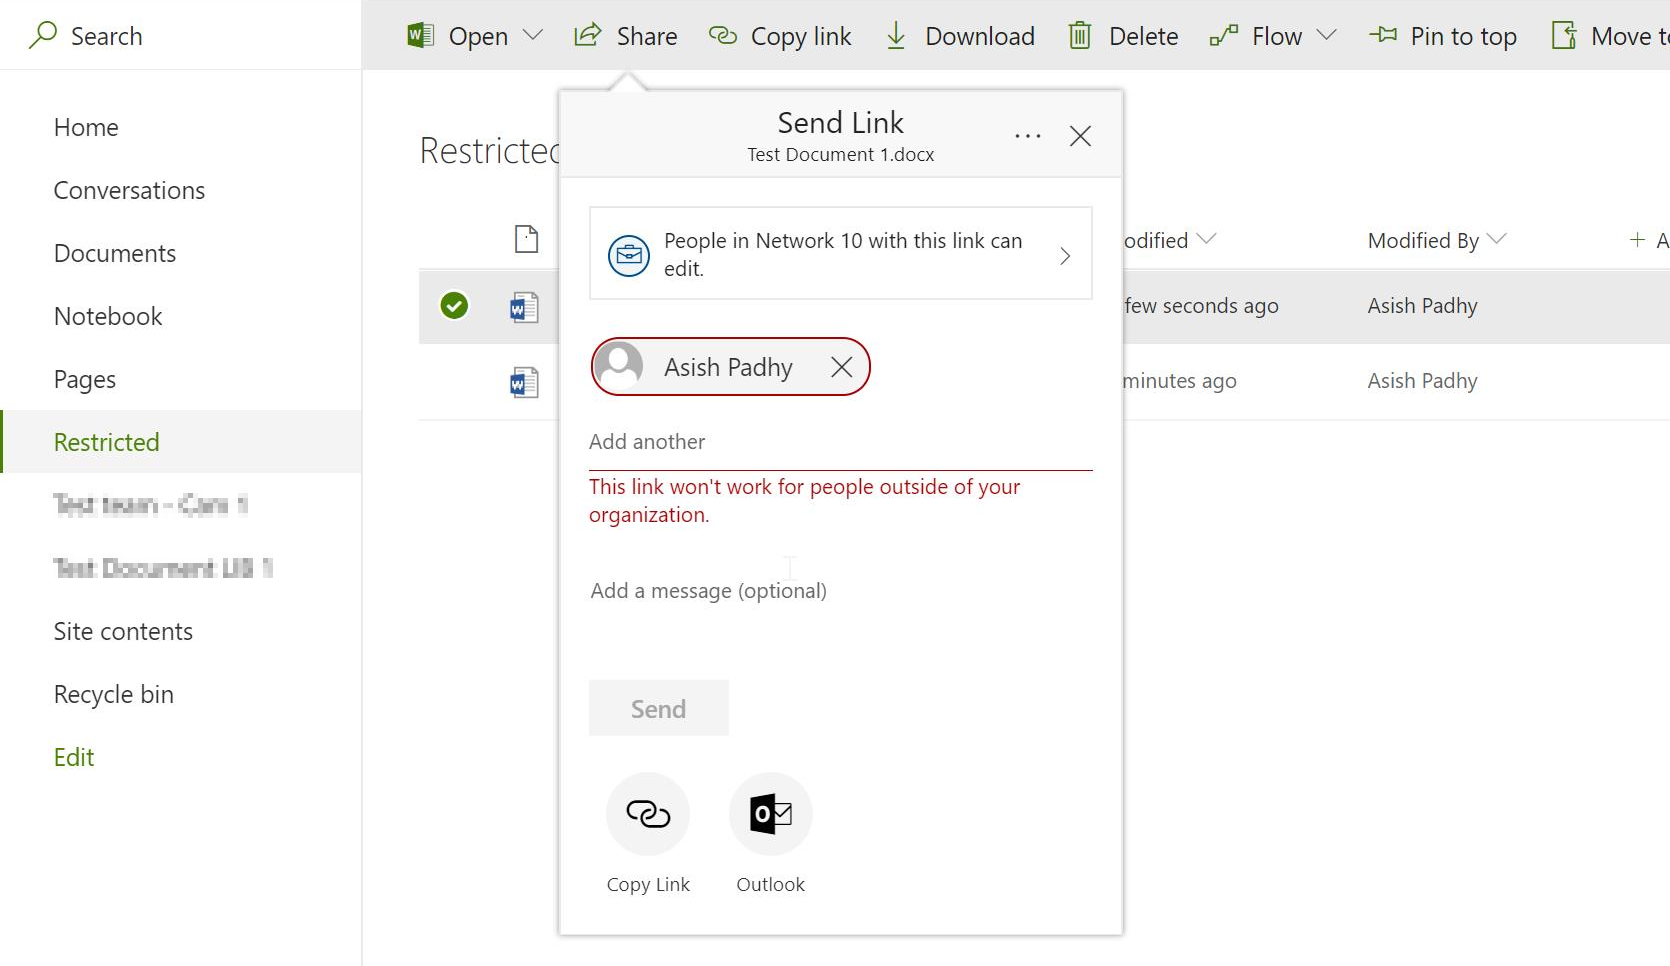
  10.  After the label is effective after 2-3 min wait, if the same content is shared with an external user, we get the following error.
    SharingFix1

Read More

Retrieve Office 365 Audit logs using PowerShell and store in Azure table for quick retrieval

To create custom reports for Office 365 events, we could use the Audit logs from Security and Compliance center. The process is quite simple and could be implemented easily using PowerShell. In this blog, we will look at the steps for the same.

Later we will also see how we could store this data in a Azure Storage Table, so it is easy to fetch the data available.

Steps to fetch data from Office 365 Audit log using Exchange Online PowerShell

The first step in the process is to import the commands from Exchange online PowerShell.… [Keep reading] “Retrieve Office 365 Audit logs using PowerShell and store in Azure table for quick retrieval”

Modern Page approvals and customise it to automate the content publishing processes

The Site pages approval process in Modern Communication Sites provide us with an option to include an approval process to manage life cycle of content published in the Intranet.

Currently, there is no roll back process to pull a published page back or unpublish it but that can be done through custom flow and script as blogged here.

In this blog, we will look at enabling the page approval process, steps of the process and finally will have a look at way to customize the flow when needed with an example scenario.… [Keep reading] “Modern Page approvals and customise it to automate the content publishing processes”

PnP Provisioning PowerShell, Site Scripts or CSOM scripts – which one to use and when?

There are various approaches to plan and automate the process for Site creation and management of SharePoint Online Sites. In this blog we will look at these options and how to use with a best possible approach.

Pnp Provisioning PowerShell is a great way to automate creation of SharePoint assets through an xml or pnp template file using PowerShell. Similarly, Site scripts and site design allows us to create Site using JSON templates and also allows call to any Provisioning automation scripts or use a Template for custom implementation.… [Keep reading] “PnP Provisioning PowerShell, Site Scripts or CSOM scripts – which one to use and when?”

When and how to use React component lifecycle management in a SharePoint Framework?

There are various advantages of using React lifecycle methods in building SharePoint Framework components. It is not a necessity to use component lifecycle methods but we could get a lot out by using these methods with states. For a generic understanding of React component lifecycle methods, check here

Note: The use-cases description in this blog are specific to the SharePoint Framework lifecycle but could be considered for app using React in App model too.
The details in this blog are for guidance and can vary based on the requirements, so please use your best judgement while implementing the lifecycle methods


Few of the benefits of using React component lifecycle methods are :

1.… [Keep reading] “When and how to use React component lifecycle management in a SharePoint Framework?”

Walkthrough of Site Provisioning process using PnP PowerShell

In the previous blogs here, we have looked at the Provisioning process for a complex Team site. Much of complexity was easily handled by the PnP Provisioning process.

In this blog, we will look at the similar Provisioning process but from an Admin point of view and use PnPPowerShell for create and provision the site.

Steps:
The steps are actually quite simple and could be done quickly.

1. Build a Template Site to be used for creating the Provisioning Template

2.… [Keep reading] “Walkthrough of Site Provisioning process using PnP PowerShell”