This blog will guide you on how to deploy a Web App, App service plan in different geographical locations using Azure Traffic Manager to provide Geo redundancy. I will discuss these concepts below and provide the necessary steps to achieve this .
We will familiarize ourselves with the terminology and the technologies which will be used in the blog to build out our solution:
- Azure APP Services
- Azure App Service plan
- App Service Editor
- Traffic Manager
1.Azure App Services
Azure App Service is a fully managed computing platform within the Azure environment that is optimized for hosting web apps, REST APIs, and mobile back ends. This Platform as a Service (PaaS) offereing allows you to focus on the app content side of things while Azure takes care of the infrastructure to run and scale your applications.
Azure App Services offers different pricing tiers to suit your needs
| Tier | Offering |
| Free plan | Use this offering to implement a proof-of-concept |
| Shared plan | This option is suitable for basic Web applications or static websites |
| Basic plan | Use this option for development/test environments |
| Standard plan | Use this option for Web and mobile applications in the production environment |
| Premium plan | This is the recommended option for enterprise scale and integration |
| Isolated plan | The Isolated service plan is designed to run mission-critical workloads that are required to run in a virtual network. The Isolated plan allows customers to run their apps in a private, dedicated environment in Azure |
2. Azure App Service plan
An App Service plan is a set of physical resources and capacity available to deploy App Service apps. Web apps, mobile apps, and API apps hosted in Azure App Service, as well as Azure Functions, all run in an App Service plan. While you can deploy an unlimited number of applications into an App Service plan, the number you use greatly depends on the types of applications deployed and their required resources in CPU utilization.
An App Service Plan, at a very high level is the container in which web applications run. It is used to determine the resources available to your application and their boundary. There are a few categories of pricing tiers:
| Compute Tier | Offering |
| Shared Compute | Free and Shared, the two base tiers, runs an app on the same Azure VM as other App Service apps, including apps of other customers. These tiers allocate CPU quotas to each app that runs on the shared resources, and the resources cannot scale out |
| Dedicated compute | The Basic, Standard, Premium, and PremiumV2 tiers run apps on dedicated Azure VMs. Only apps in the same App Service plan share the same compute resources. The higher the tier, the more VM instances are available to you for scale-out |
| Isolated | This tier runs dedicated Azure VMs on dedicated Azure Virtual Networks, which provides network isolation on top of compute isolation to your apps |
| Consumption | This tier is only available to function apps. It scales the functions dynamically depending on workload. For more information, see Azure Functions hosting plans comparison |
3.App Service Editor
App Service Editor is a web-based editor for App Service. This is great tool for deploying websites and editing HTML, CSS, JavaScript, jQuery, Angular JS or any client-side scripting effectively. Also, any edits to the file are auto saved and changes are reflected on the fly to the App service URL.
4.Traffic Manager
Azure Traffic Manager is a DNS-based traffic load balancer that enables you to distribute traffic optimally to services across global Azure regions, while providing high availability and responsiveness. The high availability works by monitoring the internet facing endpoints.
Traffic Manager uses DNS to direct client requests to the most appropriate service endpoint based on a traffic-routing method and the health of the endpoints. Traffic Manager provides a range of traffic-routing methods and endpoint monitoring options to suit different application needs and automatic failover models.
Azure Traffic Manager supports six traffic-routing methods to determine how to route network traffic to the various service endpoints. The following traffic routing methods are available in Traffic Manager
| Routing Methods | Description |
| Priority | Select this method when you want to use a primary service endpoint for all traffic and provide backups in case the primary or the backup endpoints are unavailable |
| Weighted | Select this option when you want to distribute traffic across a set of endpoints, either evenly or according to weights, which you define on the profile |
| Performance | Select this option, when you have endpoints in different geographic locations, and you want end users to use the “closest” endpoint in terms of the lowest network latency |
| Geographic | Select this option, so that users are directed to specific endpoints (Azure, External, or Nested) based on which geographic location their DNS query originates from. This empowers Traffic Manager customers to enable scenarios where knowing a user’s geographic region and routing them based on that is important |
| Multi-value | Select it for Traffic Manager profiles that can only have IPv4/IPv6 addresses as endpoints. When a query is received for this profile, all healthy endpoints are returned.
NOTE: At the time of writing, this method is supported only for external endpoints |
| Subnet | This traffic-routing method maps set of end-user IP address ranges to a specific endpoint within a Traffic Manager profile. When a request is received, the endpoint returned will be the one mapped for that request’s source IP address. This method is supported for public IP address as target |
There are several ways you can create a web app including
- Azure portal
- Azure CLI
- ARM Template
- From an Integrated Development Environment) (IDE)
We will use an ARM Template to deploy our solution because it is a simple way to include all components in one go.
The template below will deploy an Azure App Service plan in two different locations (Australia East and Southeast Asia) in an array. The Array in the ARM template will be deployed based on the input location defined in template.
The ARM Template has three resources:
- Azure APP Service Plan (Microsoft.Web/serverfarms)
- Azure Web App (Microsoft.Web/sites)
- Azure Traffic Manager (Microsoft.Network/trafficManagerProfiles)
Modify these settings in the ARM template to suit your needs:
- Add additional locations in the parameters section under If you add more locations, add endpoints in Traffic manager resources
- Choose App service plan in the parameters section farnSkuName
- Choose web app name in the parameters section webAppNamePrefix
The ARM template below is based on the web app deployed in two locations.
Deploy ARM Template
Deploying Azure resource by ARM template has different ways and we will use PowerShell method. To deploy a template, typically need two steps:
- Create a resource group. Resource group serves as the container for the deployed resources.
- Deploy a template. The template defines the resources to create. The deployment creates the resources in the resource group specified.
Prerequisites: Need to install Azure PowerShell and connect to Azure. I am using new Azure PowerShell Az module. you can use Azurerm Powershell module to deploy.
- Install Azure PowerShell cmdlets on your local computer.
- Connect to Azure by using Connect-AZAccount. If you have multiple Azure subscriptions, you might also need to run Set-AzContext.
- Download and save this template. The local file name used in this article is c:\MyTemplates\azuredeploy.json.
New-AzResourceGroupDeployment -ResourceGroupName $resourceGroupName -TemplateFile c:\MyTemplates\azuredeploy.json (modify resource group name as needed and template file location)
After deployment, verify your web app, traffic manager resources are available in the selected resource group.
Edit your Web App to deploy a your website:
- In the Azure portal, under App Services, select the App service that we just deployed using the ARM template
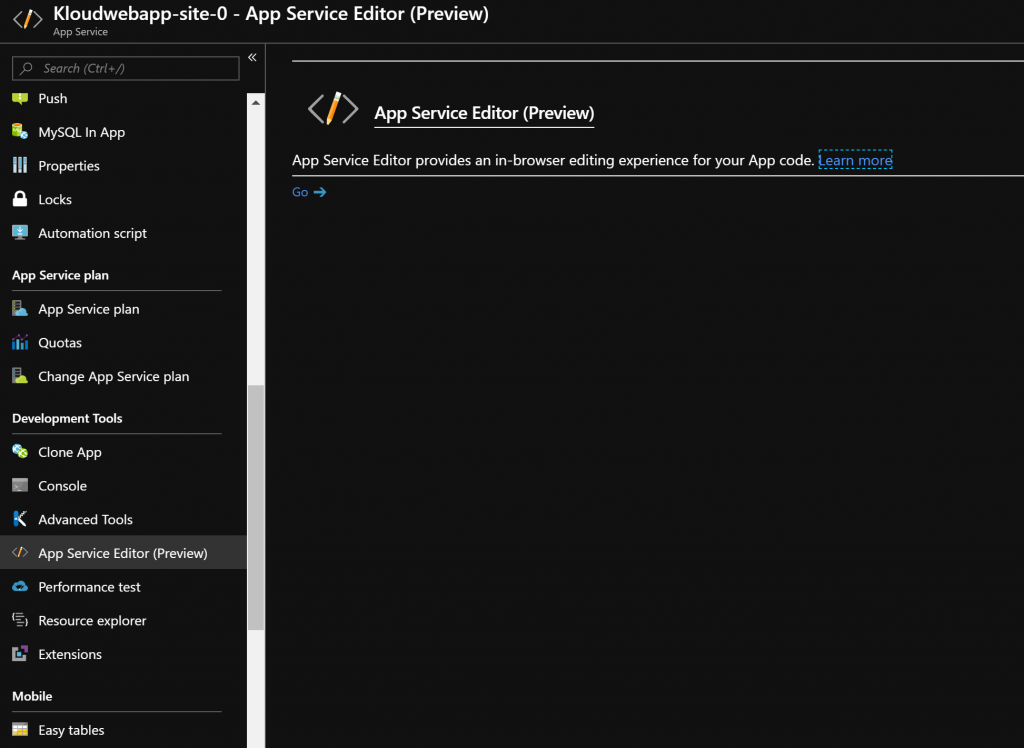
- Under the selected App Service, Under Development Tools Section, select App Service Editor
- Click Go to open the editor.
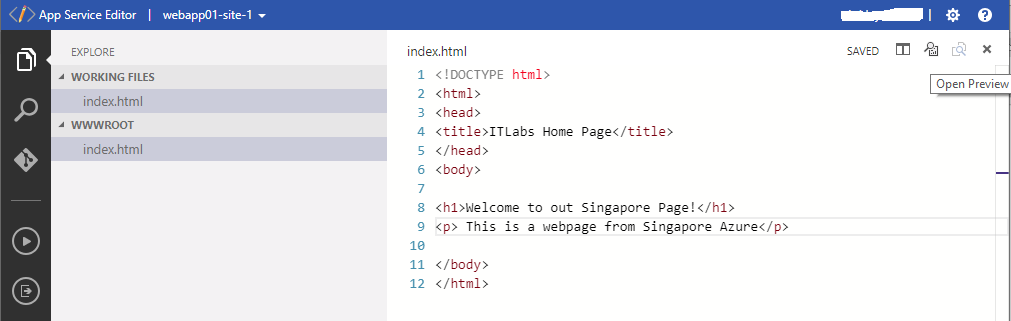
- Rename heading.html to index.html
- Replace the content on the right side with some HTML for your website. You will see that the content is automatically saved.
- At the top right click the preview button to see the content of your website
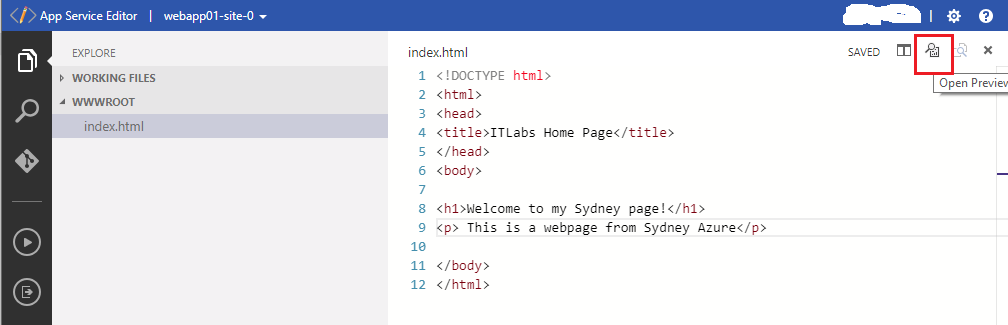
- Repeat this step for other web app deployed in the second App service and change the website <body> content to reflect the geographical location
- Again, click the preview button in the top right to verify the new content and new name
Testing Azure Traffic Manager
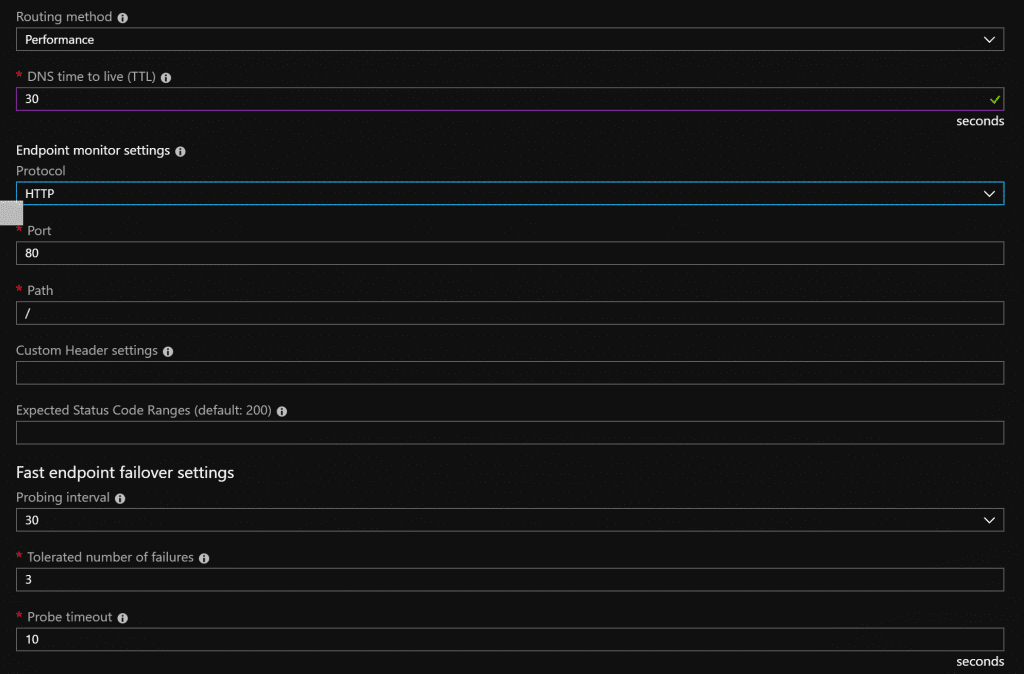
Azure Traffic Manager supports probing over both HTTPS and HTTP. For this testing, our traffic manager is configured to use HTTP.
-
-
-
- In the Azure portal, select Resource Groups.
- Then select the Traffic Manager profile name that was created using the ARM template
- On the traffic manager profile , click Overview to see the DNS name of your newly created Traffic Manager profile. In my example, it says: http://kloudwebapp-tm-auizryiiqn3li.trafficmanager.net
- Under Settings – > Configuration -> observe the settings for the traffic manager via the ARM template
- Note the routing method, protocol and path.
Testing Performance routing method
-
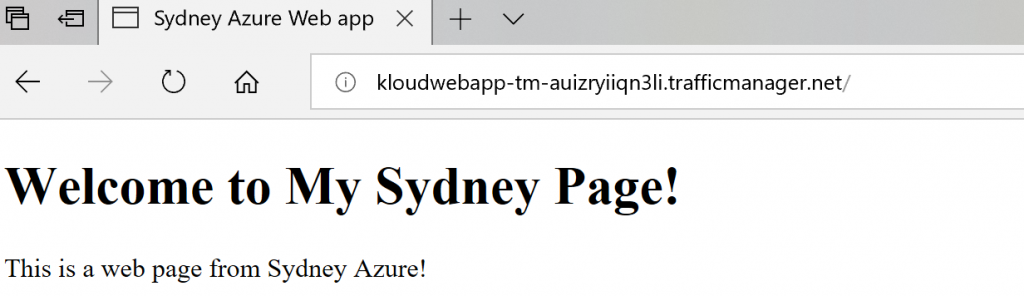
- On your browser, enter the above traffic manager URL. We will witness the Sydney azure web site page, since we’re based in Australia and the routing method is set to performance.
- Now, stop the Azure web app in the Sydney location
- On your browser, wait a few seconds and press F5 to refresh the URL
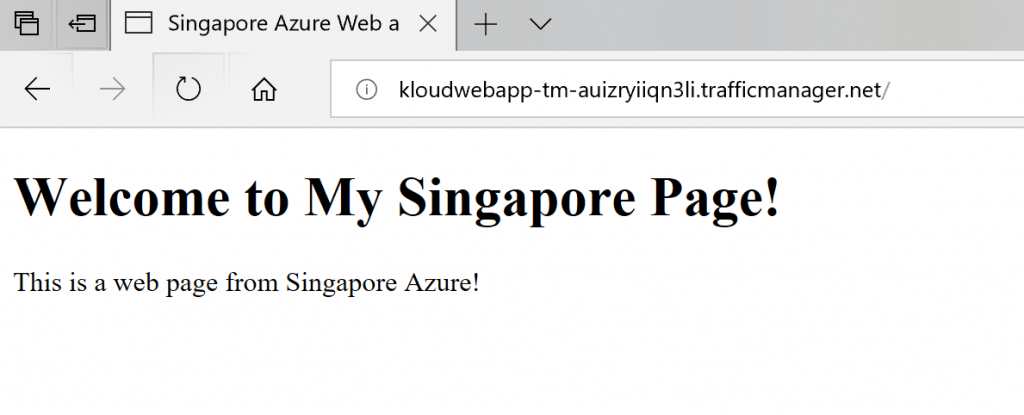
- Since we have routing method set to “performance” and Sydney location web app id down, we are routed to the web site hosted in Singapore
- On your browser, enter the above traffic manager URL. We will witness the Sydney azure web site page, since we’re based in Australia and the routing method is set to performance.
-
-
Testing weighted routing method
- Start the Sydney web app which we stopped in the previous step
- Now, change the traffic manager routing method to weighted
- Change the weight priority on one endpoint (Sydney location) to 10. The weight is an integer from 1 to 1,000. The higher the weight value assigned to an endpoint, the higher its priority.
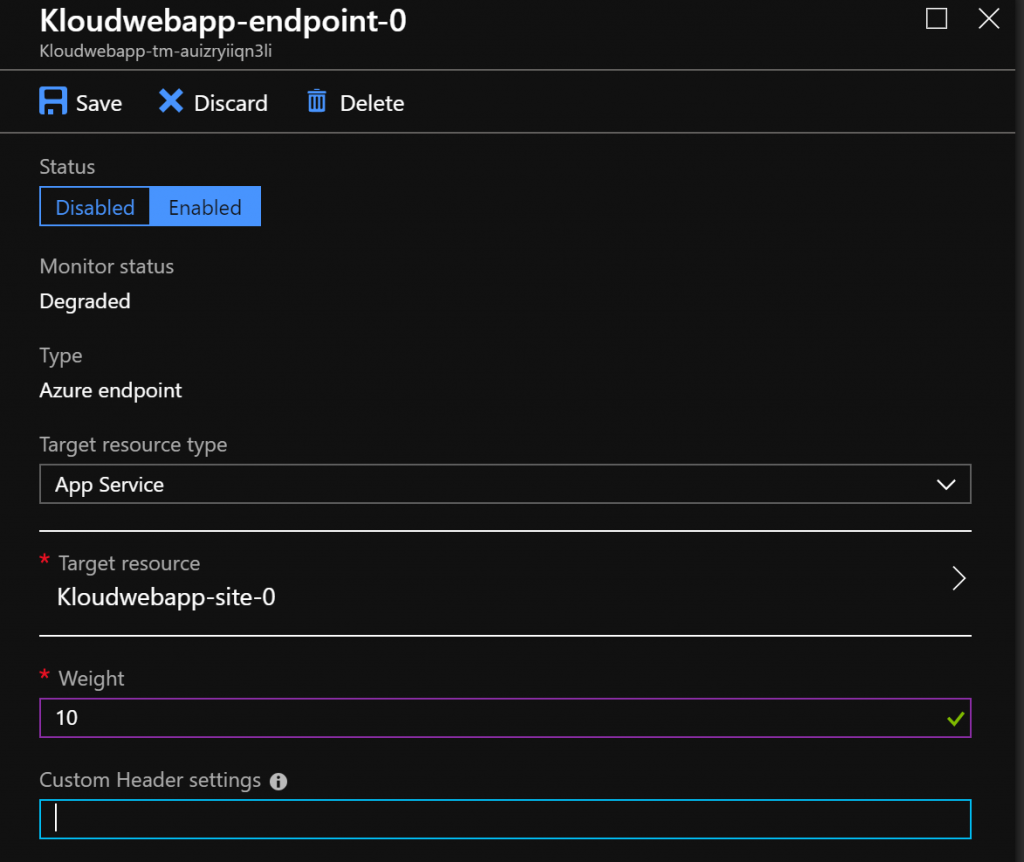
- Since the higher weightage is allocated to Web app in Sydney, we should view Sydney page by hitting traffic manager in browser.
Testing Priority routing method
- When you select the Priority traffic routing method, the order of the selected endpoints matters. Verify the priority order of endpoints. The primary endpoint is on top. All requests will be routed to the first endpoint and if Traffic Manager detects it to be unhealthy, the traffic automatically fails over to the next endpoint.
- Select the Traffic Manager profile blade and verify that both the cloud services and websites that you want to include in your configuration are present.
- In the Settings section, click Configuration -> Configuration blade -> traffic routing method settings, select the traffic routing method as Priority and click save.

- In the Endpoints blade, review the priority order for your endpoints. Double check on the order it is displayed.
- To change the endpoint priority order, click the endpoint, and in the Endpoint blade that is displayed, click Edit and change the Priority value as needed. Click Save to save change the endpoint settings.
- In our example, I have set Singapore web app (#1) as priority.

- On your browser, enter the above traffic manager URL. Singapore website should be loaded.
Testing Geographic routing method
- The Geographic traffic routing method allows you to direct traffic to specific endpoints based on the geographic location where the requests originate.
- Since endpoints of traffic manager endpoints has no geo mapping list is added and if we try to change traffic manager profile to geographic options, it will be error.
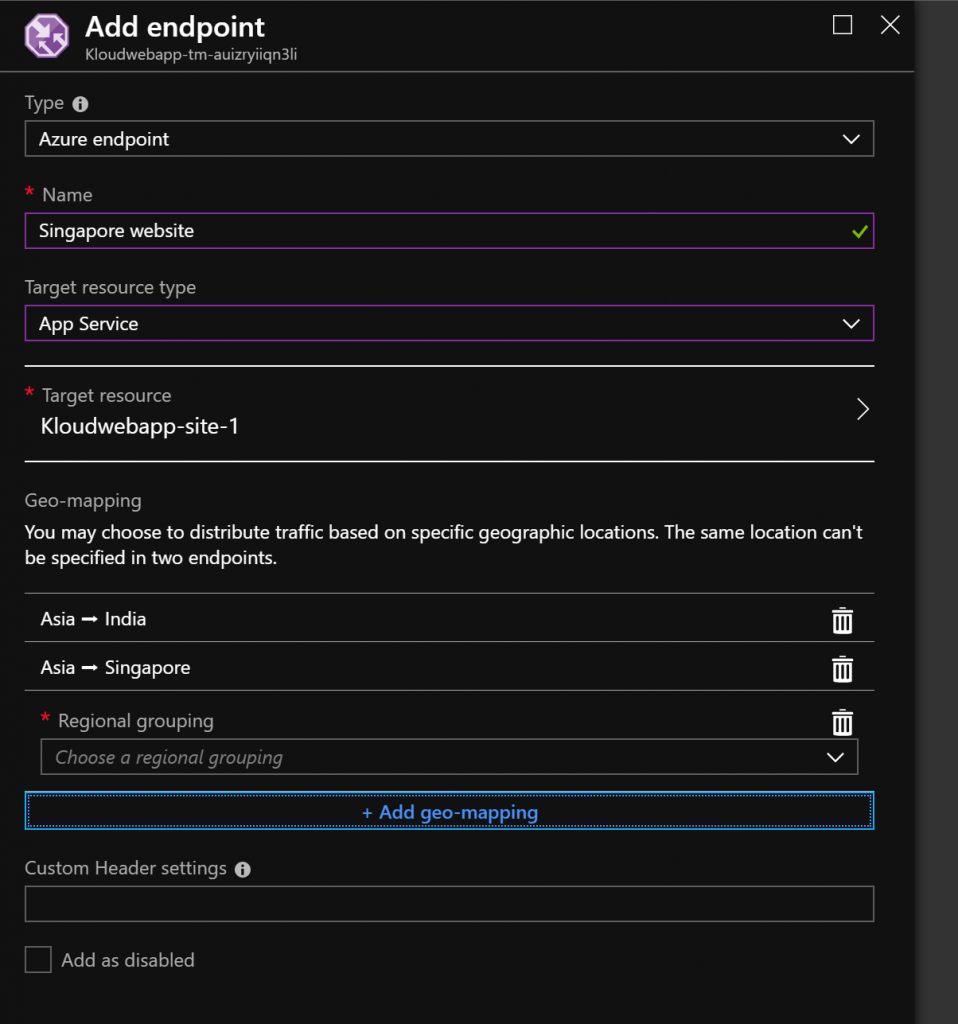
- we need to re-create endpoints with geo-mapping list.

- Add endpoint of app service of each geographic location with list of countries to be grouped. We select each country or select Asia or Africa or Europe.
- Since I am working from Melbourne and on your browser, enter the above traffic manager URL. Sydney website should be loaded.
- We could not test subnet and multi-value method, due to limitation.
I hope you found this blog useful to the understand concepts of Azure web app with Azure traffic manager and app service editor and deploying these resources using an ARM template