I would like to extend the sample available here to import users in bulk, current sample at the URL only creates a single user but we may have a situation where we want to migrate users from some other identity store to Azure AD B2C tenant.
We will be uploading a csv file to a storage account and the webjob will be reading it to create users into the B2C directory.
Login to Azure AD B2C tenant with your admin credentials (it would be something like YourUserName@YourB2CTenant.onmicrosoft.com).
Go to Azure AD and then click App Registrations.
Click “View All Applications” to see if an authentication app has already been registered as part of your B2C custom policy/attributes setup. This app should have access to Windows Azure AD as explained below.
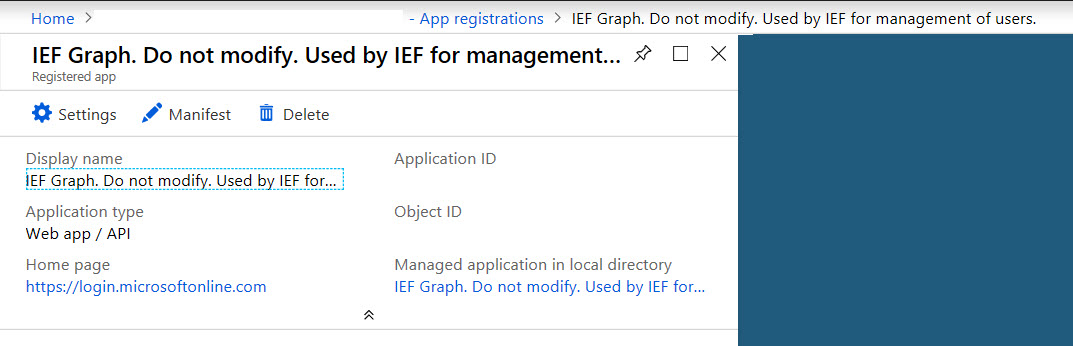
Or you can create one but you need to use its Id for the B2C custom policy/attributes setup.
Note down the application Id, it will be used as client Id in the app config settings.
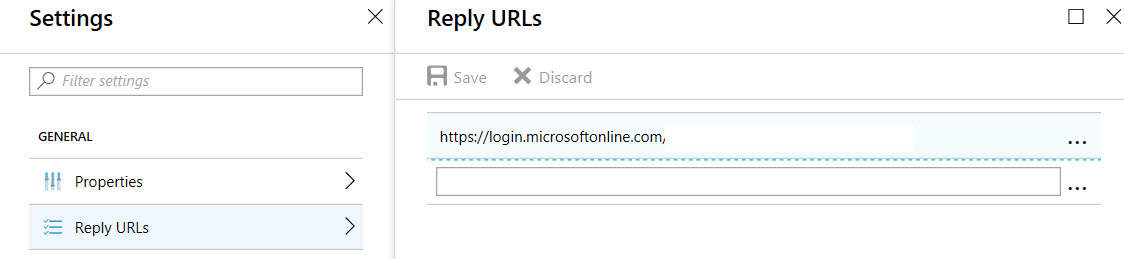
Click “Settings” and specify the “Reply URL” to be “https://login.microsoft.com/YourB2CTenantName”
Click “Required Permissions” and select the permissions as shown below
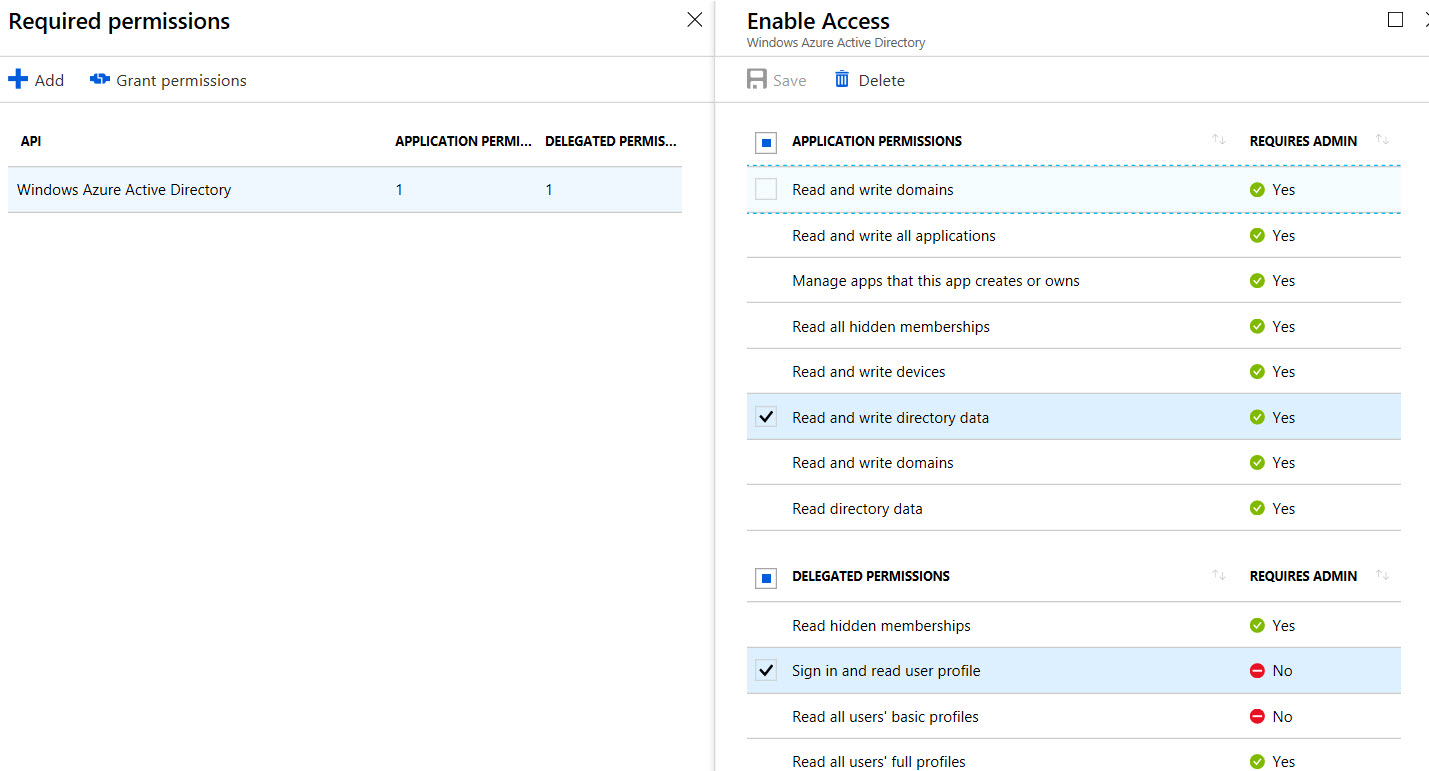
Click Save and then click Grant Permissions.
Click “Keys” and generate a new secret key to authenticate and acquire token. Note down the secret key.
Login to Azure portal with your credentials other than B2C tenant where you will be creating the storage account and deploying the webjob.
Go to Storage Accounts, either create a new storage account or use an existing one.
Click on Access Keys under Settings option in the blade.
Note down the storage account name and key 1 to be used in app config.
Click on Blobs and create a container called ‘bulkload’.
Create a users.csv file (as shown below) with user Id, email and mobile number. User Id (a unique identified in other system) and mobile number are custom attributes to be stored in B2C.
![]()
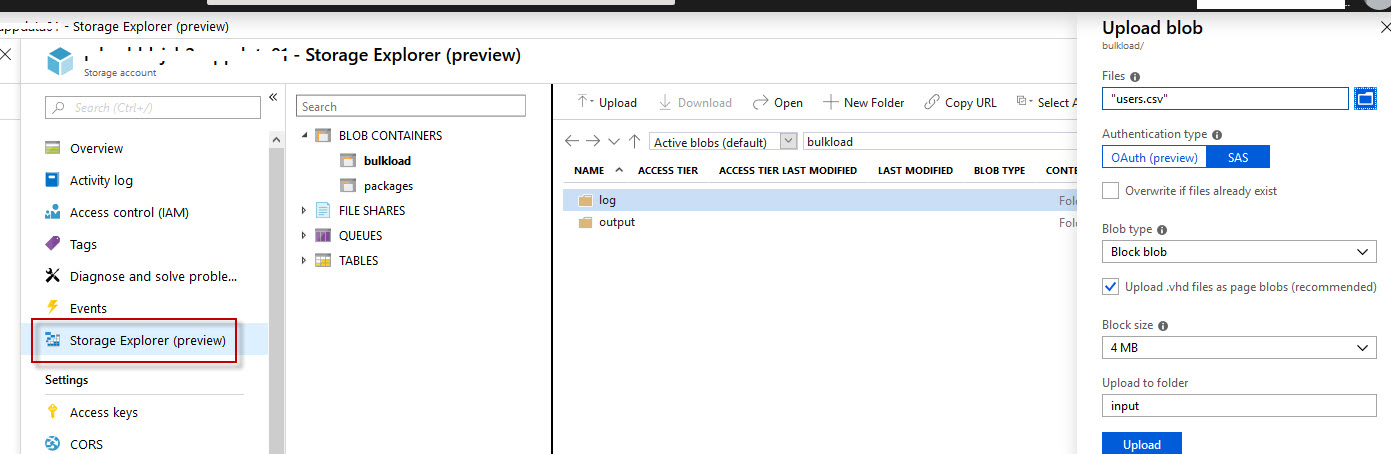
The “users.csv” file needs to be uploaded to ‘input’ folder under ‘bulkload’ container.
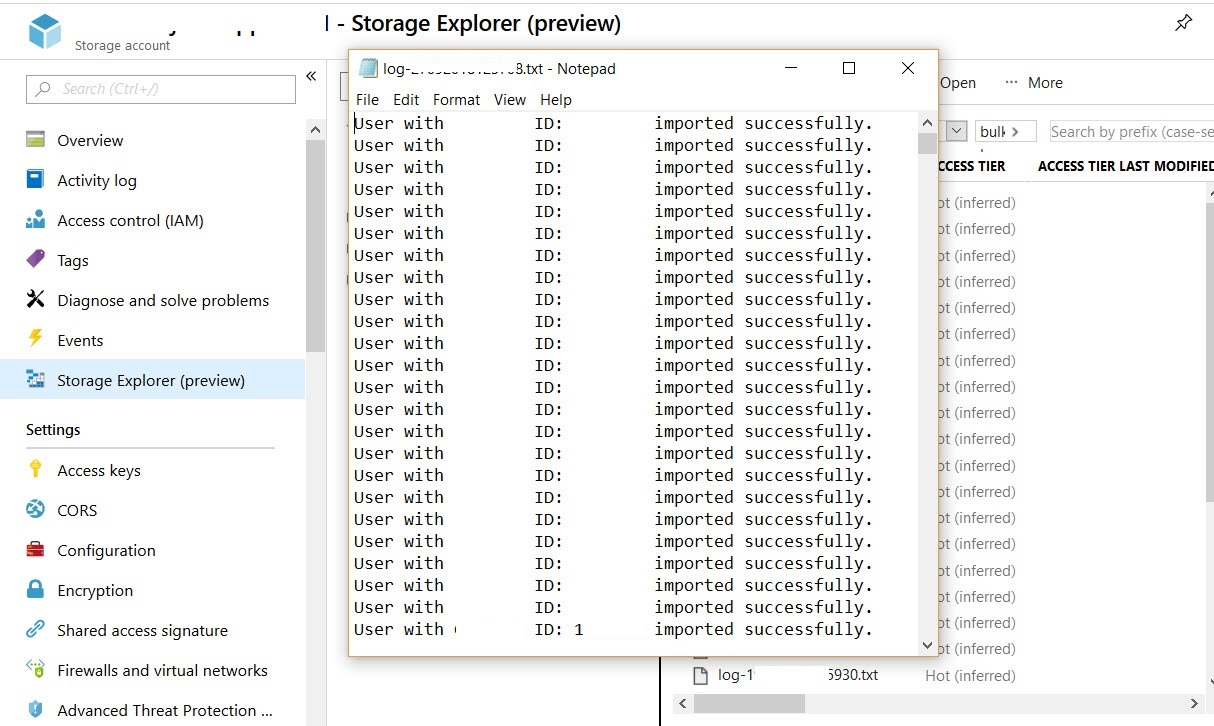
You can use Storage Explorer to upload the csv to storage account blob container as shown below.
Now we have done our work on Azure Portal and B2C tenant, lets modify the code.
Lets define/update the app.config app settings as below based on values generated above.
As you can see in the above config file, we have specified the file names of the input, log, output and password files. We can control the passwords to be saved to a file or not by specifying ExportPasswords as yes or no.
We have specified the container name to be created on the storage account. We also have specified some of the custom attributes to be stored while creating the users into B2C directory. There is an app setting specified as b2c:IEFGraphAppId which is actually the Azure AD Authentication app Id without hyphens under the B2C tenant. It is used to access the custom attributes of the B2C user which is setup while setting up the custom policies for that particular B2C tenant.
Modify the Program.cs as per the following code.
As you can see in the above code in the ImportUser method, we are getting the input file from the storage account and then we are running a parallel for each loop because we had to import huge number of users.
We are also checking if the same user Id already exists in an enabled state then we dont need to import it again.
In the end we are generating the log, output and password file (if required) and uploading these files to the storage accounts along with deleting the input file.
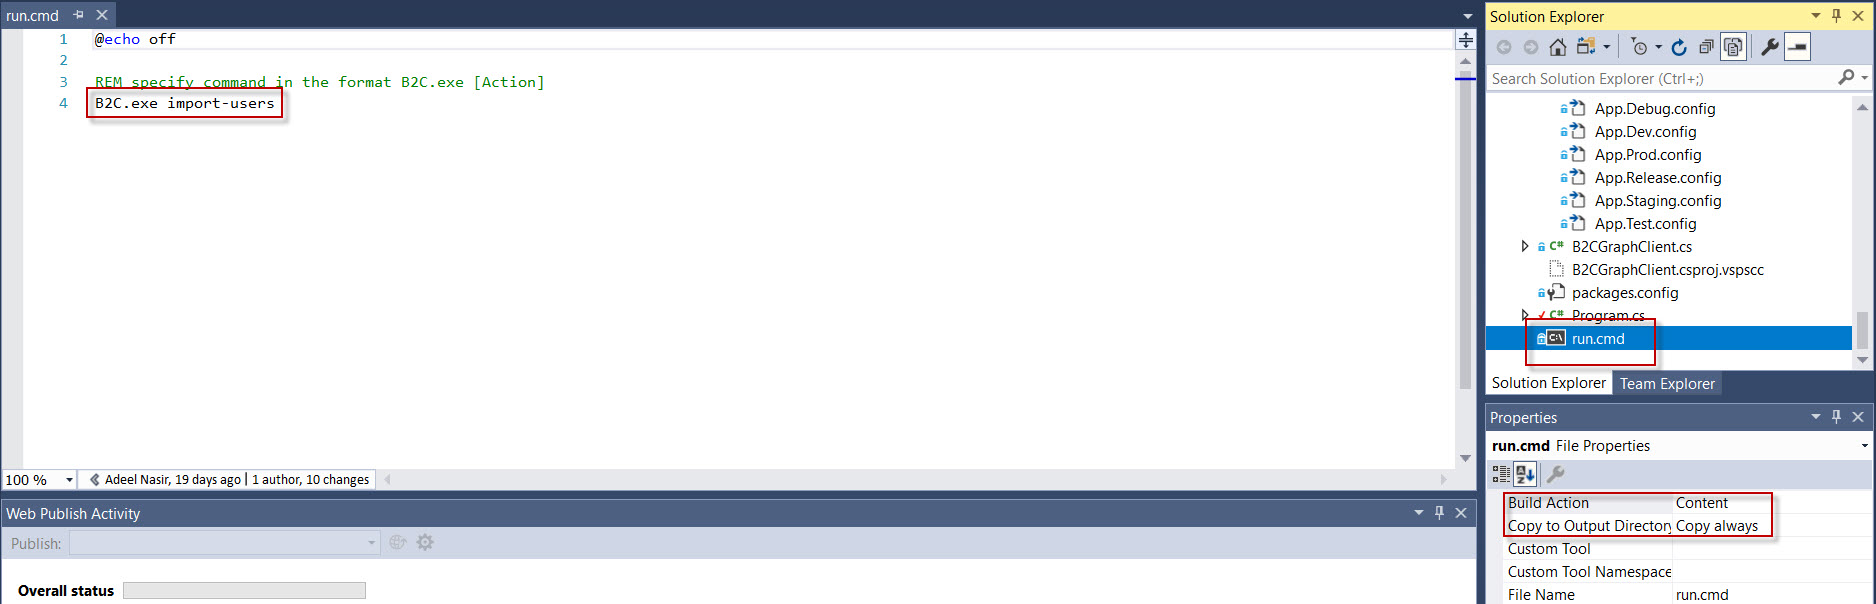
Add a “run.cmd” file into the webjob project as shown below with build action as “Content”. This file will be used to specify runtime arguments to the webjob’s main method under Program.cs.
We have modified the code, publish it as a webjob to Azure Portal. Go to the app service where you published the webjob. Click Run.
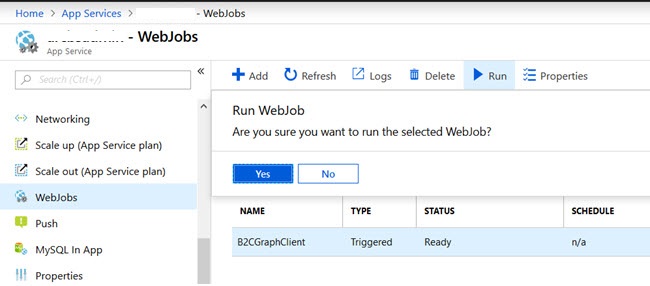
Then click on the Logs button to see the logs.
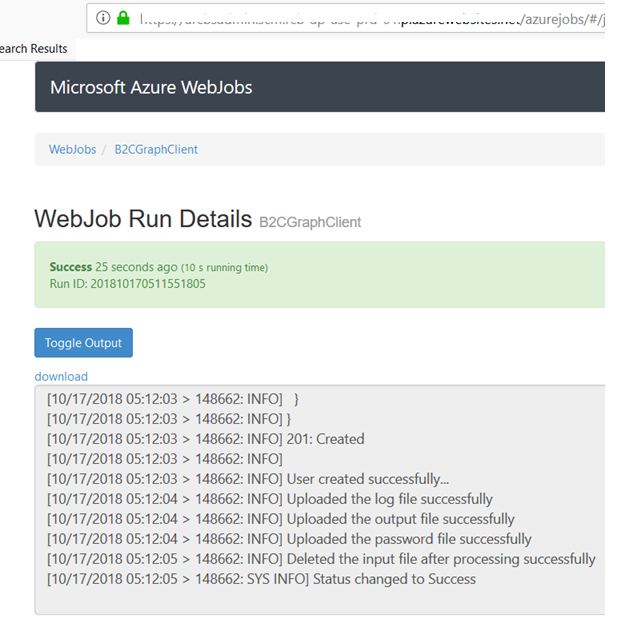
Once the webjob is finished. Go to the storage account and then go to the logs folder to see what happened to the records, as shown below.
As you can see it shows success for the records that have been imported successfully into B2C.
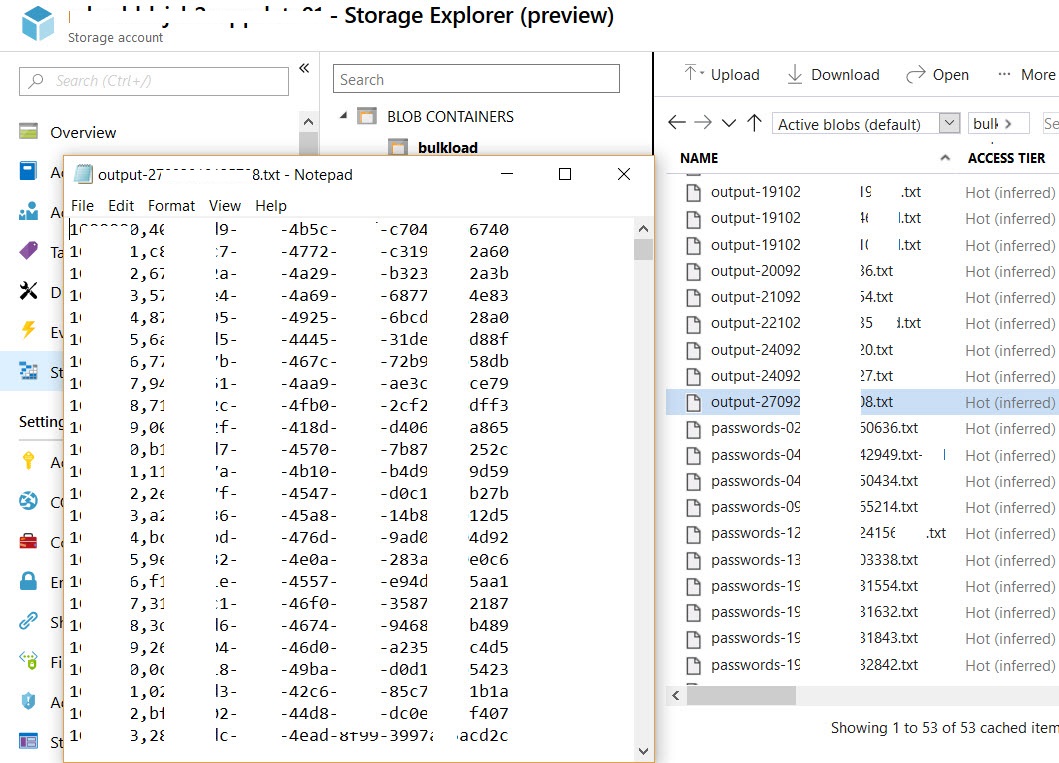
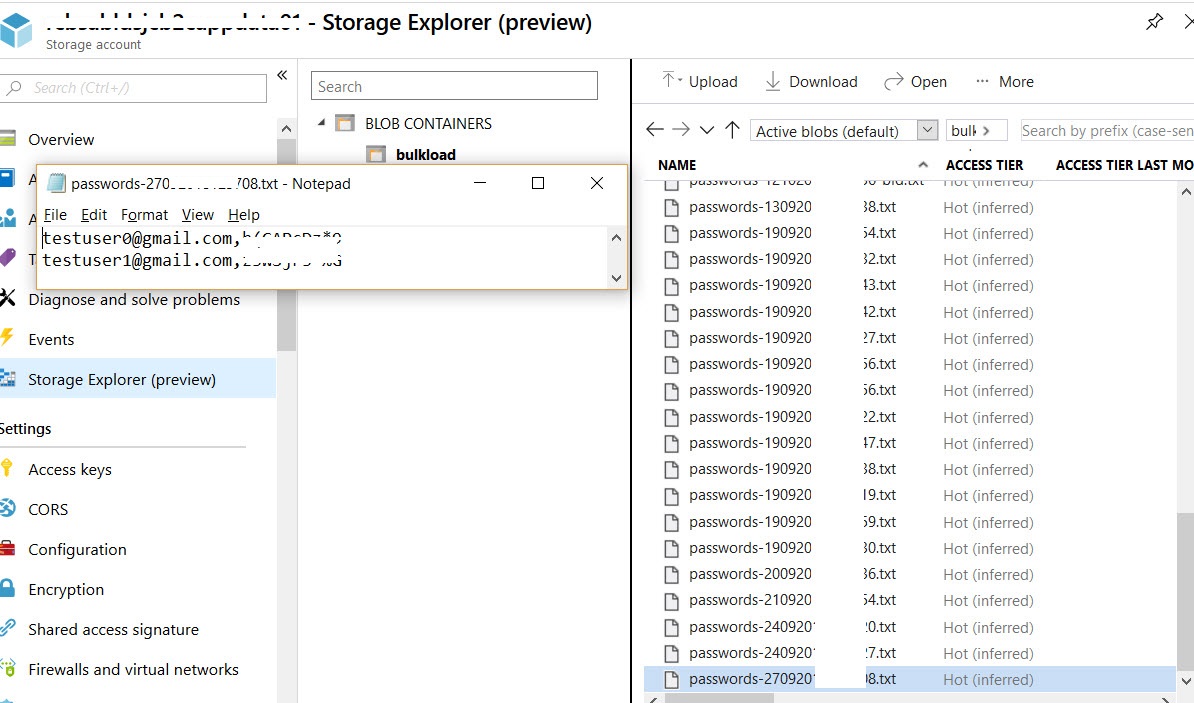
Now you can go to the output container and see the output and password (if configured) files.
Output file will contain the comma separated user id and object Id GUID (B2C).
Password file will contain the comma separated email address and password.
In order to verify if the user is actually created in B2C tenant, open the https://graphexplorer.azurewebsites.net/ in a browser and login with your admin credentials.
Search for one of the object Id and you will see the user with custom attributes. The reason to use Graph Explorer is that currently you cant view custom attributes via B2C interface, either you have to write your own UI or use Graph Explorer, as shown below.

and obviously you can extend this by adding the secrets and access keys into the Azure Key Vault instead of putting it in app.config file.