First published at https://nivleshc.wordpress.com
In my last blog, we configured the backend systems necessary for accomplishing the task of asking Google Home “OK Google Email me the status of all vms” and it sending us an email to that effect. If you haven’t finished doing that, please refer back to my last blog and get that done before continuing.
In this blog, we will configure Google Home.
Google Home uses Google Assistant to do all the smarts. You will be amazed at all the tasks that Google Home can do out of the box.
For our purposes, we will be using the platform IF This Then That or IFTTT for short. IFTTT is a very powerful platform as it lets you create actions based on triggers. This combination of triggers and actions is called a recipe.
Ok, lets dig in and create our IFTTT recipe to accomplish our task
1.1 Go to https://ifttt.com/ and create an account (if you don’t already have one)
1.2 Login to IFTTT and click on My Applets menu from the top

1.3 Next, click on New Applet (top right hand corner)
1.4 A new recipe template will be displayed. Click on the blue + this choose a service

1.5 Under Choose a Service type “Google Assistant”
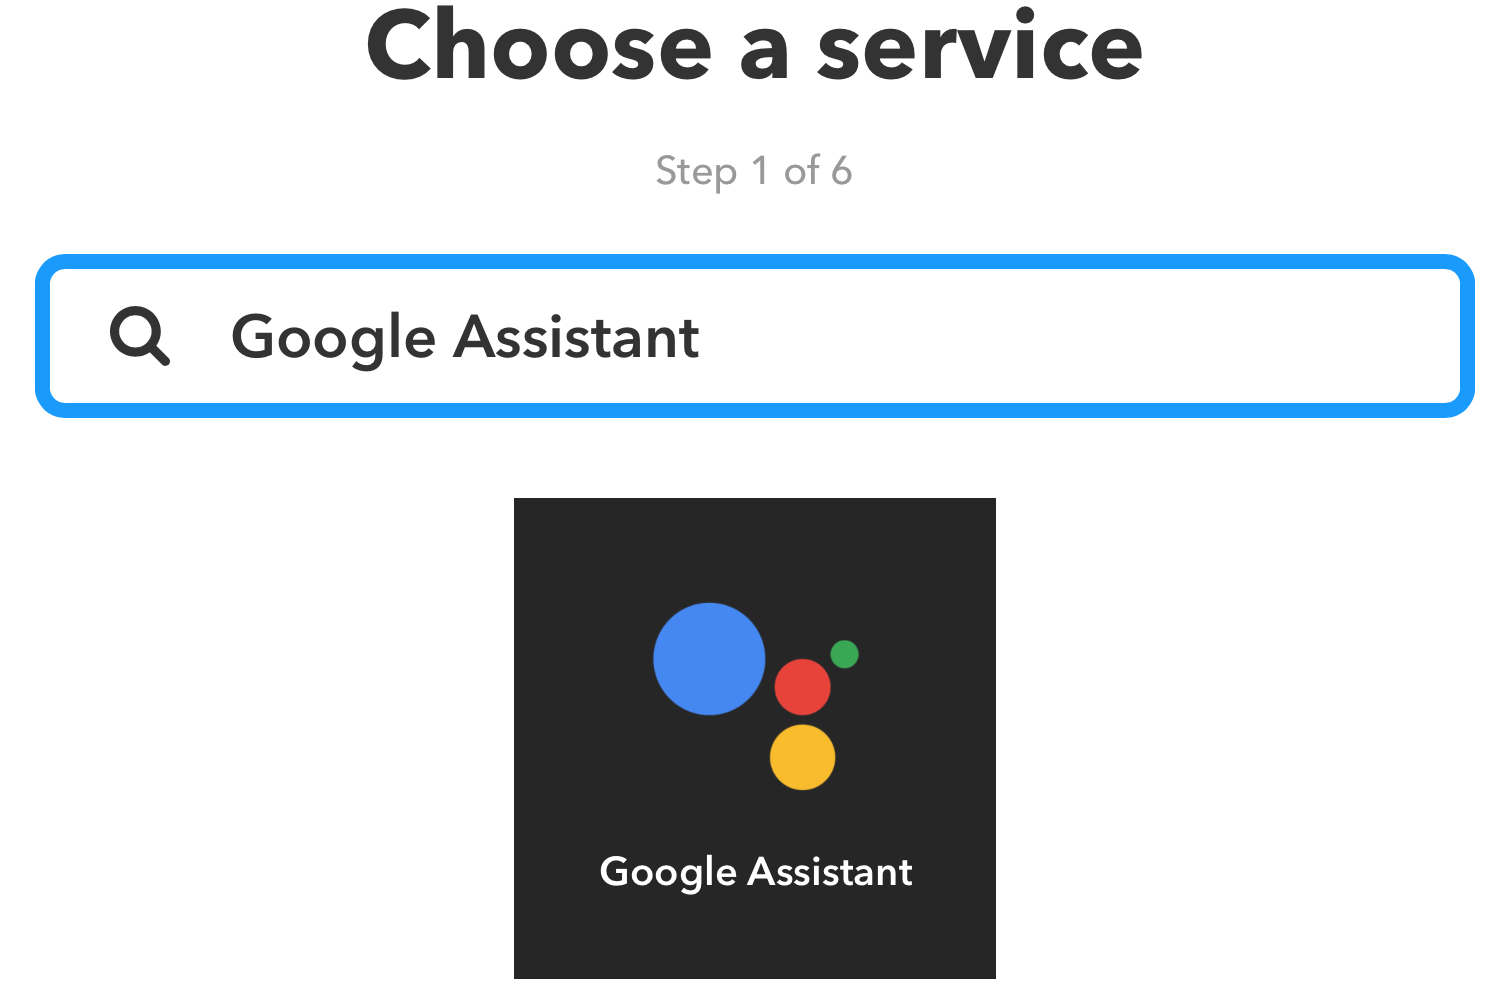
1.6 In the results Google Assistant will be displayed. Click on it
1.7 If you haven’t already connected IFTTT with Google Assistant, you will be asked to do so. When prompted, login with the Google account that is associated with your Google Home and then approve IFTTT to access it.
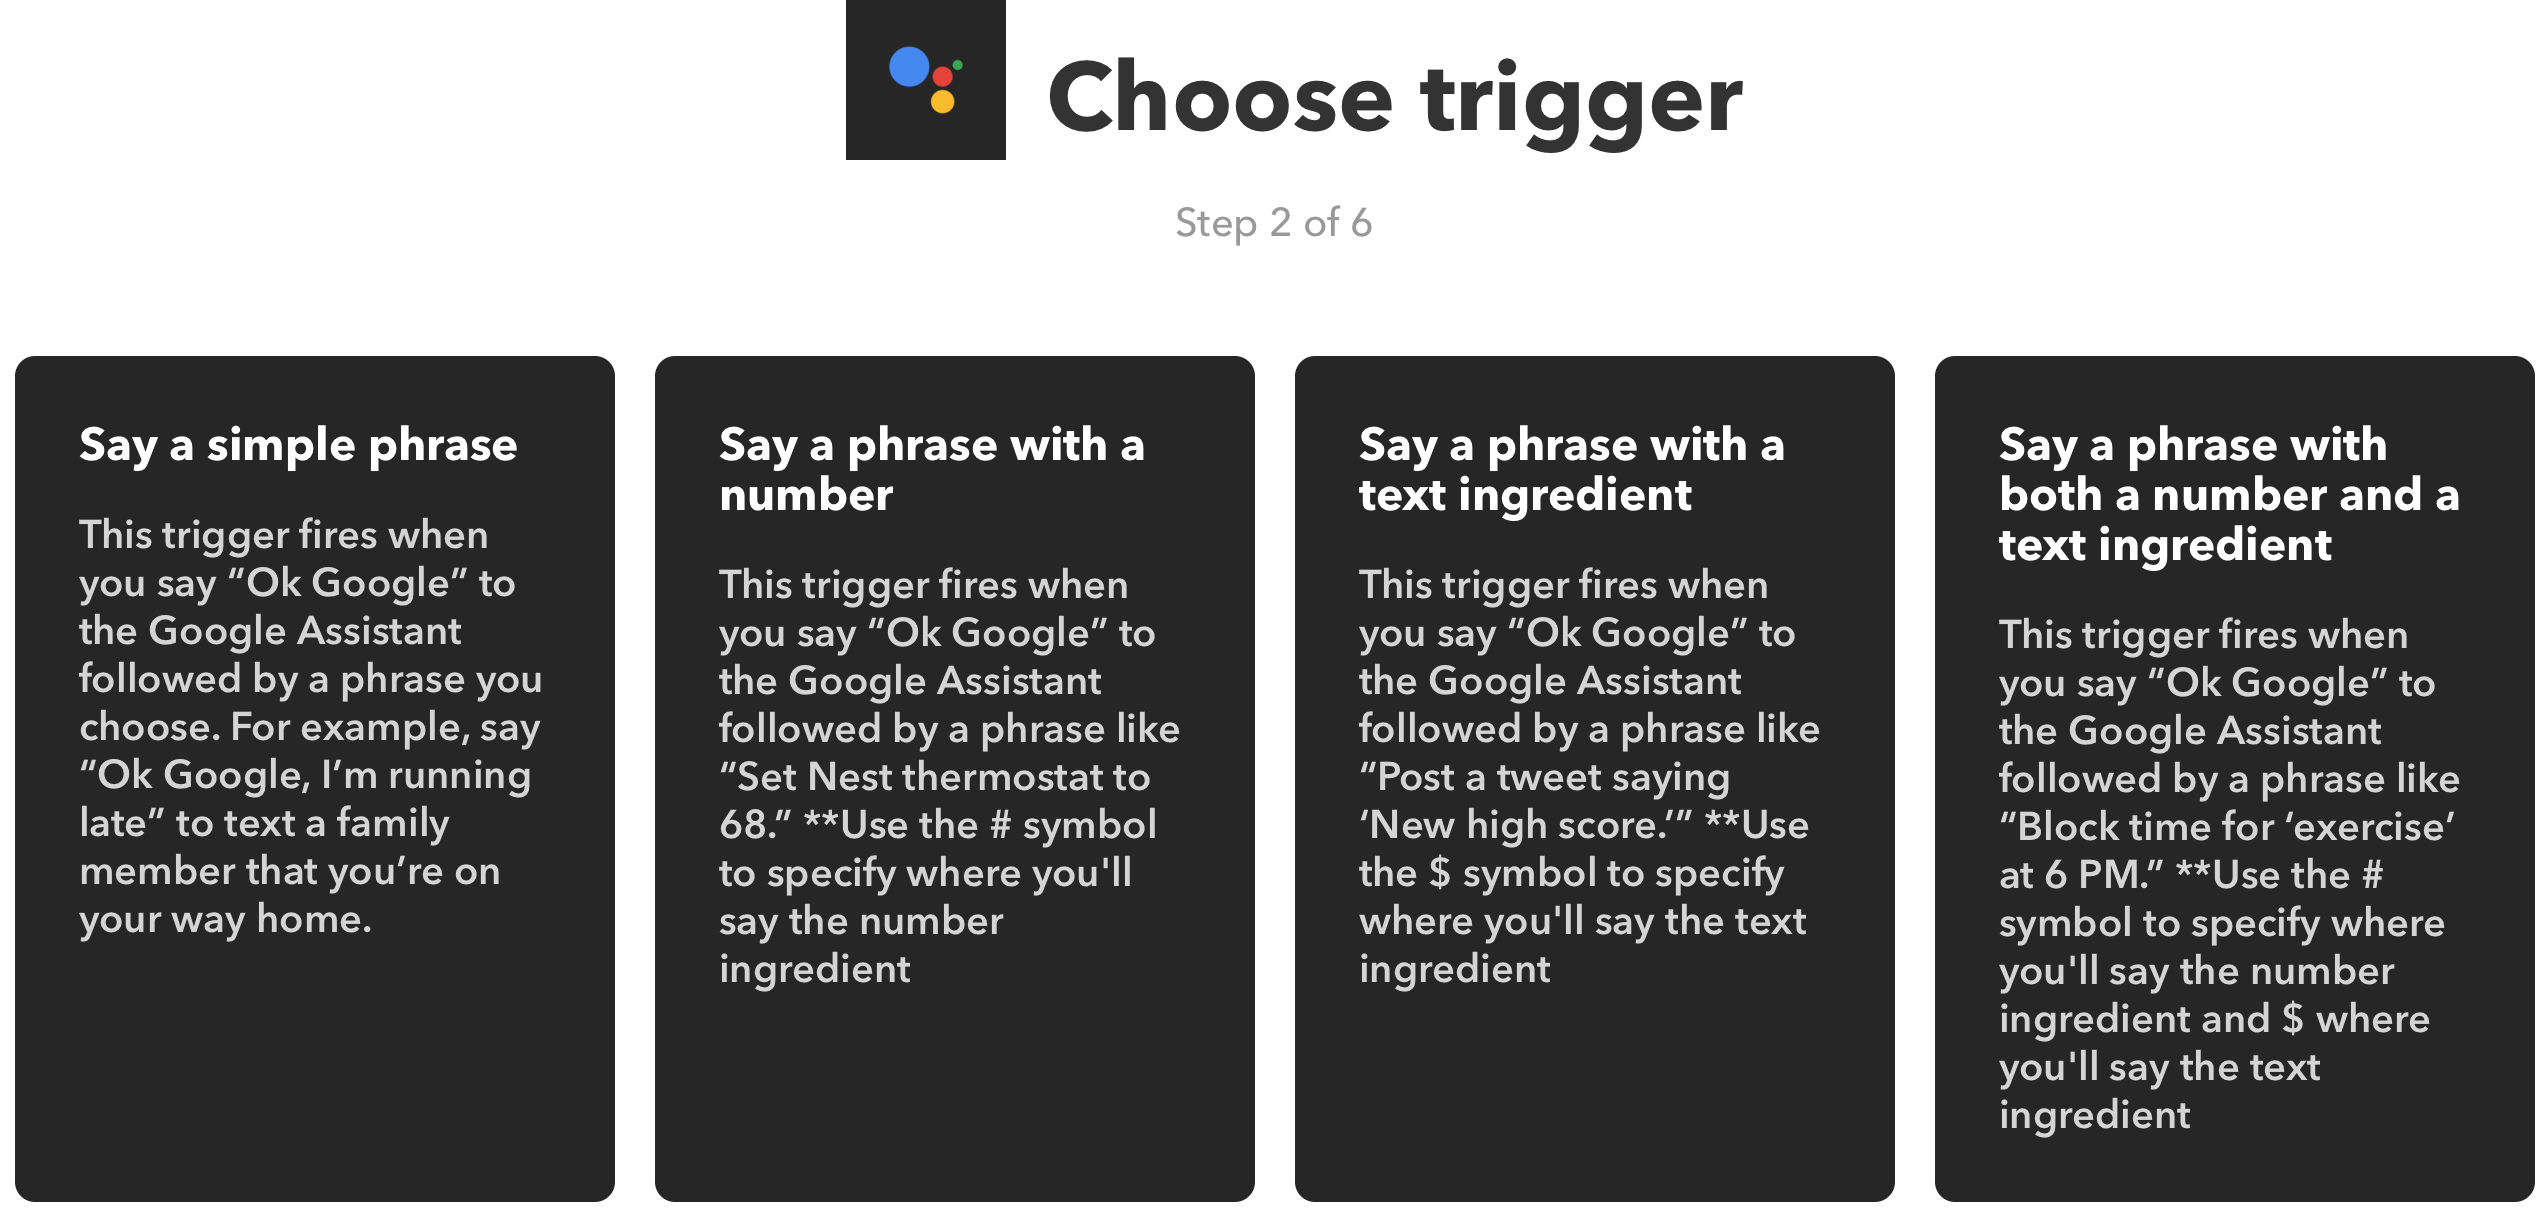
1.8 The next step is to choose a trigger. Click on Say a simple phrase
1.9 Now we will put in the phrases that Google Home should trigger on.
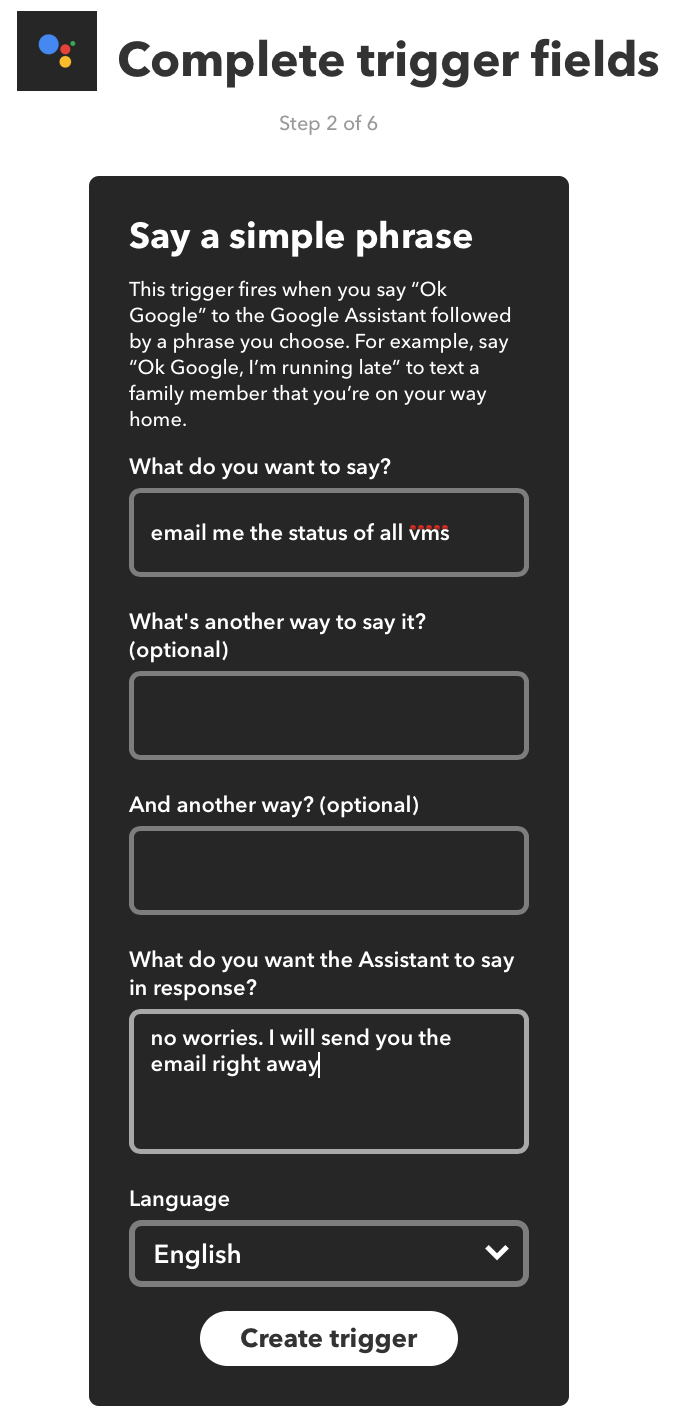
For
- What do you want to say? enter “email me the status of all vms“
- What do you want the Assistant to say in response? enter “no worries, I will send you the email right away“
All the other sections are optional, however you can fill them if you prefer to do so
Click Create trigger
1.10 You will be returned to the recipe editor. To choose the action service, click on + that

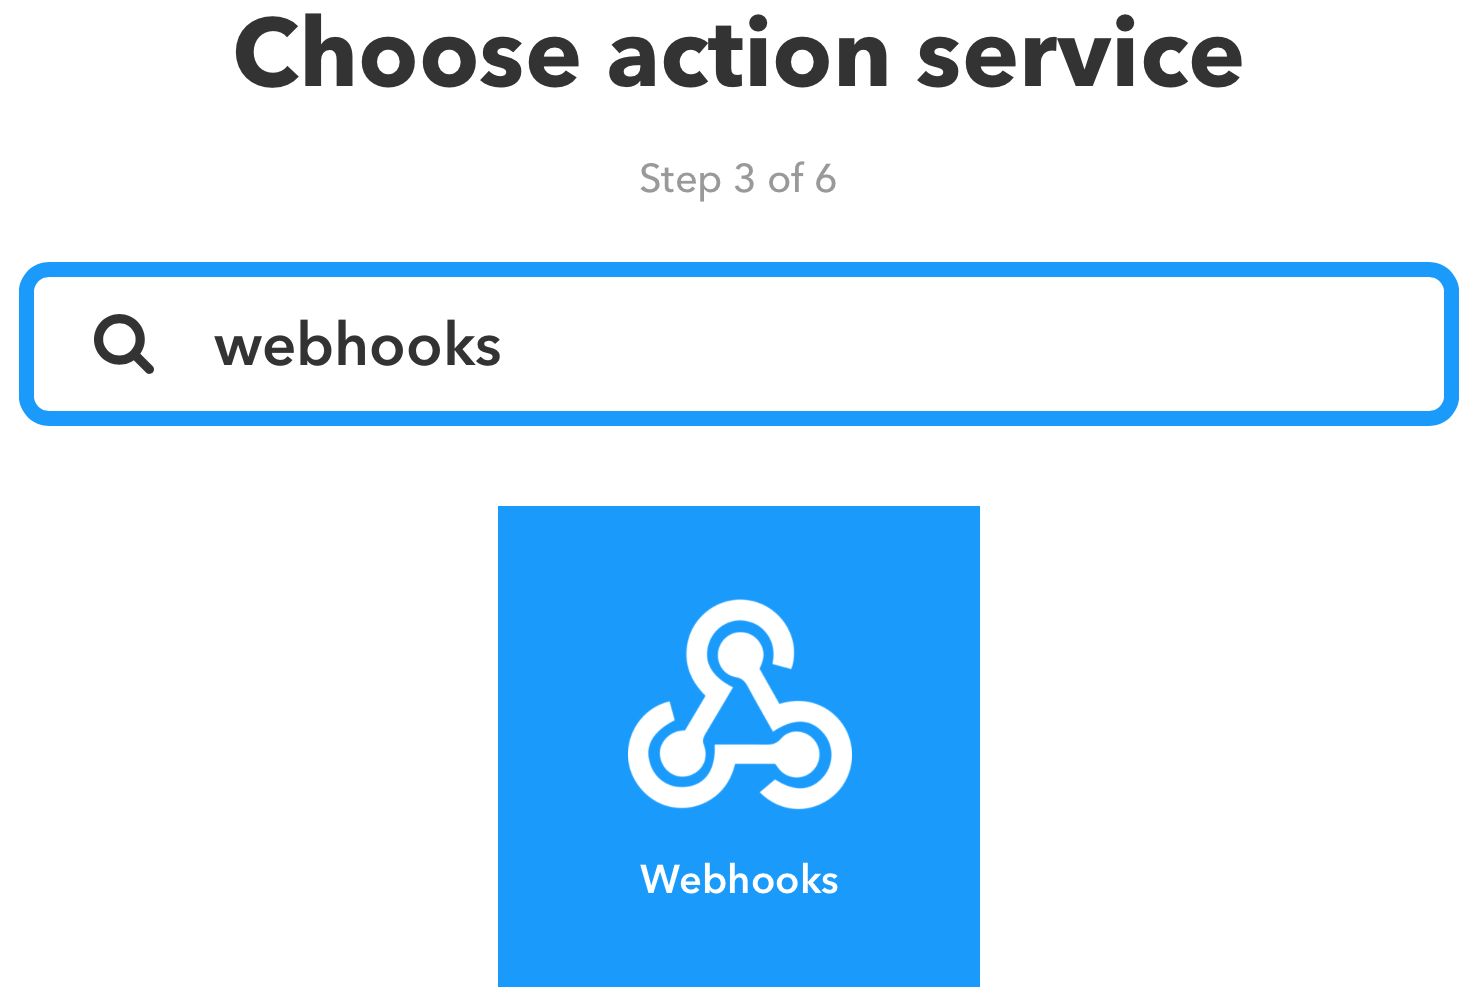
1.11 Under Choose action service, type webhooks. From the results, click on Webhooks
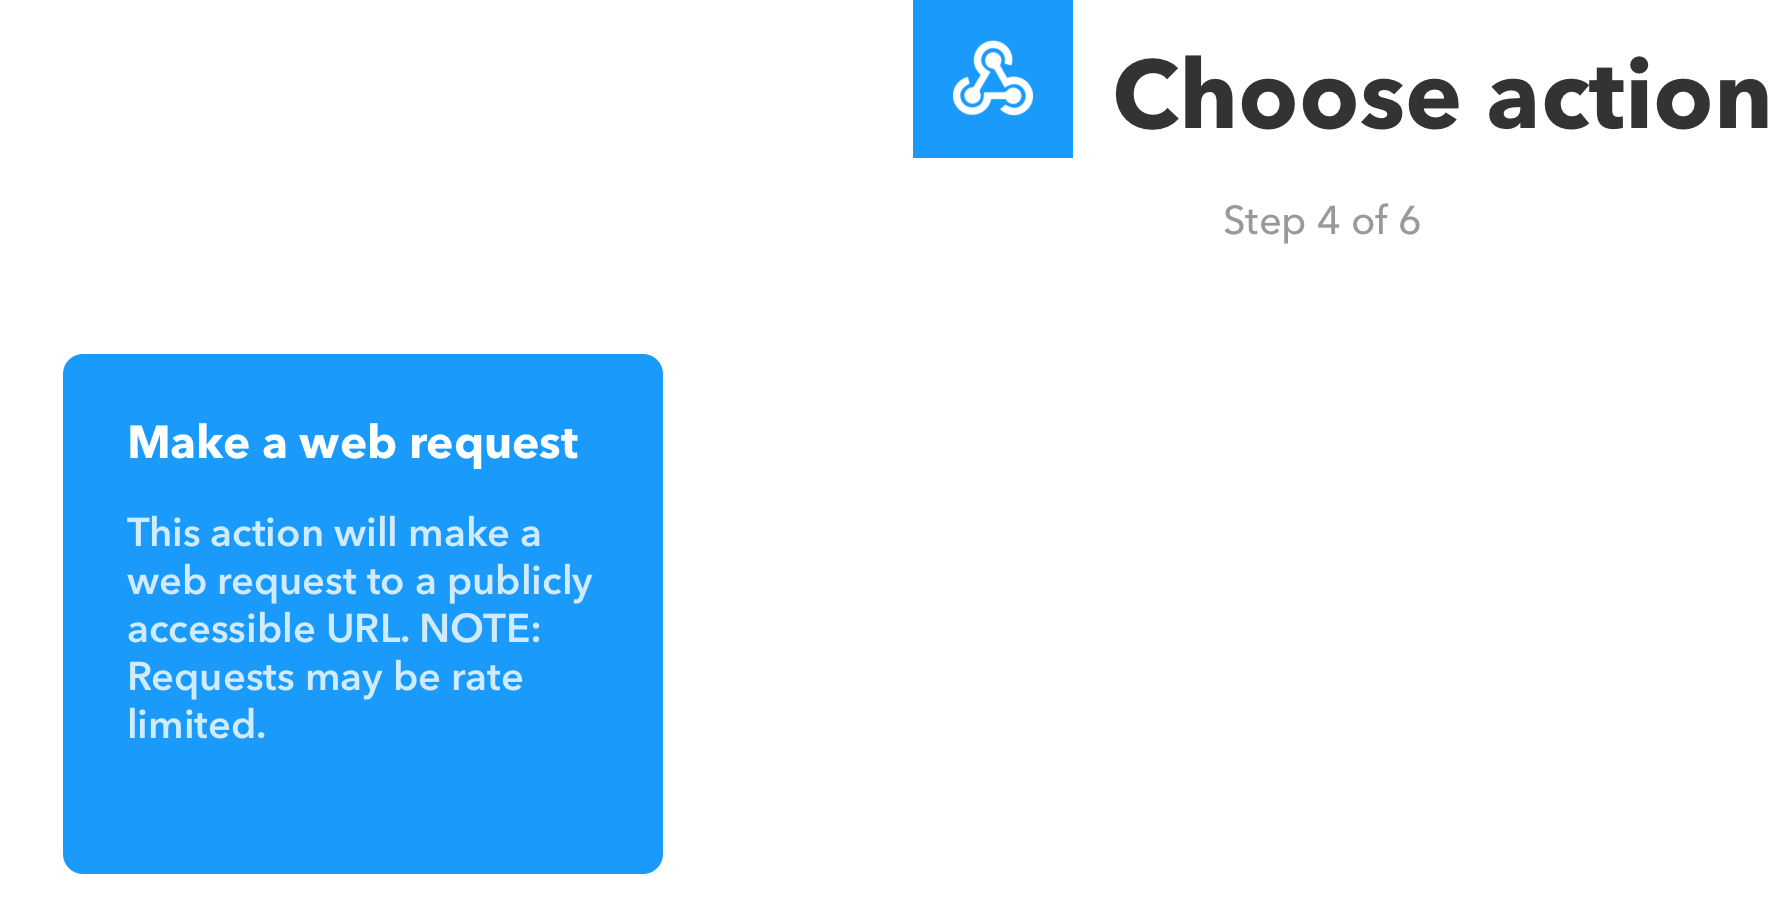
1.12 Then for Choose action click on Make a web request
1.13 Next the Complete action fields screen is shown.
For
- URL – paste the webhook url of the runbook that you had copied in the previous blog
- Method – change this to POST
- Content Type – change this to application/json
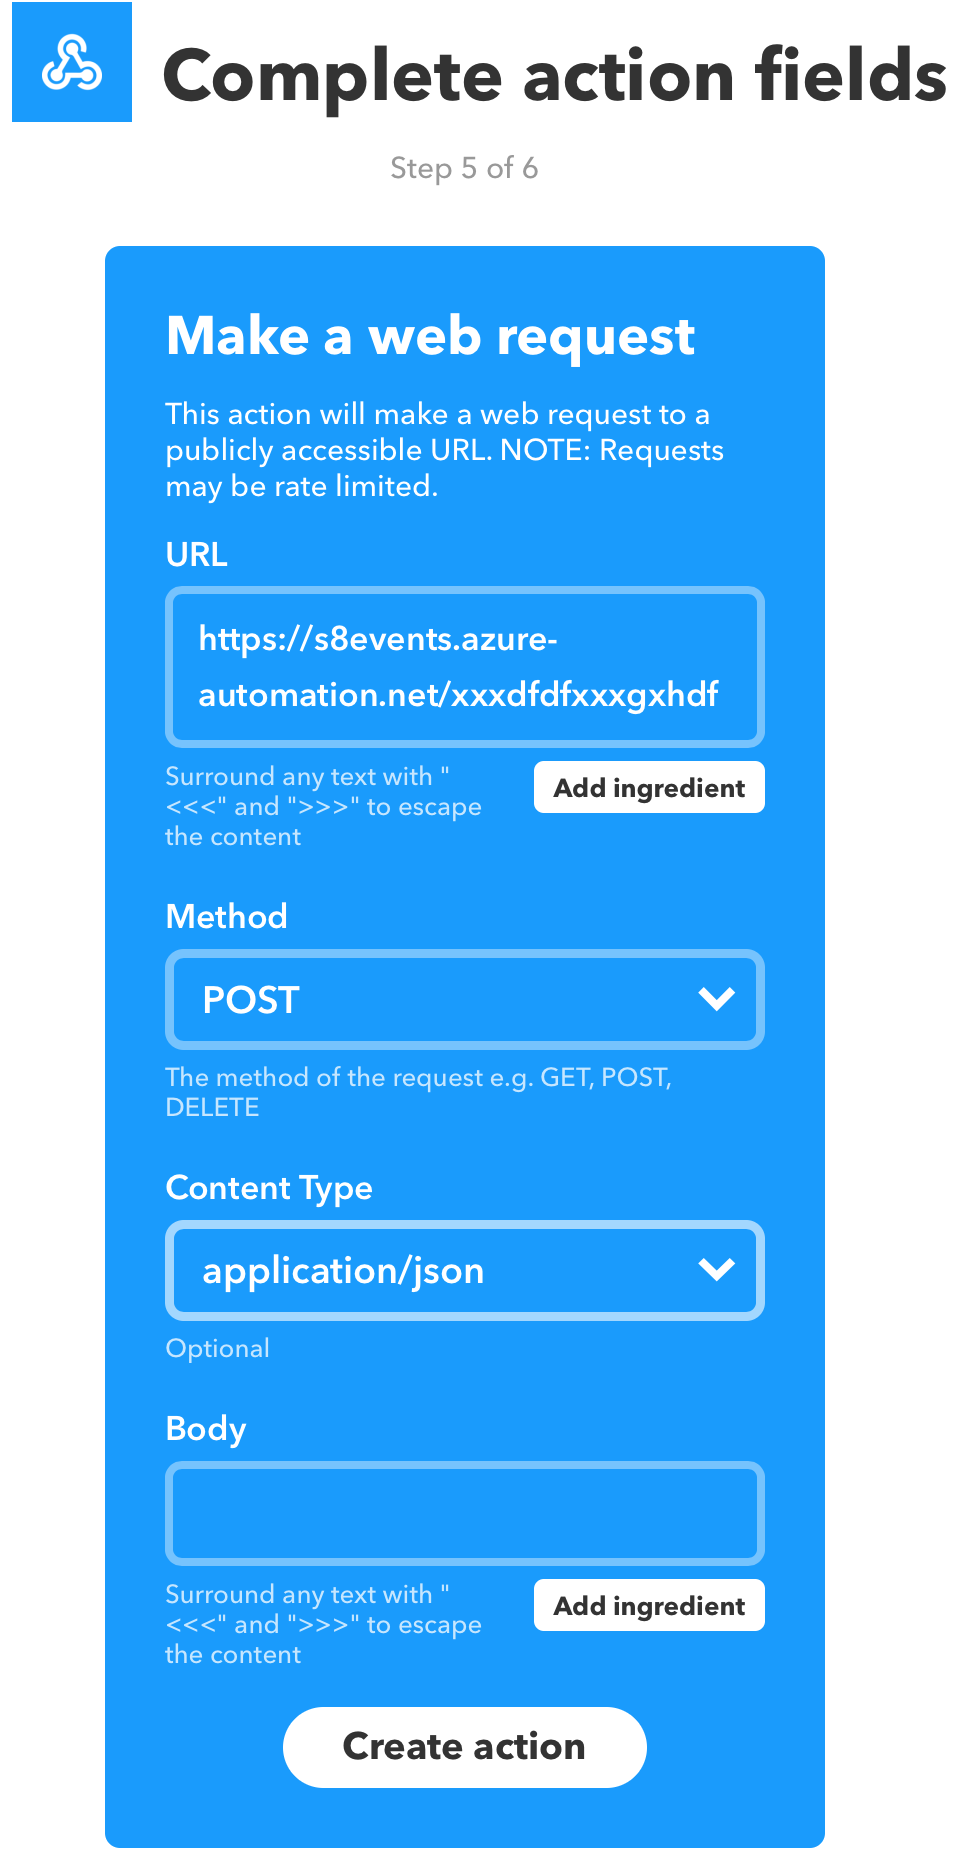
Click Create action
1.13 In the next screen, click Finish
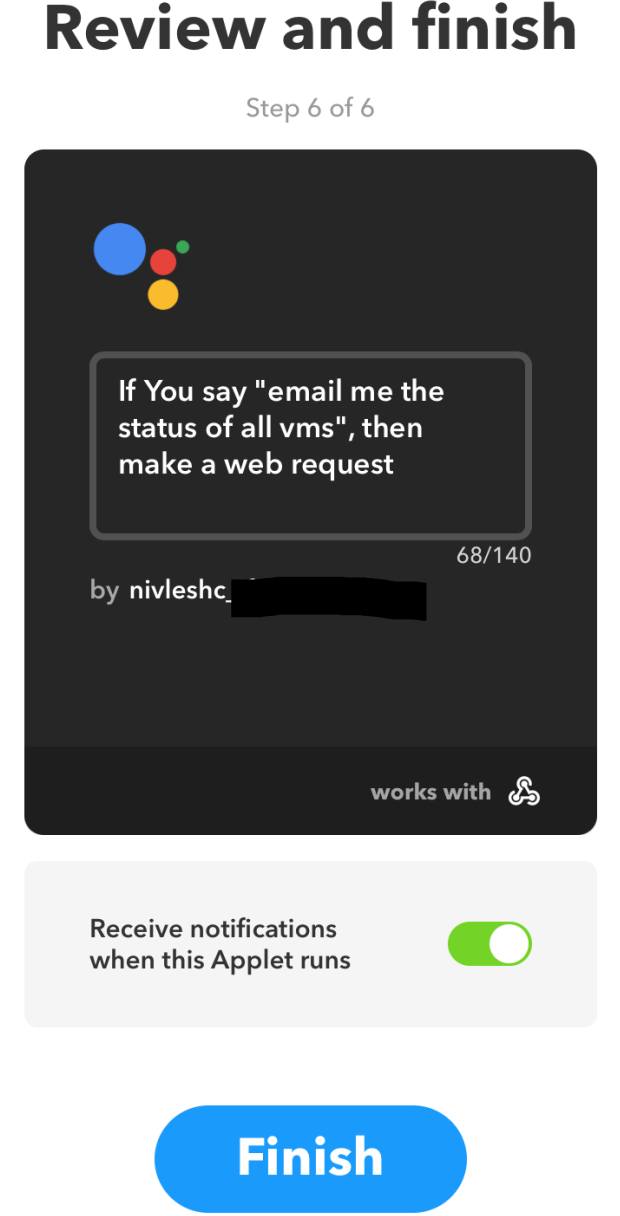
Woo hoo. Everything is now complete. Lets do some testing.
Go to your Google Home and say “email me the status of all vms”. Google Home should reply by saying “no worries. I will send you the email right away”.
I have noticed some delays in receiving the email, however the most I have had to wait for is 5 minutes. If this is unacceptable, in the runbook script, modify the Send-MailMessage command by adding the parameter -Priority High. This sends all emails with high priority, which should make things faster. Also, the runbook is currently running in Azure. Better performance might be achieved by using Hybrid Runbook Workers
To monitor the status of the automation jobs, or to access their logs, in the Azure Automation Account, click on Jobs in the left hand side menu. Clicking on any one of the jobs shown will provide more information about that particular job. This can be helpful during troubleshooting.

There you go. All done. I hope you enjoy this additional task you can now do with your Google Home.
If you don’t own a Google Home yet, you can do the above automation using Google Assistant as well.
