First published at https://nivleshc.wordpress.com
Technology is evolving at a breathtaking pace. For instance, the phone in your pocket has more grunt than the desktop computers of 10 years ago!
One of the upcoming areas in Computing Science is Artificial Intelligence. What seemed science fiction in the days of Isaac Asimov, when he penned I, Robot seems closer to reality now.
Lately the market is popping up with virtual assistants from the likes of Apple, Amazon and Google. These are “bots” that use Artificial Intelligence to help us with our daily lives, from telling us about the weather, to reminding us about our shopping lists or letting us know when our next train will be arriving. I still remember my first virtual assistant Prody Parrot, which hardly did much when you compare it to Siri, Alexa or Google Assistant.
I decided to test drive one of these virtual assistants, and so purchased a Google Home. First impressions, it is an awesome device with a lot of good things going for it. If only it came with a rechargeable battery instead of a wall charger, it would have been even more awesome. Well maybe in the next version (Google here’s a tip for your next version 😉 )
Having played with Google Home for a bit, I decided to look at ways of integrating it with Azure, and I was pleasantly surprised.
In this two-part blog, I will show you how you can use Google Home to send an email with the status of all your Azure virtual machines. This functionality can be extended to stop or start all virtual machines, however I would caution against NOT doing this in your production environment, incase you turn off some machine that is running critical workloads.
In this first blog post, we will setup the backend systems to achieve the tasks and in the next blog post, we will connect it to Google Home.
The diagram below shows how we will achieve what we have set out to do.
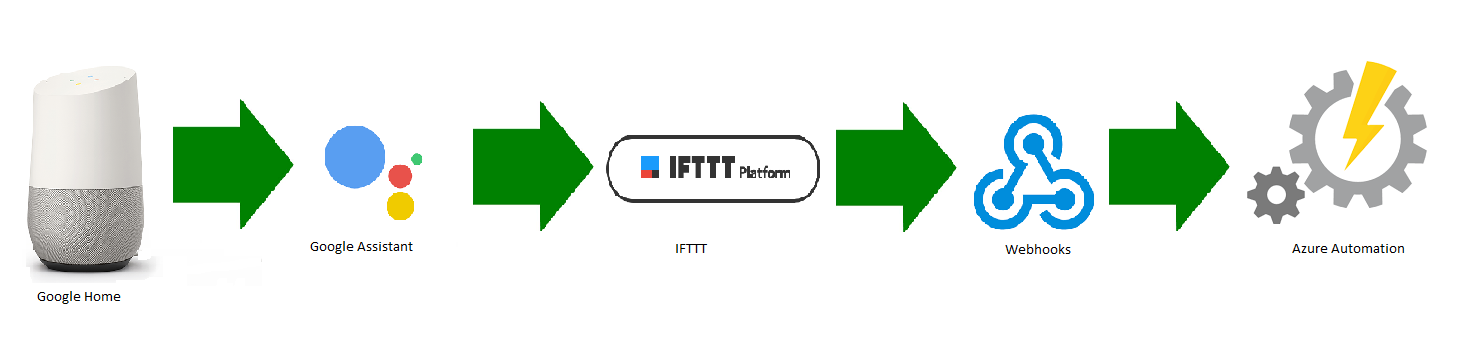
Below is a list of tasks that will happen
- Google Home will trigger when we say “Ok Google email me the status of all vms”
- As Google Home uses Google Assistant, it will pass the request to the IFTTT service
- IFTTT will then trigger the webhooks service to call a webhook url attached to an Azure Automation Runbook
- A job for the specified runbook will then be queued up in Azure Automation.
- The runbook job will then run, and obtain a status of all vms.
- The output will be emailed to the designated recipient
Ok, enough talking 😉 lets start cracking.
1. Create an Azure AD Service Principal Account
In order to run our Azure Automation runbook, we need to create a security object for it to run under. This security object provides permissions to access the azure resources. For our purposes, we will be using a service principal account.
Assuming you have already installed the Azure PowerShell module, run the following in a PowerShell session to login to Azure
Import-Module AzureRm
Login-AzureRmAccount
Next, to create an Azure AD Application, run the following command
$adApp = New-AzureRmADApplication -DisplayName "DisplayName" -HomePage "HomePage" -IdentifierUris "http://IdentifierUri" -Password "Password"
where
DisplayName is the display name for your AD Application eg “Google Home Automation”
HomePage is the home page for your application eg http://googlehome (or you can ignore the -HomePage parameter as it is optional)
IdentifierUri is the URI that identifies the application eg http://googleHomeAutomation
Password is the password you will give the service principal account
Now, lets create the service principle for the Azure AD Application
New-AzureRmADServicePrincipal -ApplicationId $adApp.ApplicationId
Next, we will give the service principal account read access to the Azure tenant. If you need something more restrictive, please find the appropriate role from https://docs.microsoft.com/en-gb/azure/active-directory/role-based-access-built-in-roles
New-AzureRmRoleAssignment -RoleDefinitionName Reader -ServicePrincipalName $adApp.ApplicationId
Great, the service principal account is now ready. The username for your service principal is actually the ApplicationId suffixed by your Azure AD domain name. To get the Application ID run the following by providing the identifierUri that was supplied when creating it above
Get-AzureRmADApplication -IdentifierUri {identifierUri}
Just to be pedantic, lets check to ensure we can login to Azure using the newly created service principal account and the password. To test, run the following commands (when prompted, supply the username for the service principal account and the password that was set when it was created above)
$cred = Get-Credential
Login-AzureRmAccount -Credential $cred -ServicePrincipal -TenantId {TenantId}
where Tenantid is your Azure Tenant’s ID
If everything was setup properly, you should now be logged in using the service principal account.
2. Create an Azure Automation Account
Next, we need an Azure Automation account.
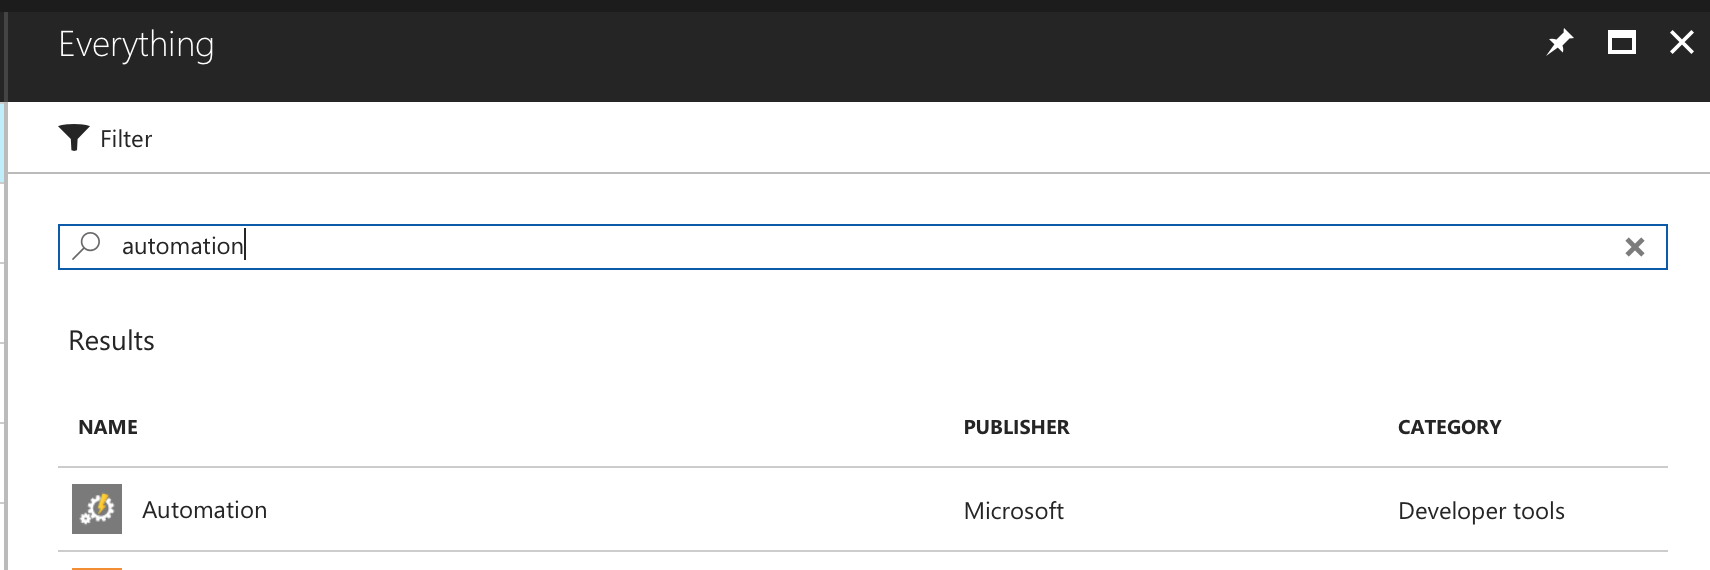
2.1 Login to the Azure Portal and then click New

2.2 Then type Automation and click search. From the results click the following.
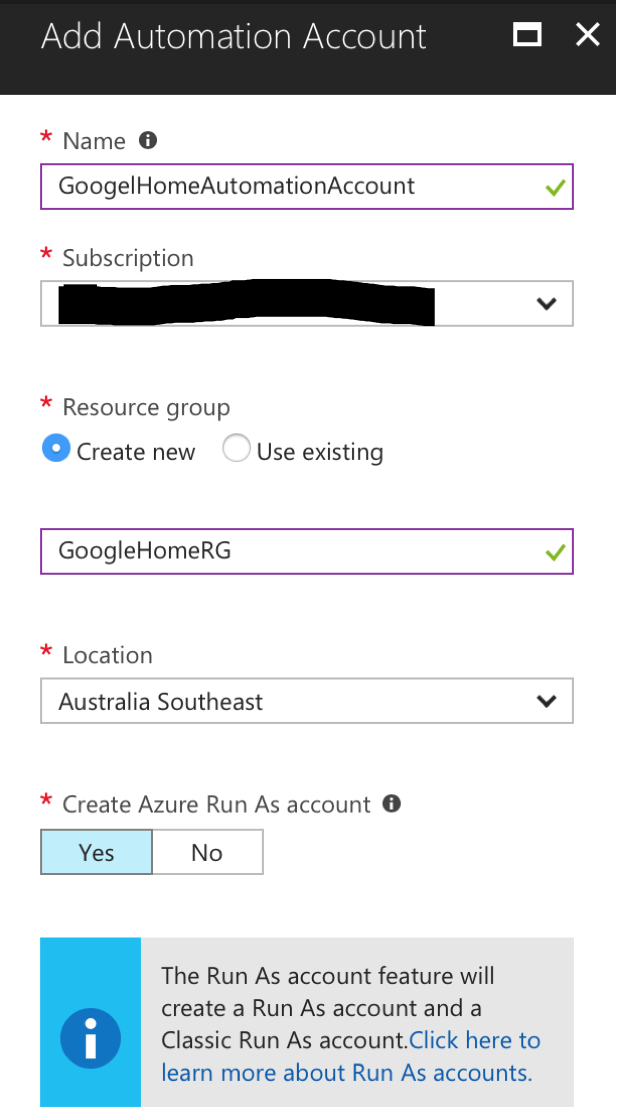
2.3 In the next screen, click Create
2.4 Next, fill in the appropriate details and click Create
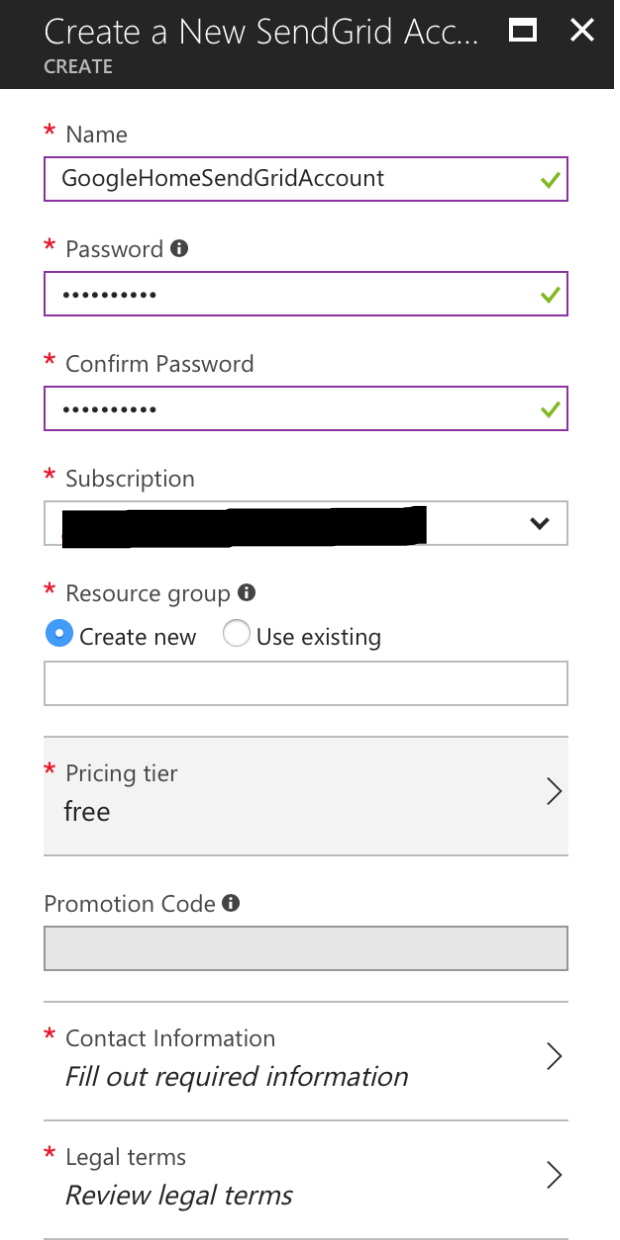
3. Create a SendGrid Account
Unfortunately Azure doesn’t provide relay servers that can be used by scripts to email out. Instead you have to either use EOP (Exchange Online Protection) servers or SendGrid to achieve this. SendGrid is an Email Delivery Service that Azure provides, and you need to create an account to use it. For our purposes, we will use the free tier, which allows the delivery of 2500 emails per month, which is plenty for us.
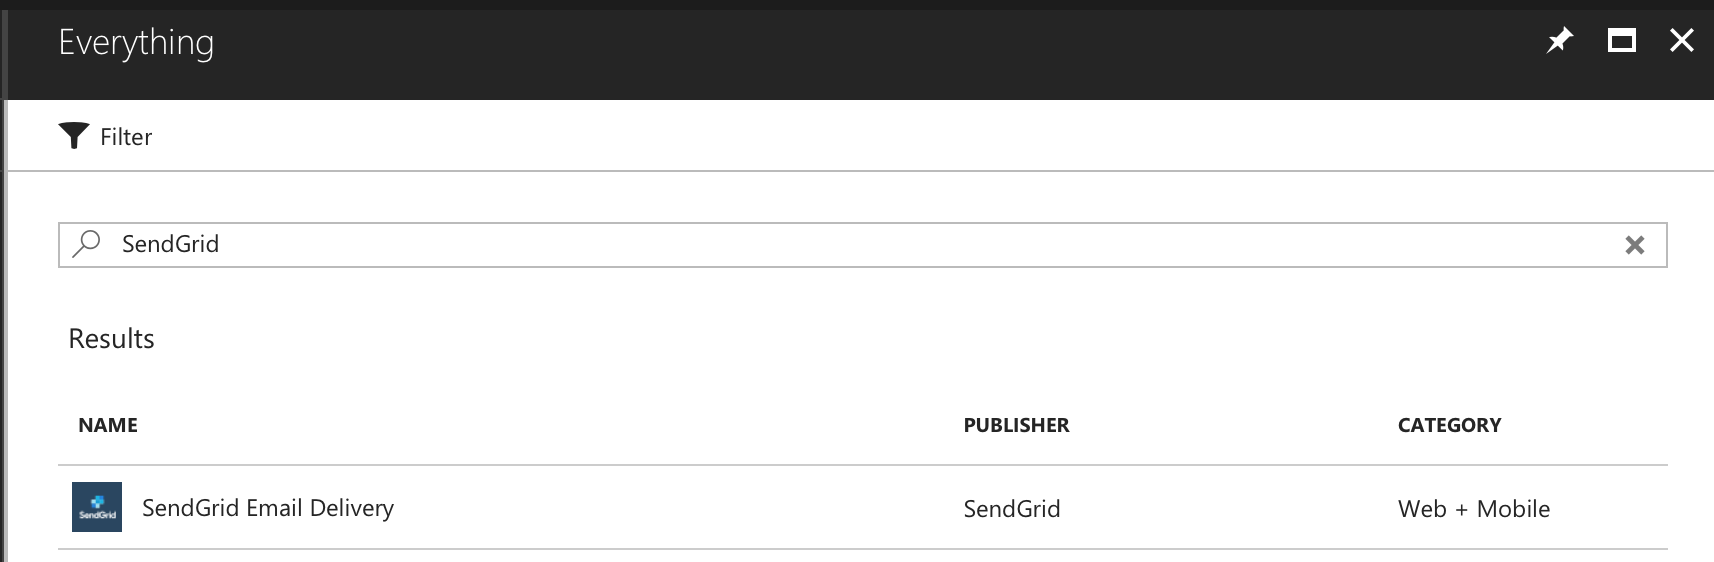
3.1 In the Azure Portal, click New
3.2 Then search for SendGrid in the marketplace and click on the following result. Next click Create
3.3 In the next screen, for the pricing tier, select the free tier and then fill in the required details and click Create.
4. Configure the Automation Account
Inside the Automation Account, we will be creating a Runbook that will contain our PowerShell script that will do all the work. The script will be using the Service Principal and SendGrid accounts. To ensure we don’t expose their credentials inside the PowerShell script, we will store them in the Automation Account under Credentials, and then access them from inside our PowerShell script.
4.1 Go into the Automation Account that you had created.
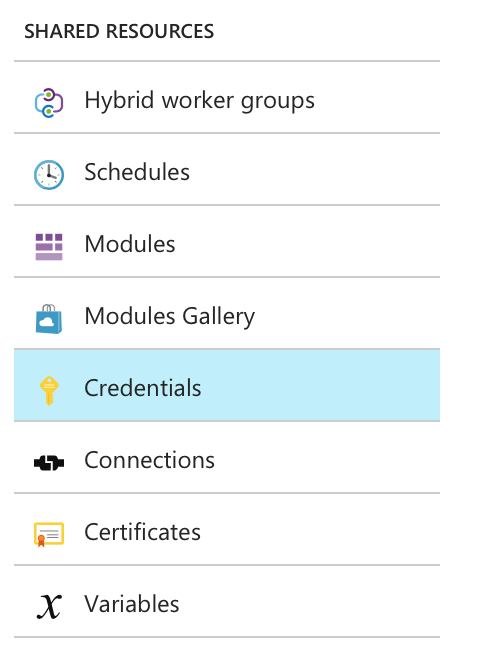
4.2 Under Shared Resource click Credentials
4.3 Click on Add a credential and then fill in the details for the Service Principal account. Then click Create
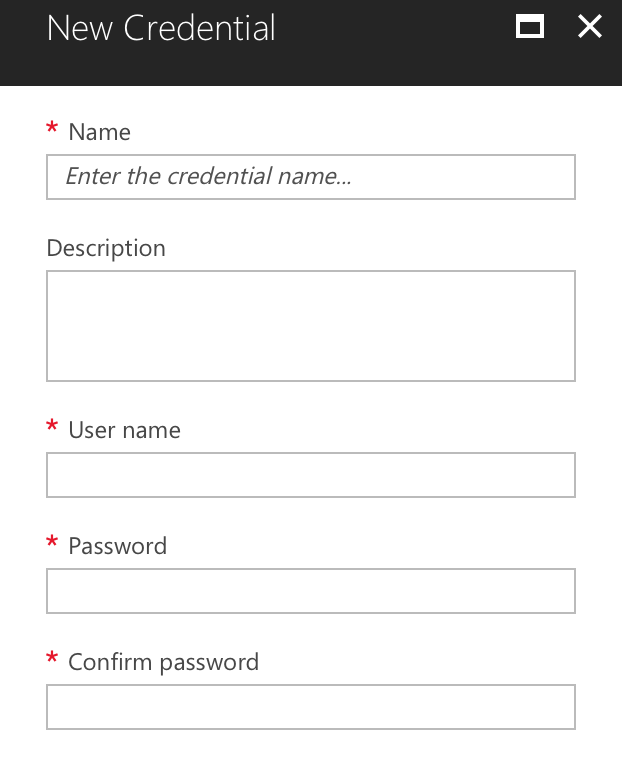
4.4 Repeat step 4.3 above to add the SendGrid account
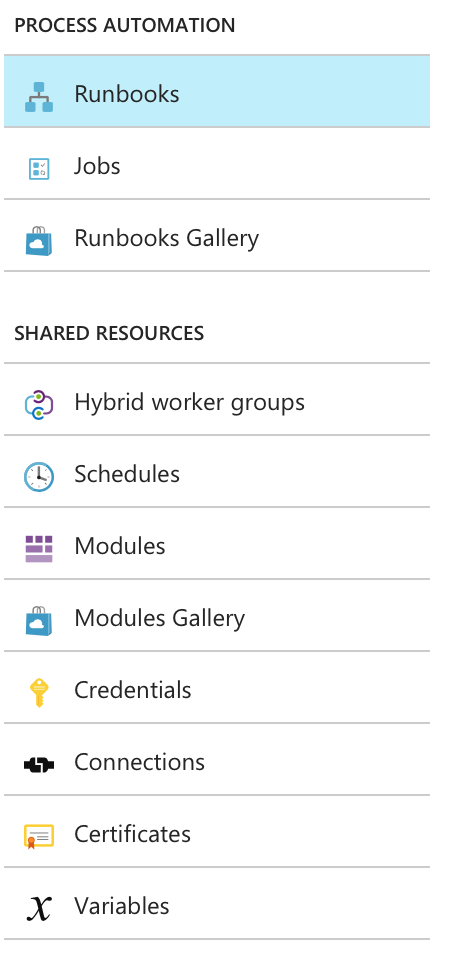
4.5 Now that the Credentials have been stored, under Process Automation click Runbooks
Then click Add a runbook and in the next screen click Create a new runbook
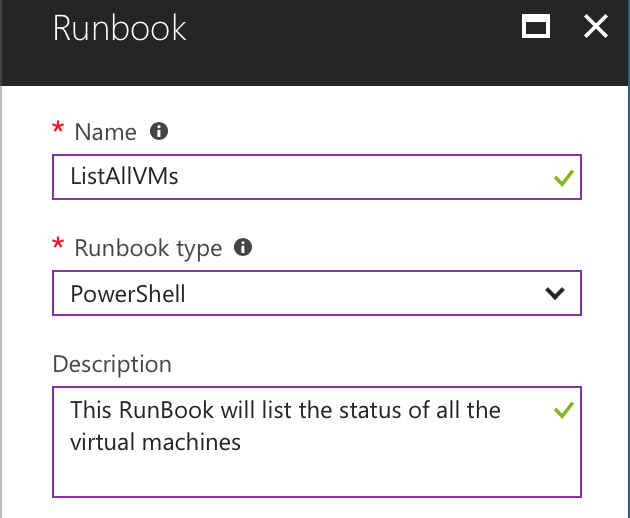
4.6 Give the runbook an appropriate name. Change the Runbook Type to PowerShell. Click Create
4.7 Once the Runbook has been created, paste the following script inside it, click on Save and then click on Publish
Import-Module Azure
$cred = Get-AutomationPSCredential -Name 'Service Principal account'
$mailerCred = Get-AutomationPSCredential -Name 'SendGrid account'
Login-AzureRmAccount -Credential $cred -ServicePrincipal -TenantID {tenantId}
$outputFile = $env:TEMP+ "\AzureVmStatus.html"
$vmarray = @()
#Get a list of all vms
Write-Output "Getting a list of all VMs"
$vms = Get-AzureRmVM
$total_vms = $vms.count
Write-Output "Done. VMs Found $total_vms"
$index = 0
# Add info about VM's to the array
foreach ($vm in $vms){
 $index++
 Write-Output "Processing VM $index/$total_vms"
 # Get VM Status
 $vmstatus = Get-AzurermVM -Name $vm.Name -ResourceGroupName $vm.ResourceGroupName -Status
# Add values to the array:
 $vmarray += New-Object PSObject -Property ([ordered]@{
 ResourceGroupName=$vm.ResourceGroupName
 Name=$vm.Name
 OSType=$vm.StorageProfile.OSDisk.OSType
 PowerState=(get-culture).TextInfo.ToTitleCase(($vmstatus.statuses)[1].code.split("/")[1])
 })
}
$vmarray | Sort-Object PowerState,OSType -Desc
Write-Output "Converting Output to HTML"
$vmarray | Sort-Object PowerState,OSType -Desc | ConvertTo-Html | Out-File $outputFile
Write-Output "Converted"
$fromAddr = "senderEmailAddress"
$toAddr = "recipientEmailAddress"
$subject = "Azure VM Status as at " + (Get-Date).toString()
$smtpServer = "smtp.sendgrid.net"
Write-Output "Sending Email to $toAddr using server $smtpServer"
Send-MailMessage -Credential $mailerCred -From $fromAddr -To $toAddr -Subject $subject -Attachments $outputFile -SmtpServer $smtpServer -UseSsl
Write-Output "Email Sent"
where
- ‘Service Principal Account’ and ‘SendGrid Account’ are the names of the credentials that were created in the Automation Account (include the ‘ ‘ around the name)
- senderEmailAddress is the email address that the email will show it came from. Keep the domain of the email address same as your Azure domain
- recipientEmailAddress is the email address of the recipient who will receive the list of vms
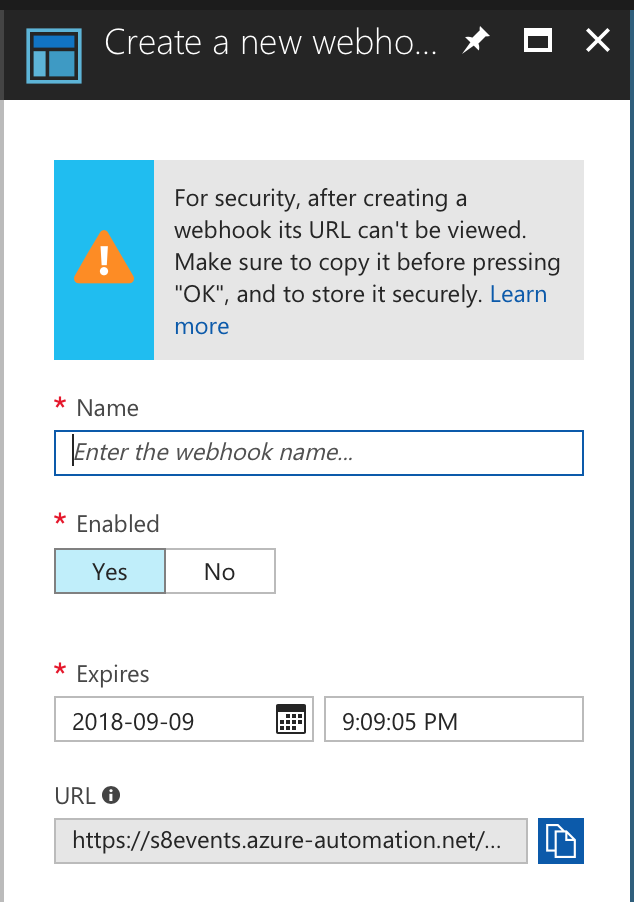
4.8 Next, we will create a Webhook. A webhook is a special URL that will allow us to execute the above script without logging into the Azure Portal. Treat the webhook URL like a password since whoever possesses the webhook can execute the runbook without needing to provide any credentials.
Open the runbook that was just created and from the top menu click on Webhook

4.9 In the next screen click Create new webhook
4.10 A security message will be displayed informing that once the webhook has been created, the URL will not be shown anywhere in the Azure Portal. IT IS EXTREMELY IMPORTANT THAT YOU COPY THE WEBHOOK URL BEFORE PRESSING THE OK BUTTON.
Enter a name for the webhook and when you want the webhook to expire. Copy the webhook URL and paste it somewhere safe. Then click OK.
Once the webhook has expired, you can’t use it to trigger the runbook, however before it expires, you can change the expiry date. For security reasons, it is recommended that you don’t keep the webhook alive for a long period of time.
Thats it folks! The stage has been set and we have successfully configured the backend systems to handle our task. Give yourselves a big pat on the back.
Follow me to the next blog, where we will use the above with IFTTT, to bring it all together so that when we say “OK Google, email me the status of all vms”, an email is sent out to us with the status of all the vms 😉
I will see you in Part 2 of this blog. Ciao 😉