In our last article on Amazon Connect, we walked through the process of setting up a new Amazon Connect Tenant. In this article, we are going to set up a basic call flow and a Direct In Dial Number (DID) so that we can start accepting inbound phone calls. Future articles, we will be adding additionality functionality (such as Chatbots and automated scripts) to help automate some of our interactions. This article continues our series on the Amazon Connect contact center as a service.
As always, if there is a particular feature or use case that you’d like to see a blog article on (on this or any other AWS Topic), please post it in the comment section below. We will then do our best to take a detailed look at it and release an article about it.
Getting Started
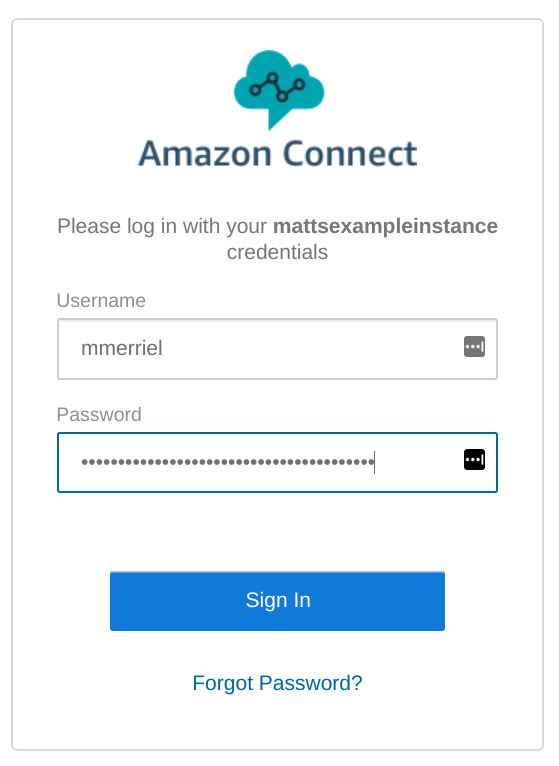
The first thing we need to do in order to set up our connect instance is log in. Configuring our Amazon Connect instance requires us to log in to our Connect app rather than our AWS account. Following on from our previous example, we can browse to https://mattsexampleinstance.awsapps.com/connect/login (replace “mattsexampleinstance” with the name you provided). This URL presents us with a login page, where we can provide the Administrator credentials we defined.
Connect Dashboard
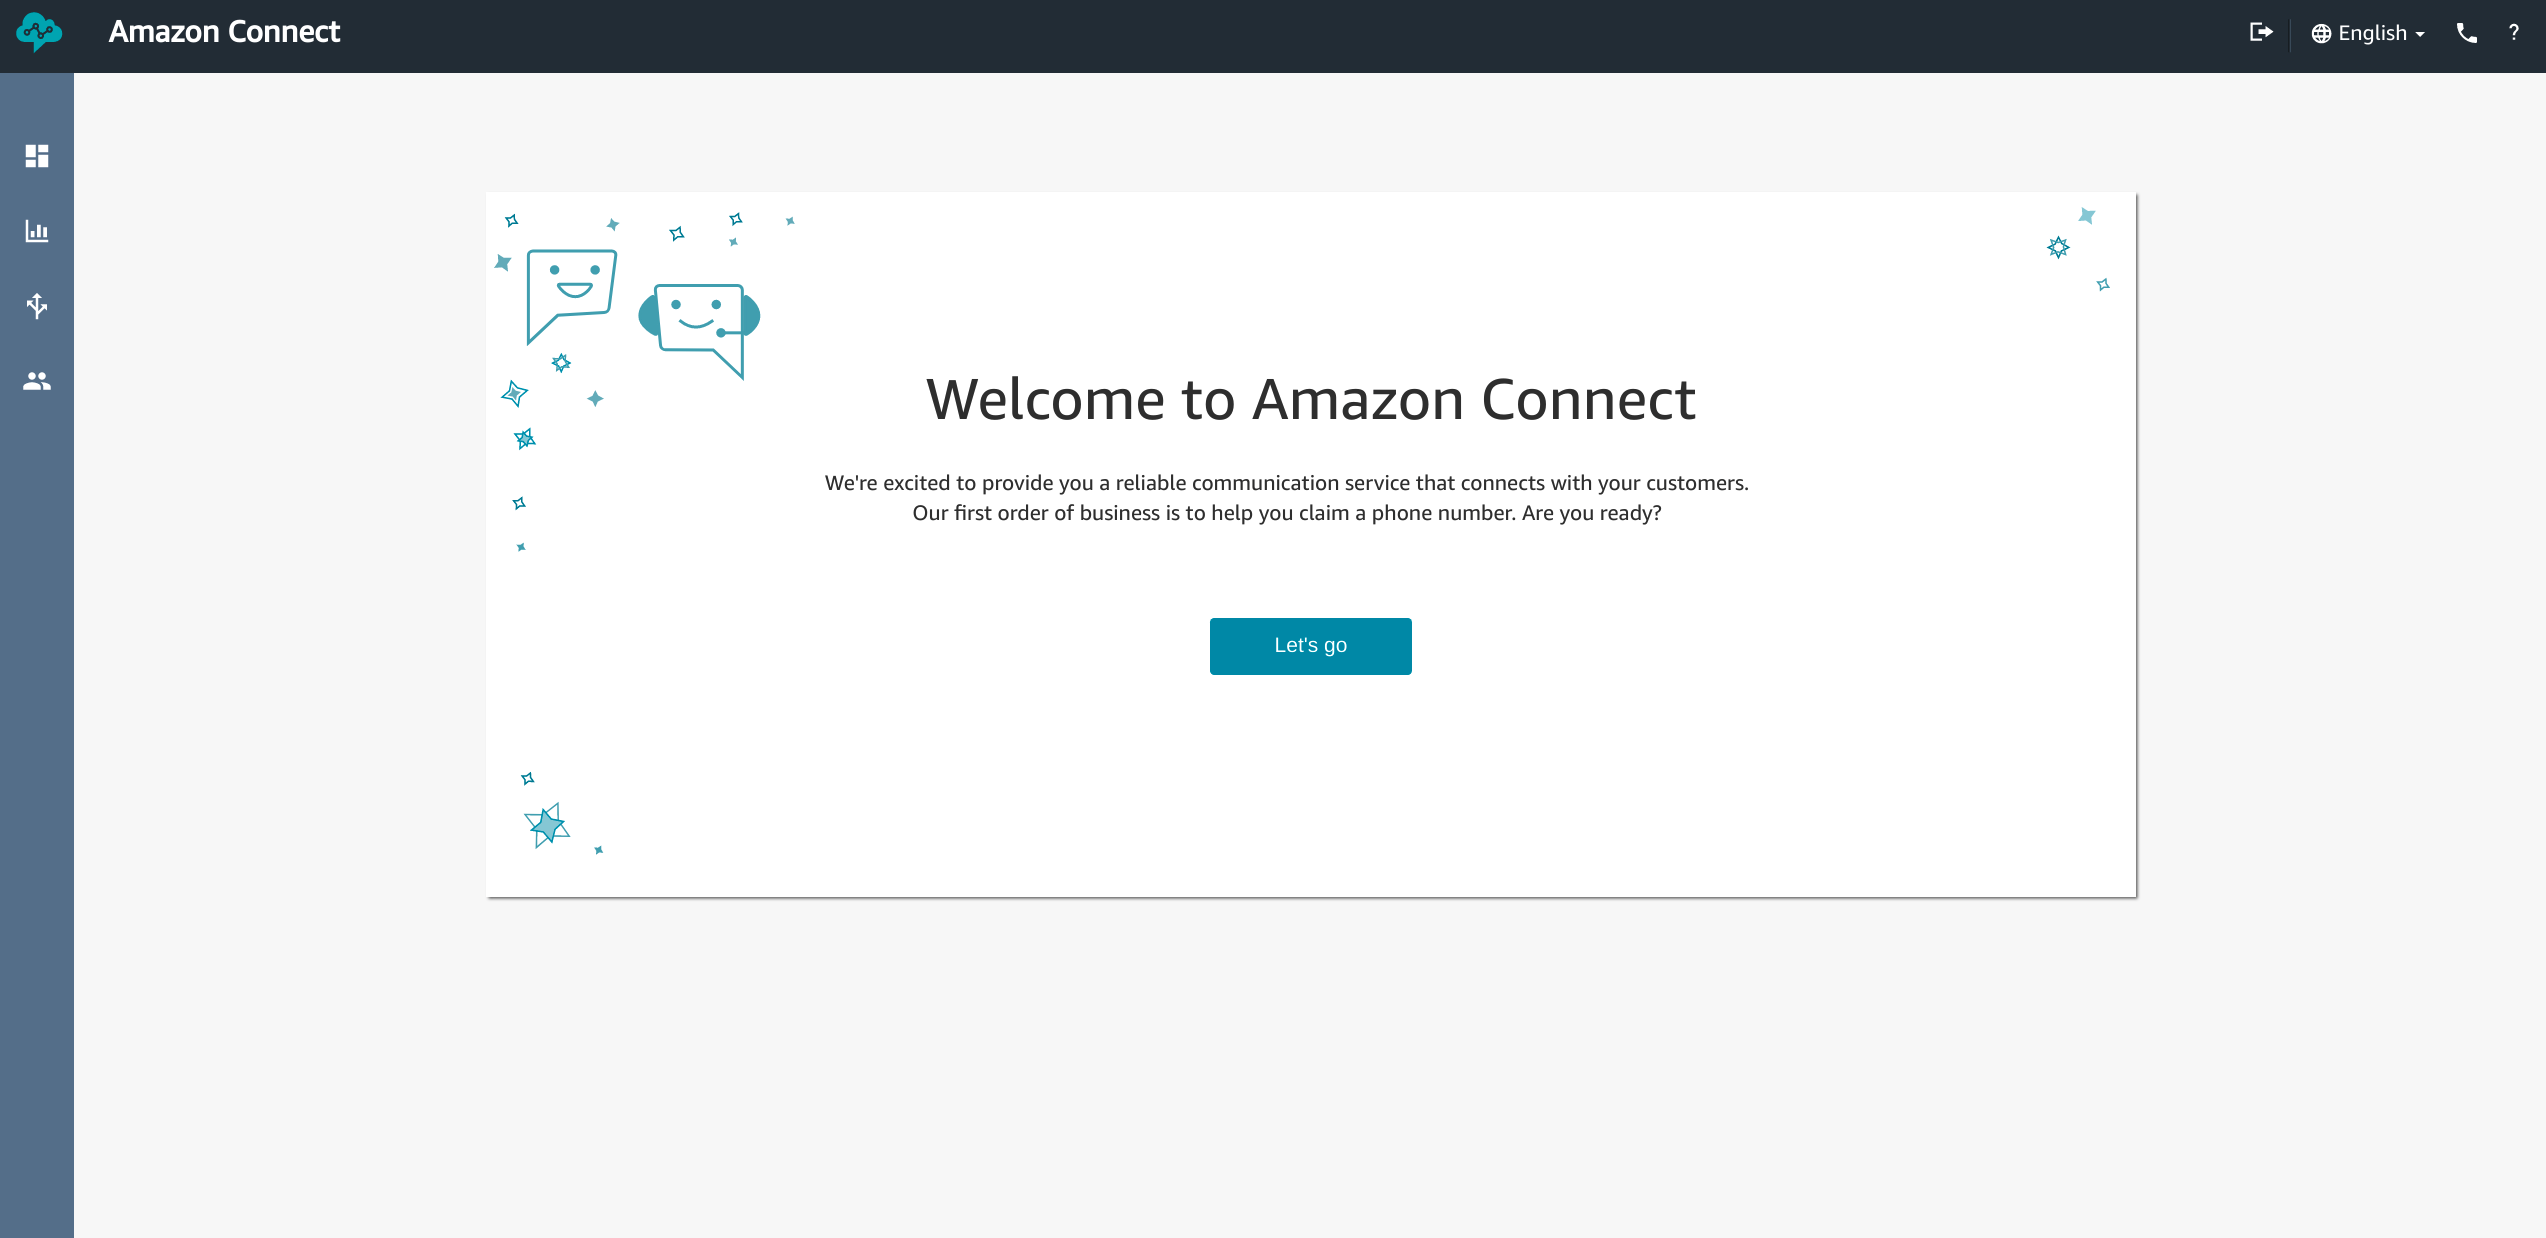
Once logged in to our Connect Instance, you are presented with a Dashboard which allows for configuration of the instance. As shown below, from the left-hand side menu, we have access to the key areas of our new Contact Center:
- Metrics and Quality. This section provides us both real-time and historical reports about the activities occurring throughout our Contact Center. These include details such as online agent details, number of calls currently in our queues, Average Hold Times and drop call rates. You can also create your own reports and schedule them for generation on a regular basis.
- Routing. This menu is the fun one and allows you to configure things such as Phone numbers, Contact Flow, voice prompts, queues and Hours of Operation. This is the section of the tenant we will be focusing on through this article.
- Users. This section allows you to create accounts for your Contact Center Agents, their skill levels (to allow for agent hierarchies), Agent Status and routing profiles which allow for complex call handling.
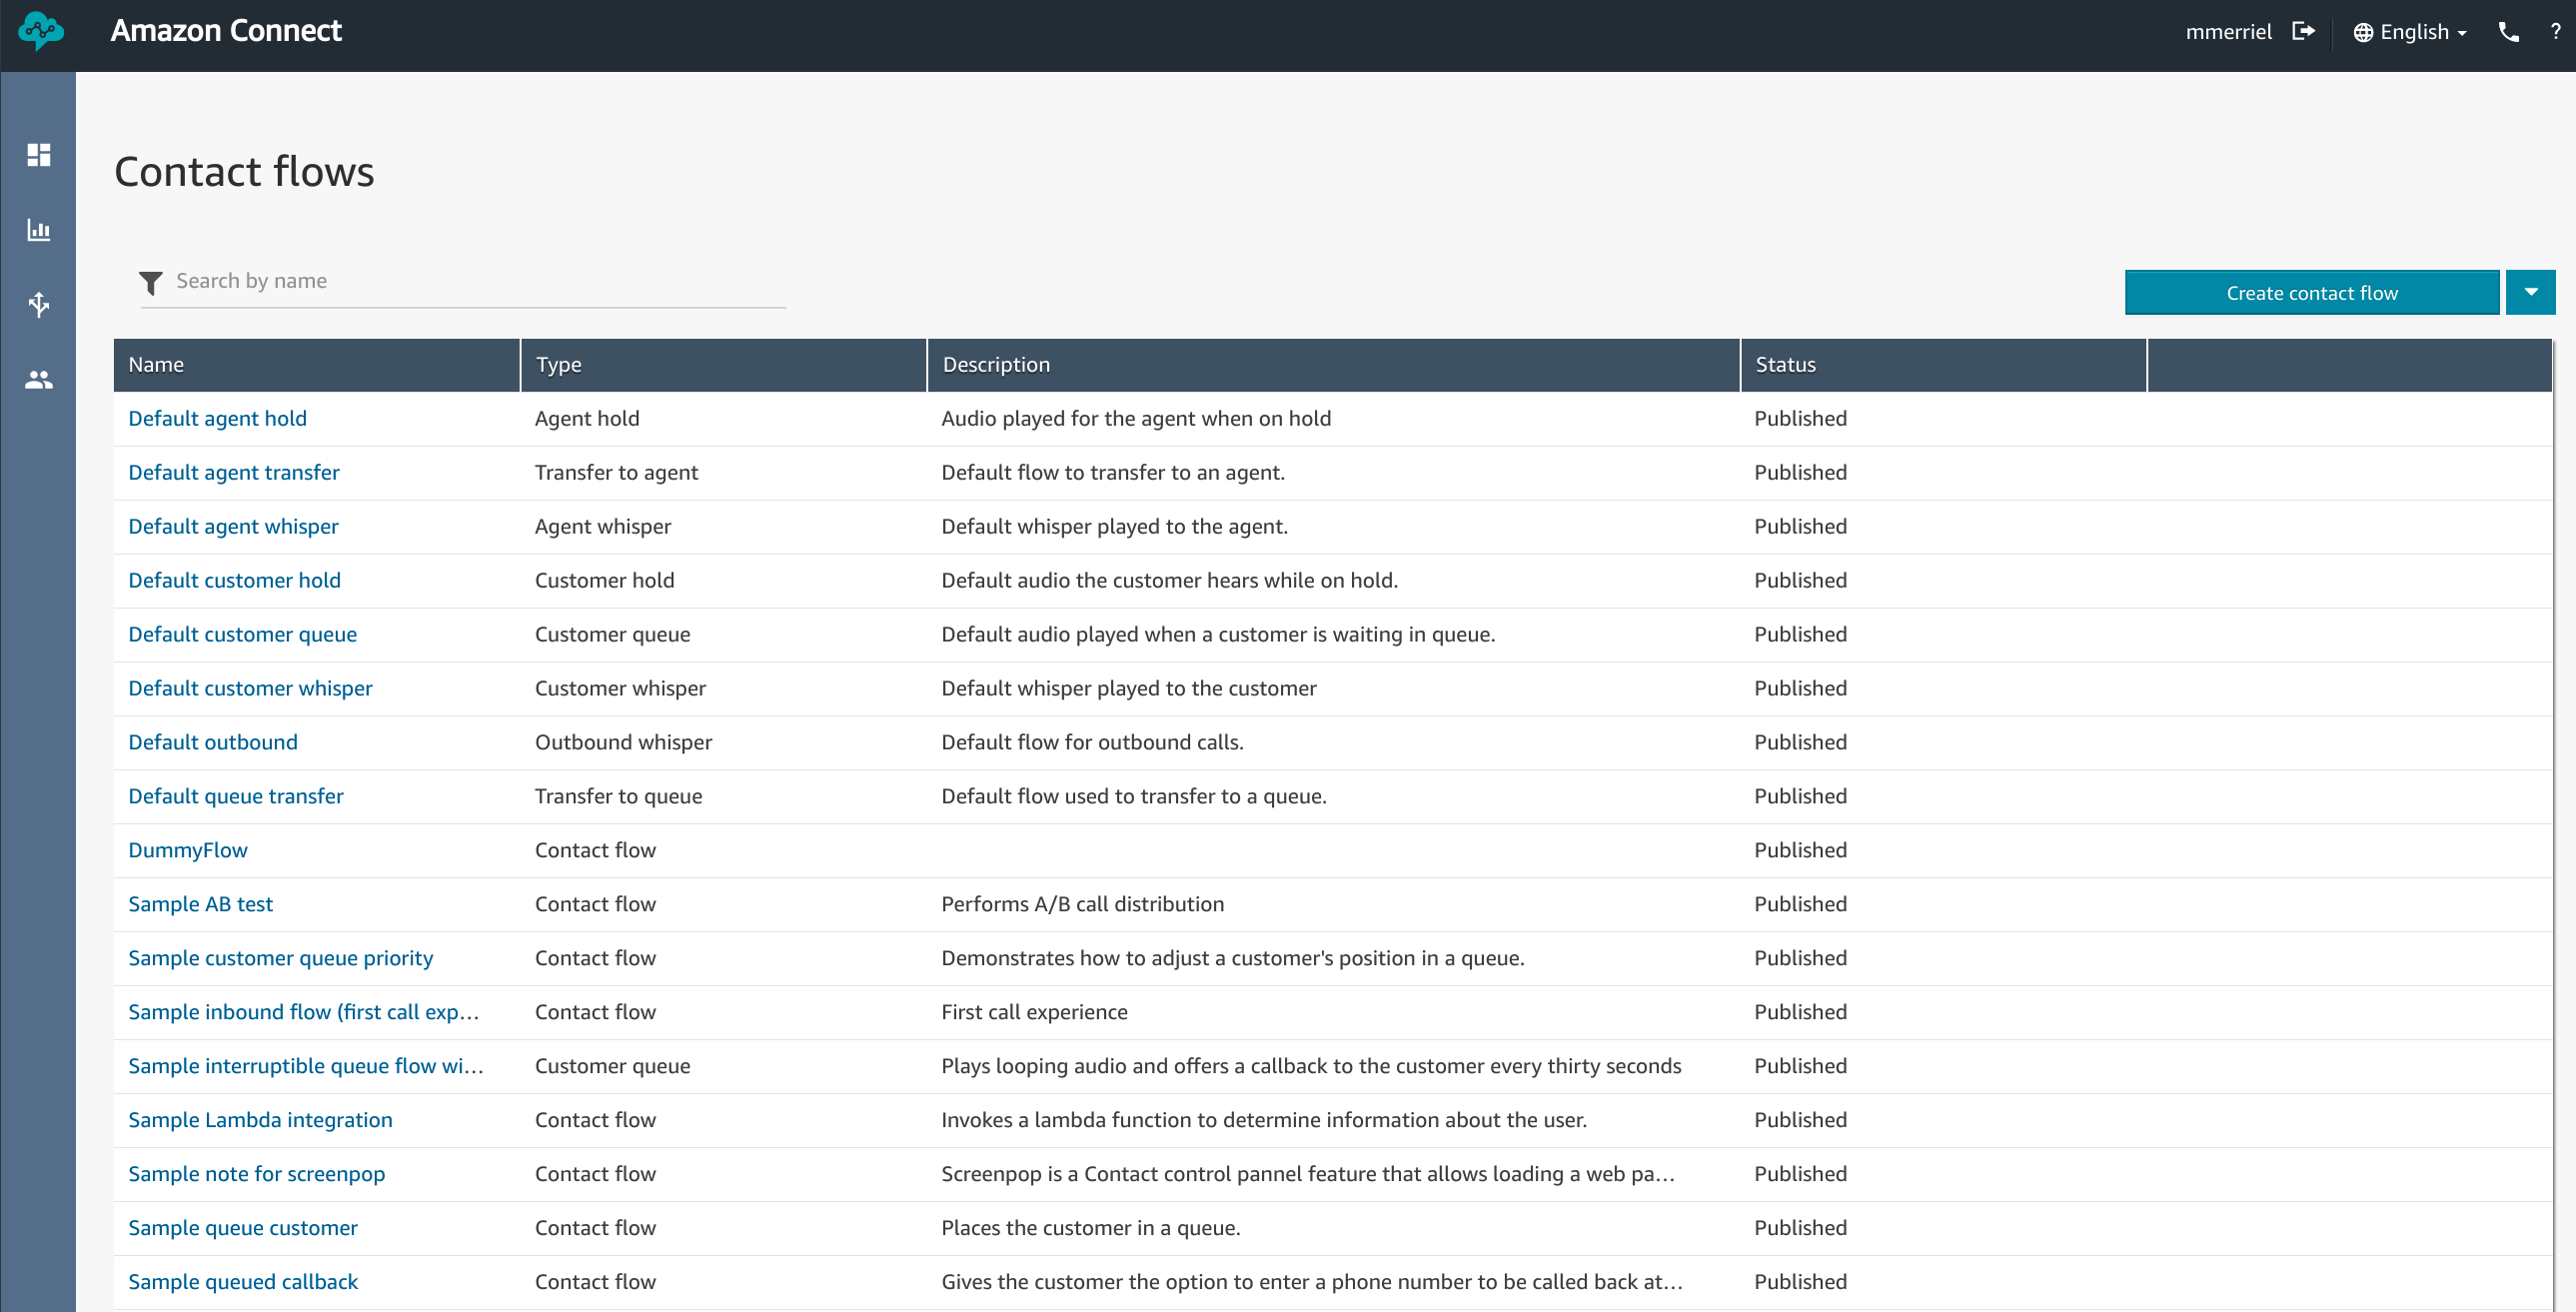
The first thing that needs to be created is a “Contact Flow”. Contact Flows are visual representations of how Amazon Connect should handle an inbound or outgoing call. To start creating a new Contact Flow for our Contact Center, select the “Contact Flows” option from under the “Routing” menu.
Contact Flows
The “Contact Flows” menu shows a list of all the flows contained within our Amazon Connect instance. click the “Create contact flow” button to get started.
Contact Flow Designer
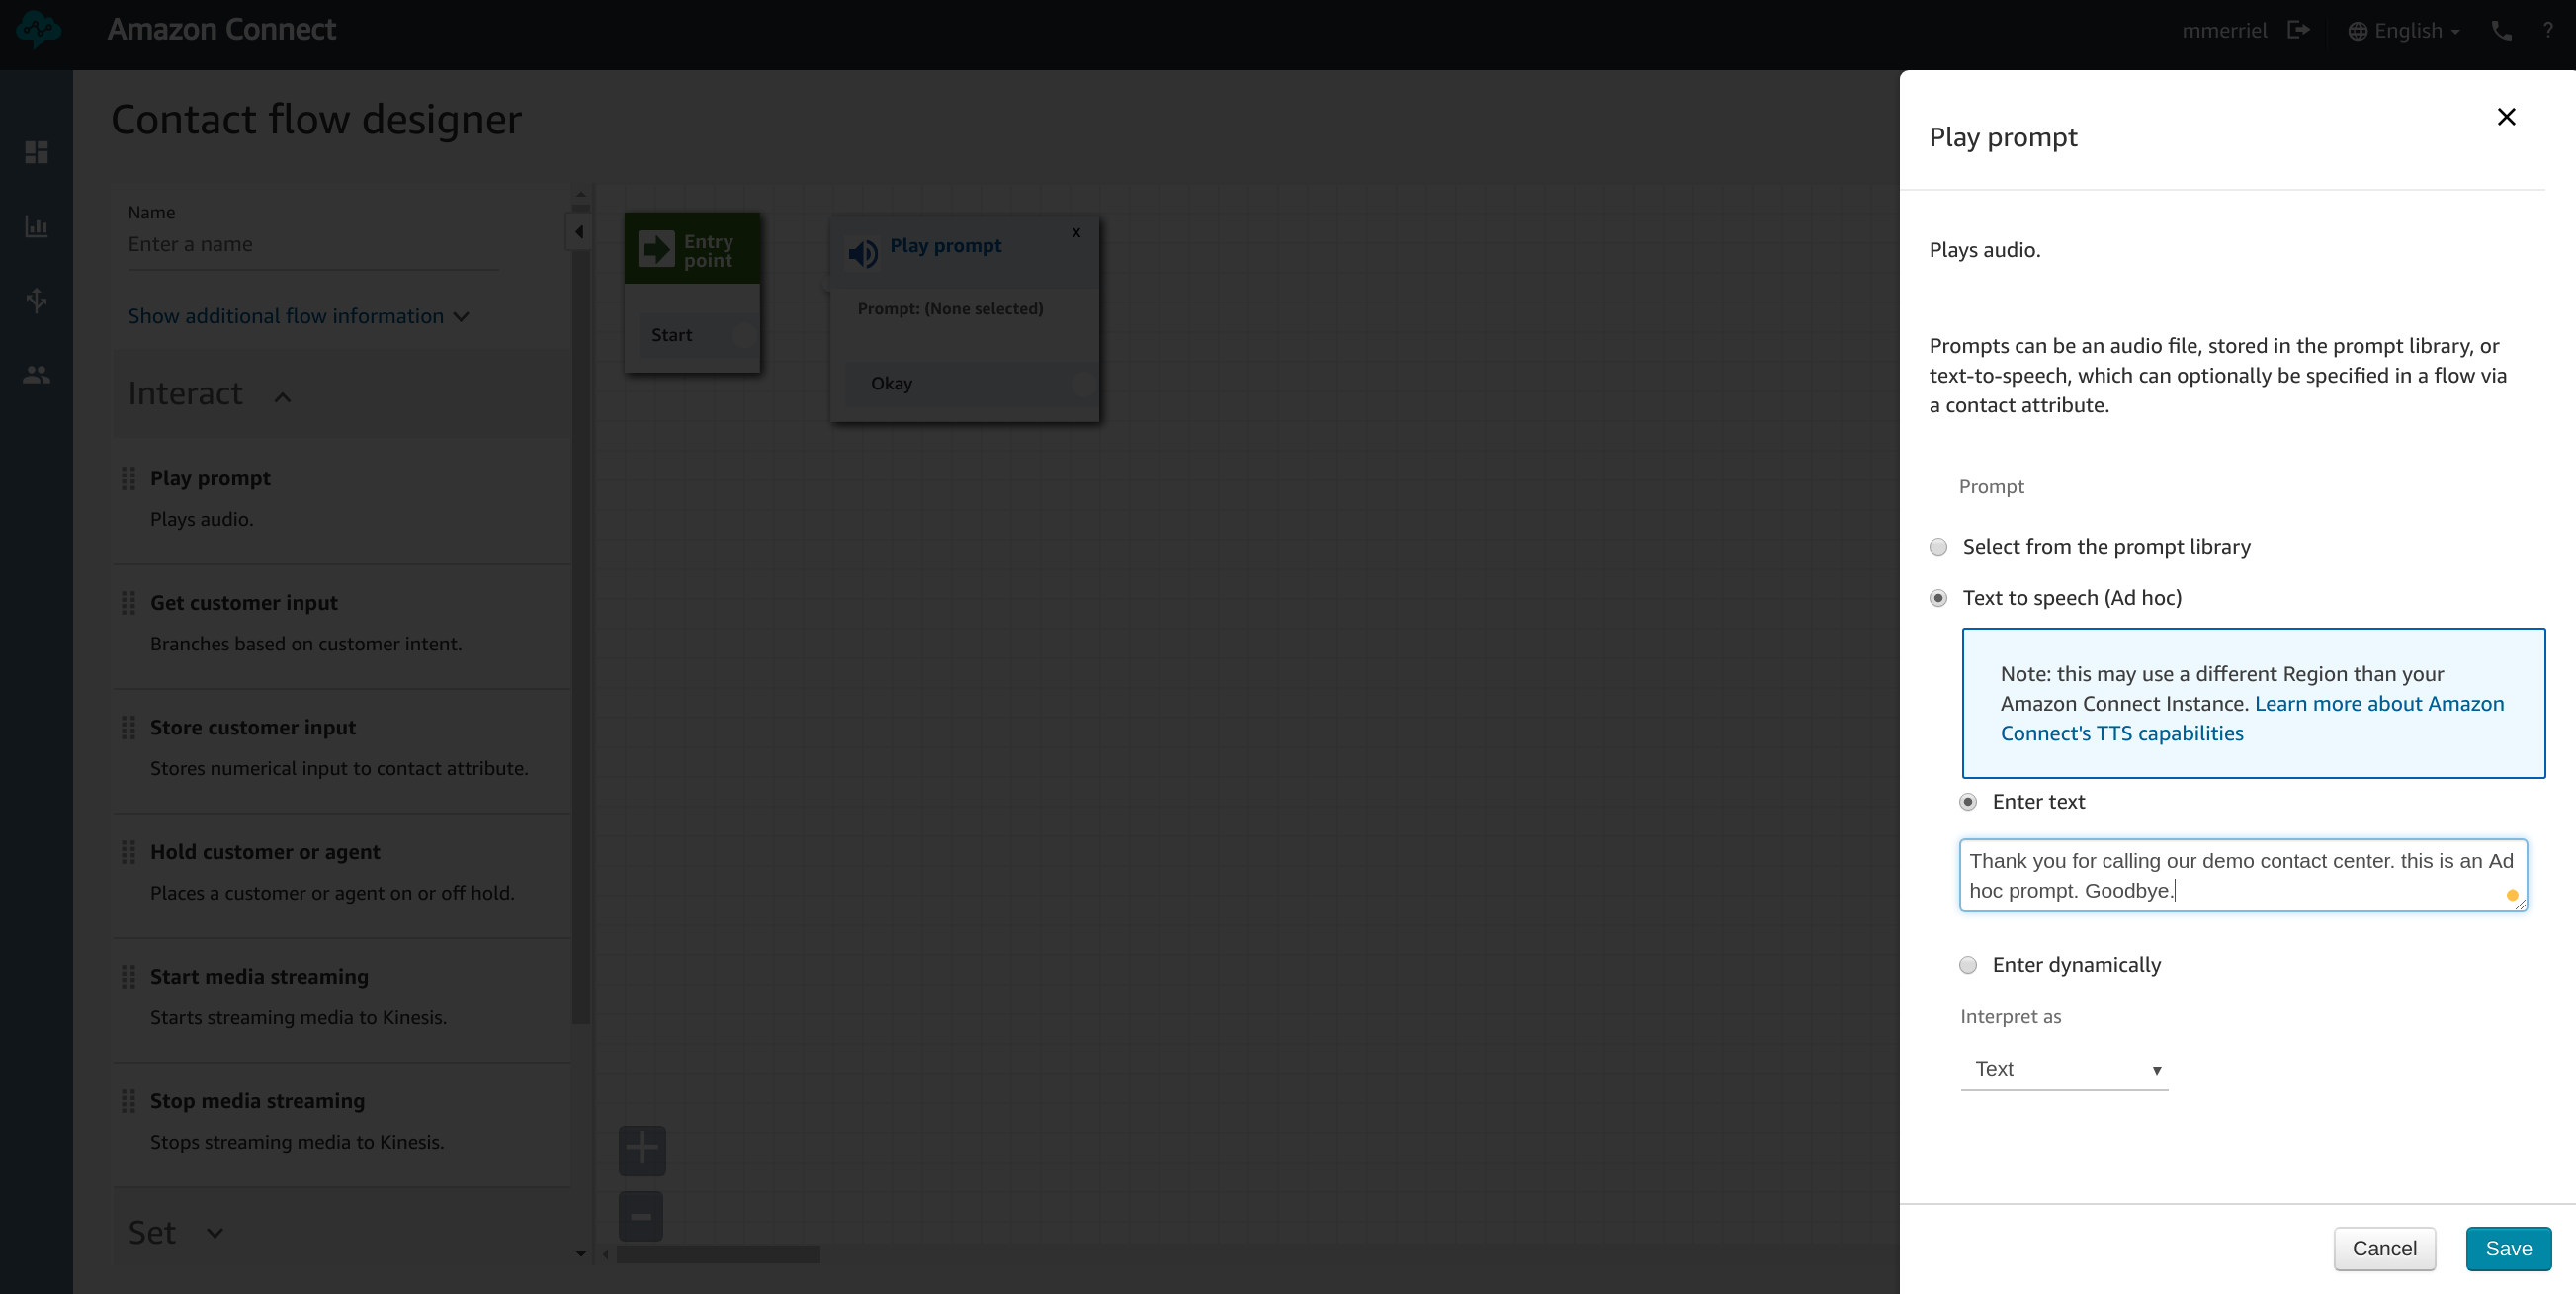
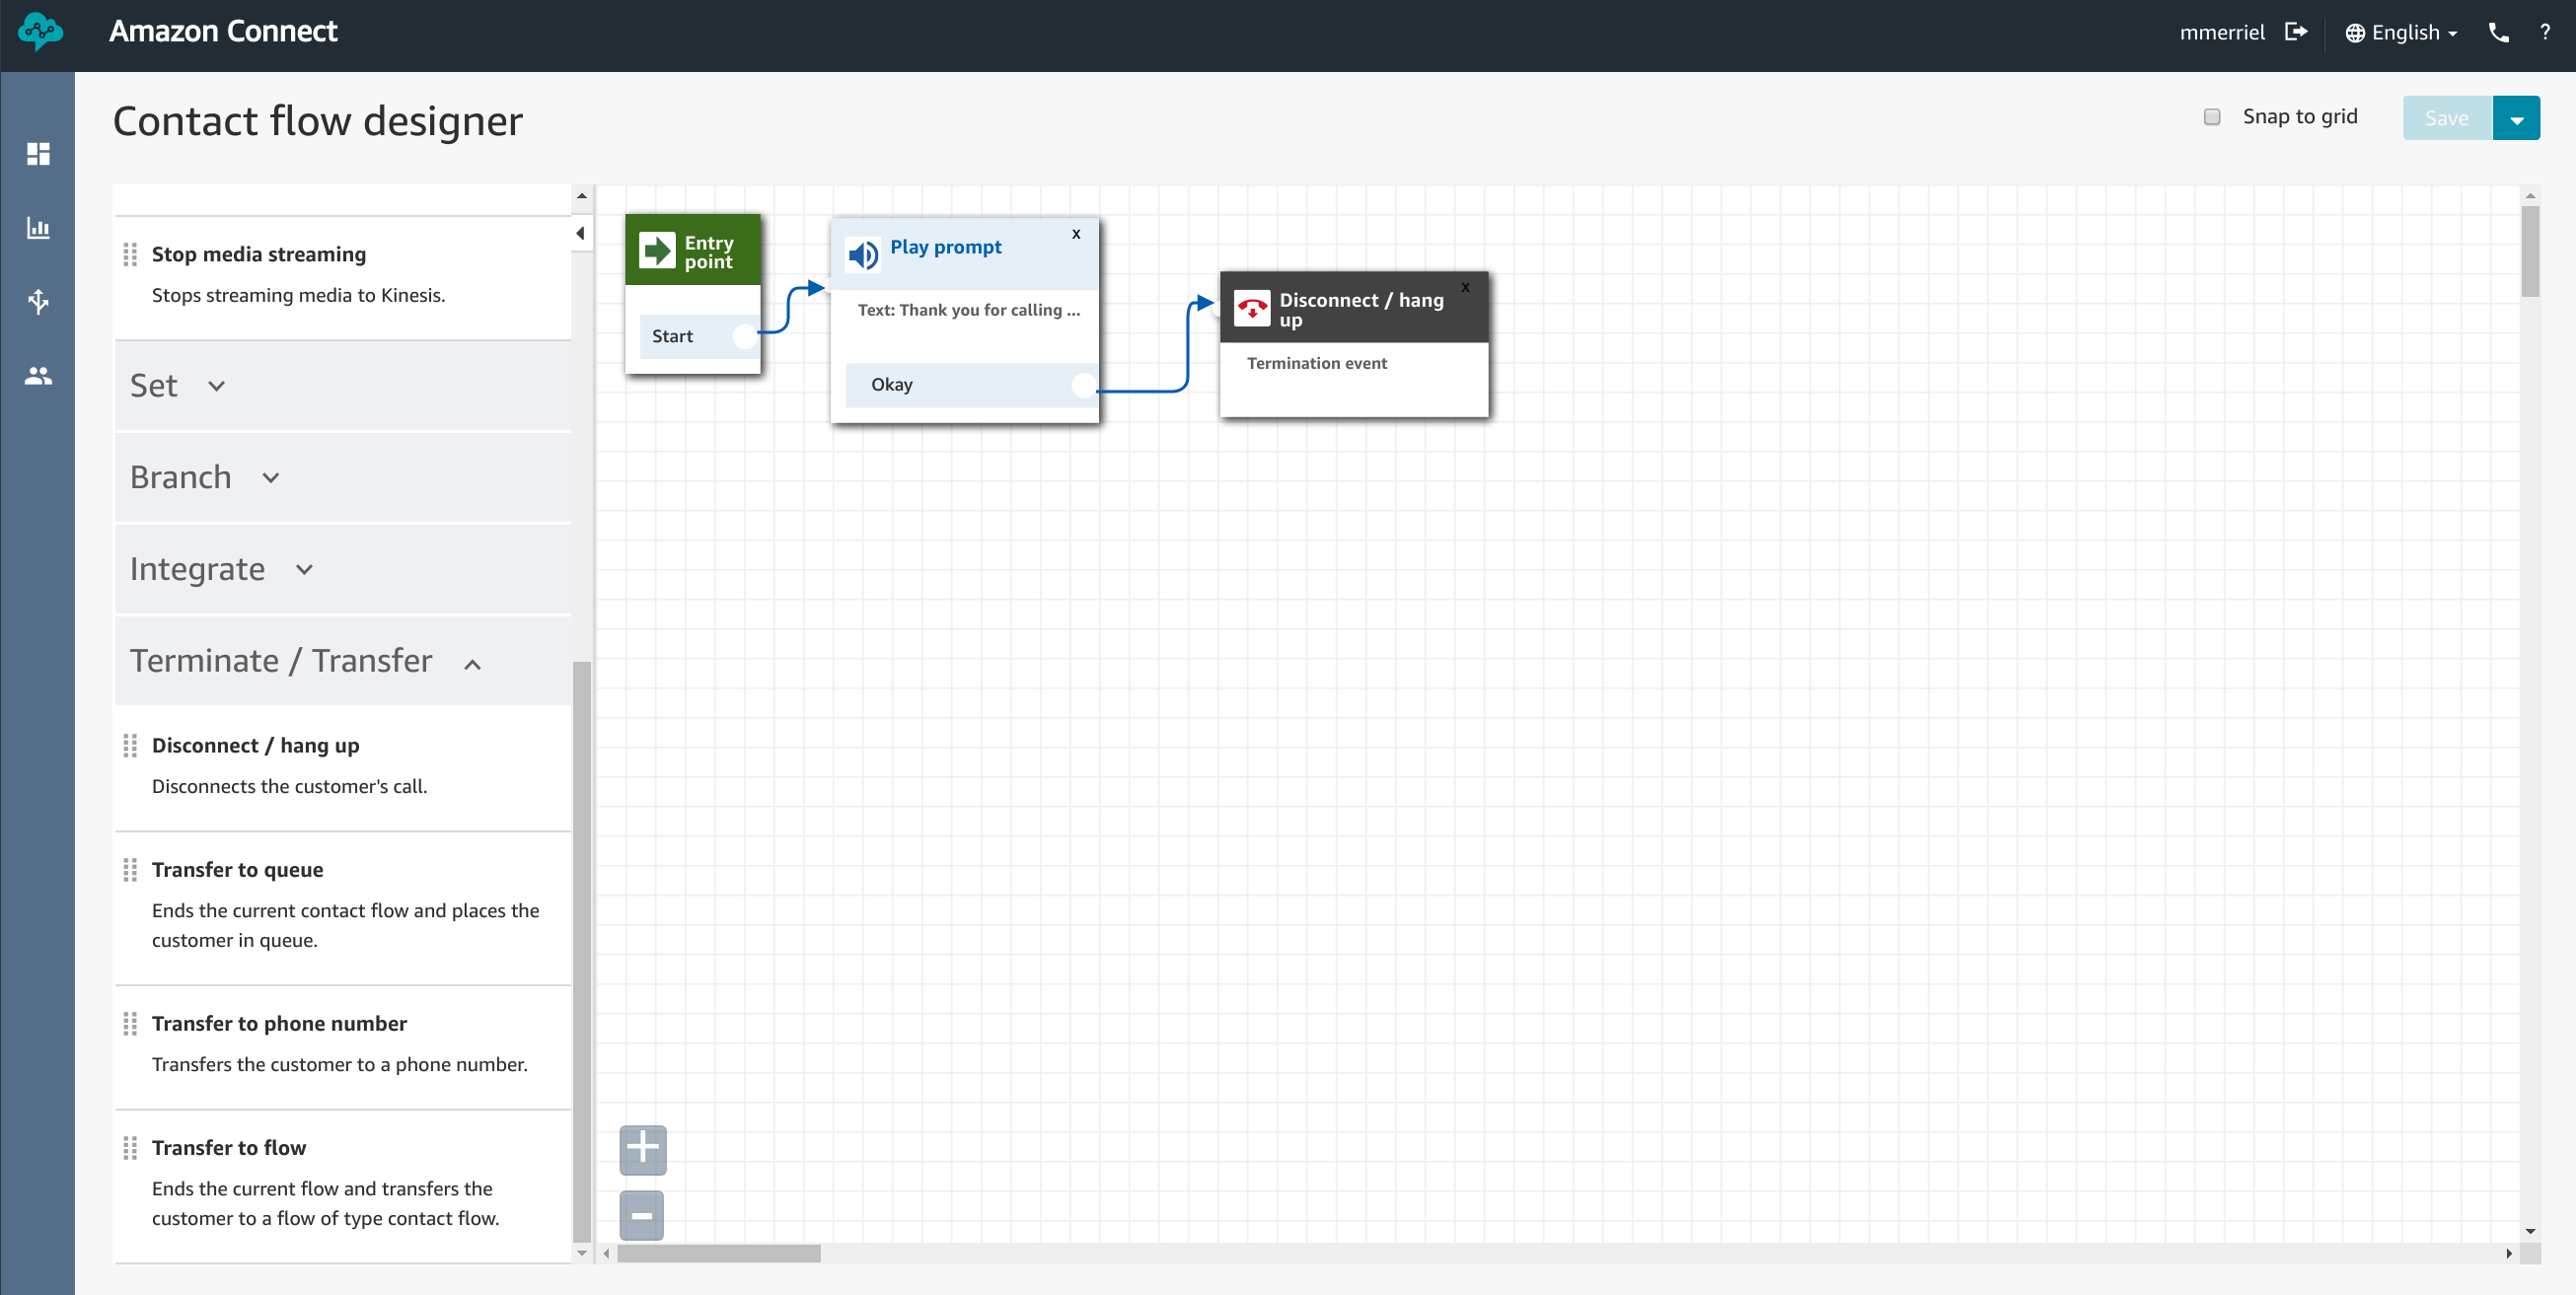
For our example, we are going to create a flow that plays a prompt and then disconnects the call. The first thing we need to do drag a “Play Prompt” component from the “Interact” menu onto our Flow Grid.

By clicking on the “Play Prompt” component, you are presented with the components configuration options. Go ahead and select “Text to Speech (Ad hoc)” and enter in the text you’d like your Contact Center to play to all incoming calls. Once you’ve finished, you can go ahead and click the “Save” button.
Next, we need to add the “Disconnect / Hang up” component from the “Terminate / Transfer” menu. This will ensure that once the contact flow is finished, our Contact Center disconnects the call. Once we have all of our components laid out on the grid, we can link each component together. To do this, simply click and drag a line from the “Start” circle under “Entry prompt” to the “Play Prompt” component. Do the same from the “Okay” circle to the “Disconnect / hang up” component. Once you’ve finished, you should have a flow like the one shown below.
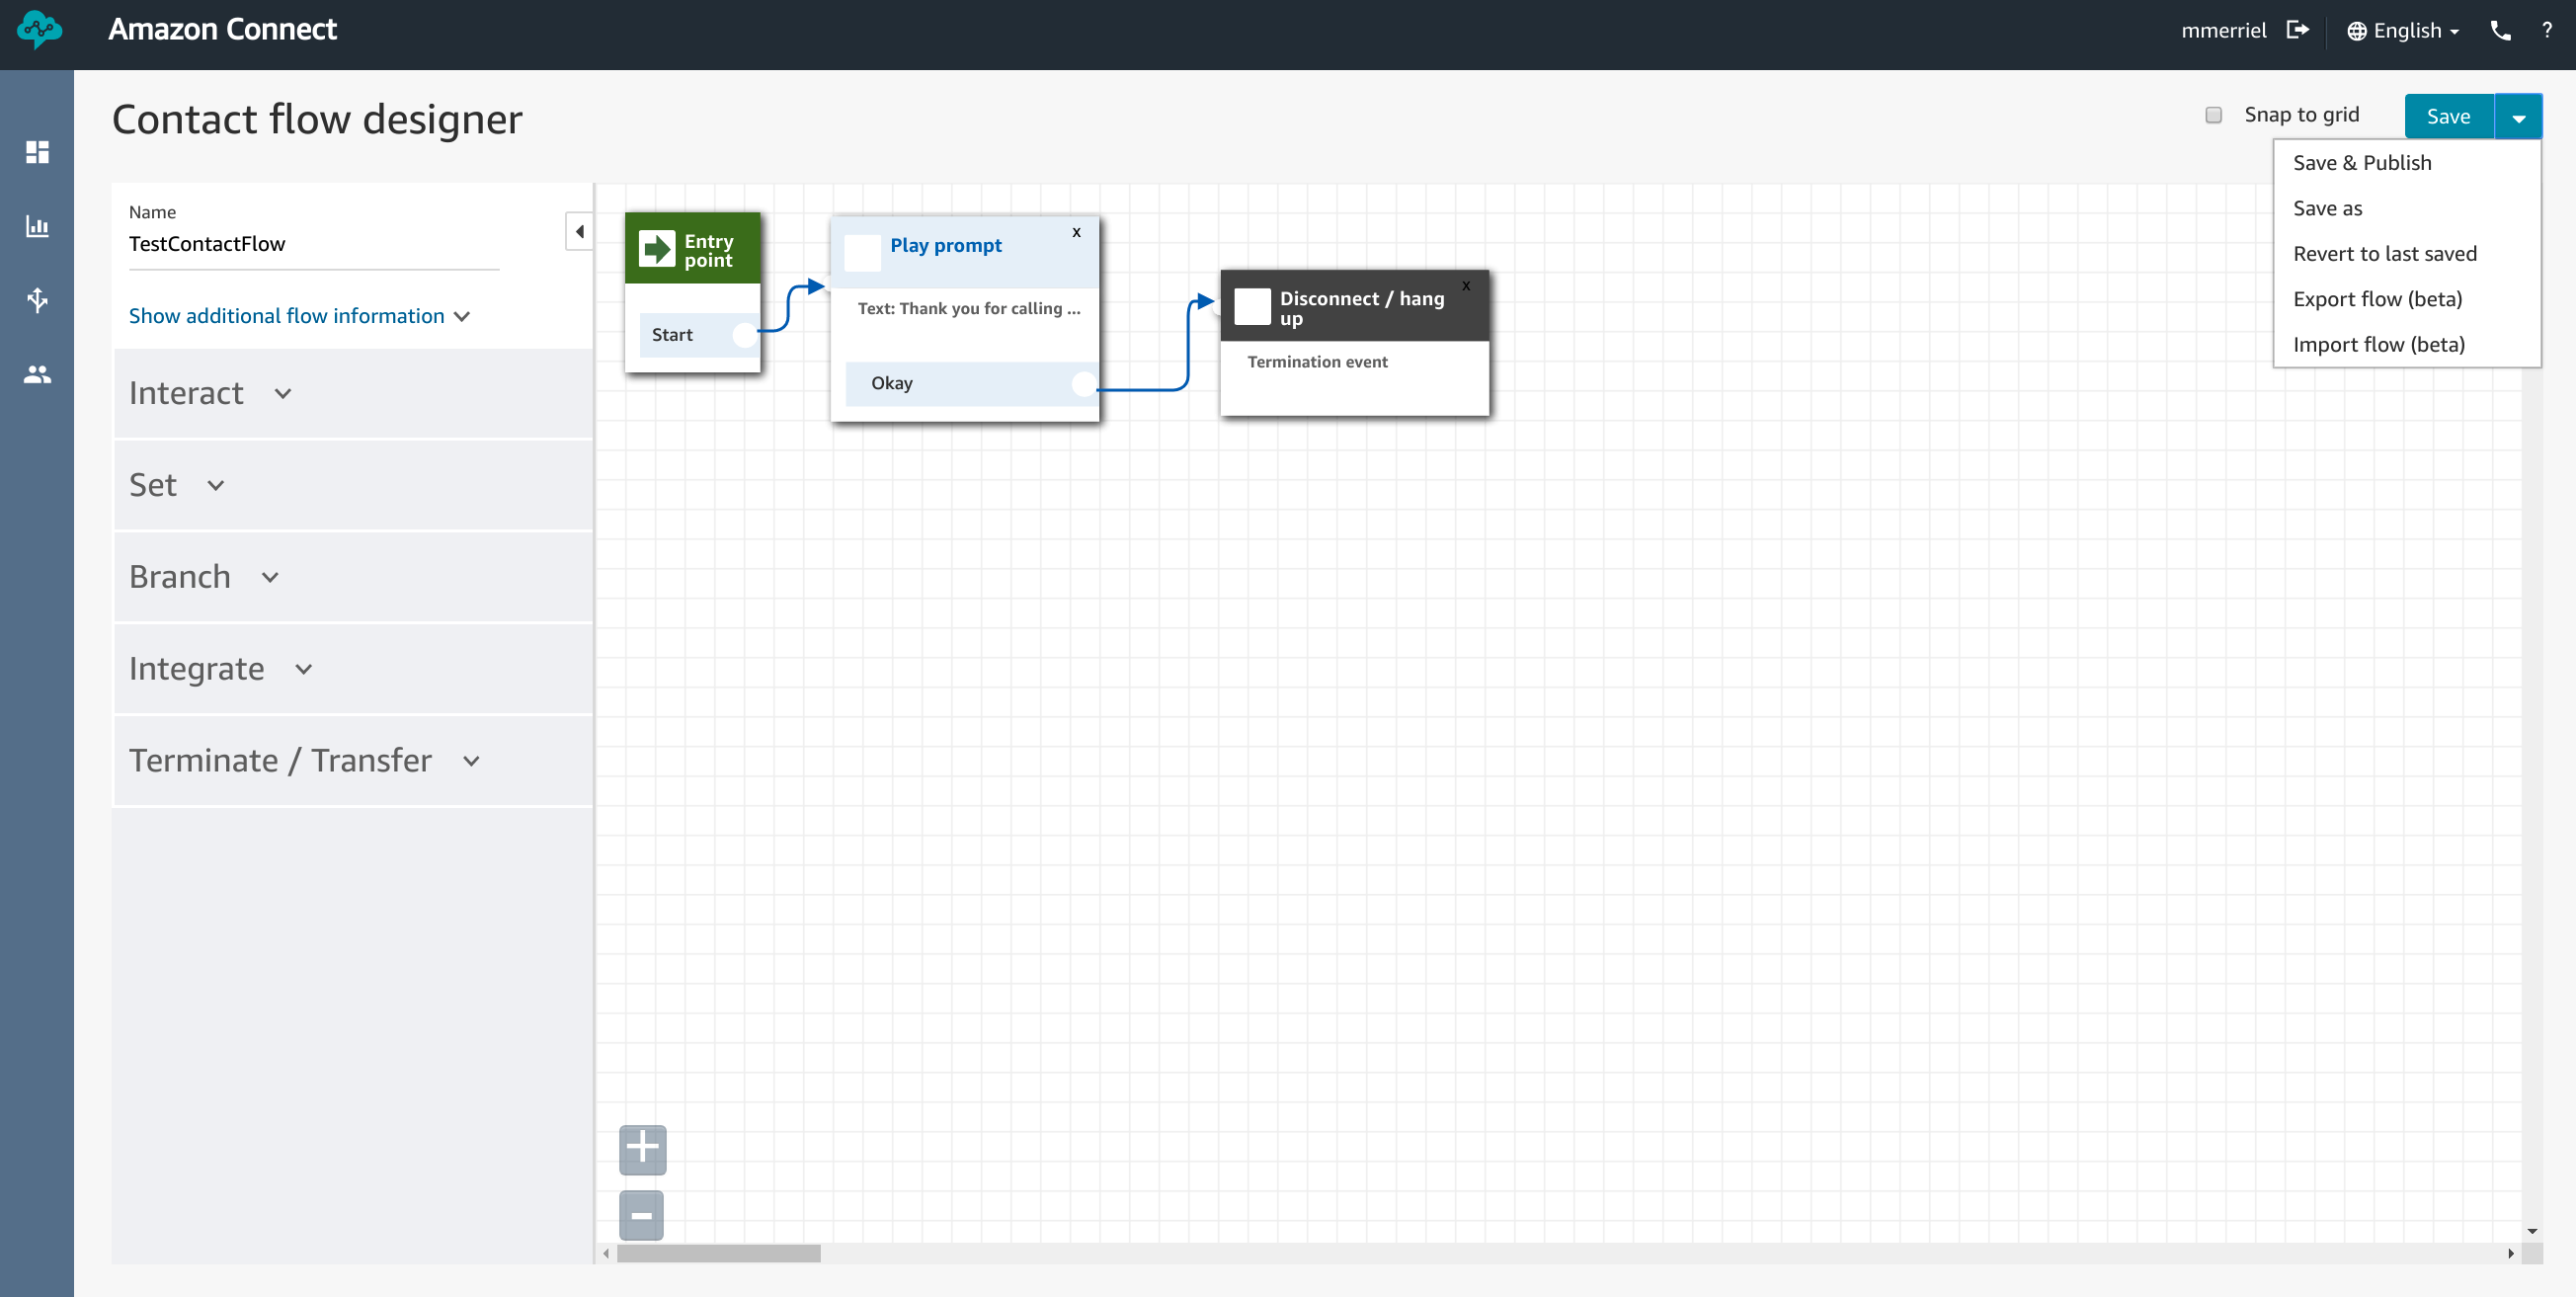
Now that we have our finished flow, we need to give our “Contact Flow” a name. Scroll to the top of the Contact Flow menu and enter “TestContactFlow”. As soon as you do this, the “Save” button in the top right-hand corner should become available. Go ahead and save the Flow. It’s important to note that at this stage, while the flow is saved to the Amazon Connect instance, it’s not yet available for use. This is because we need to publish the current version. To do this, click the down arrow next to the save button and select “Save & Publish” like shown in the below screenshot.
Phone Numbers
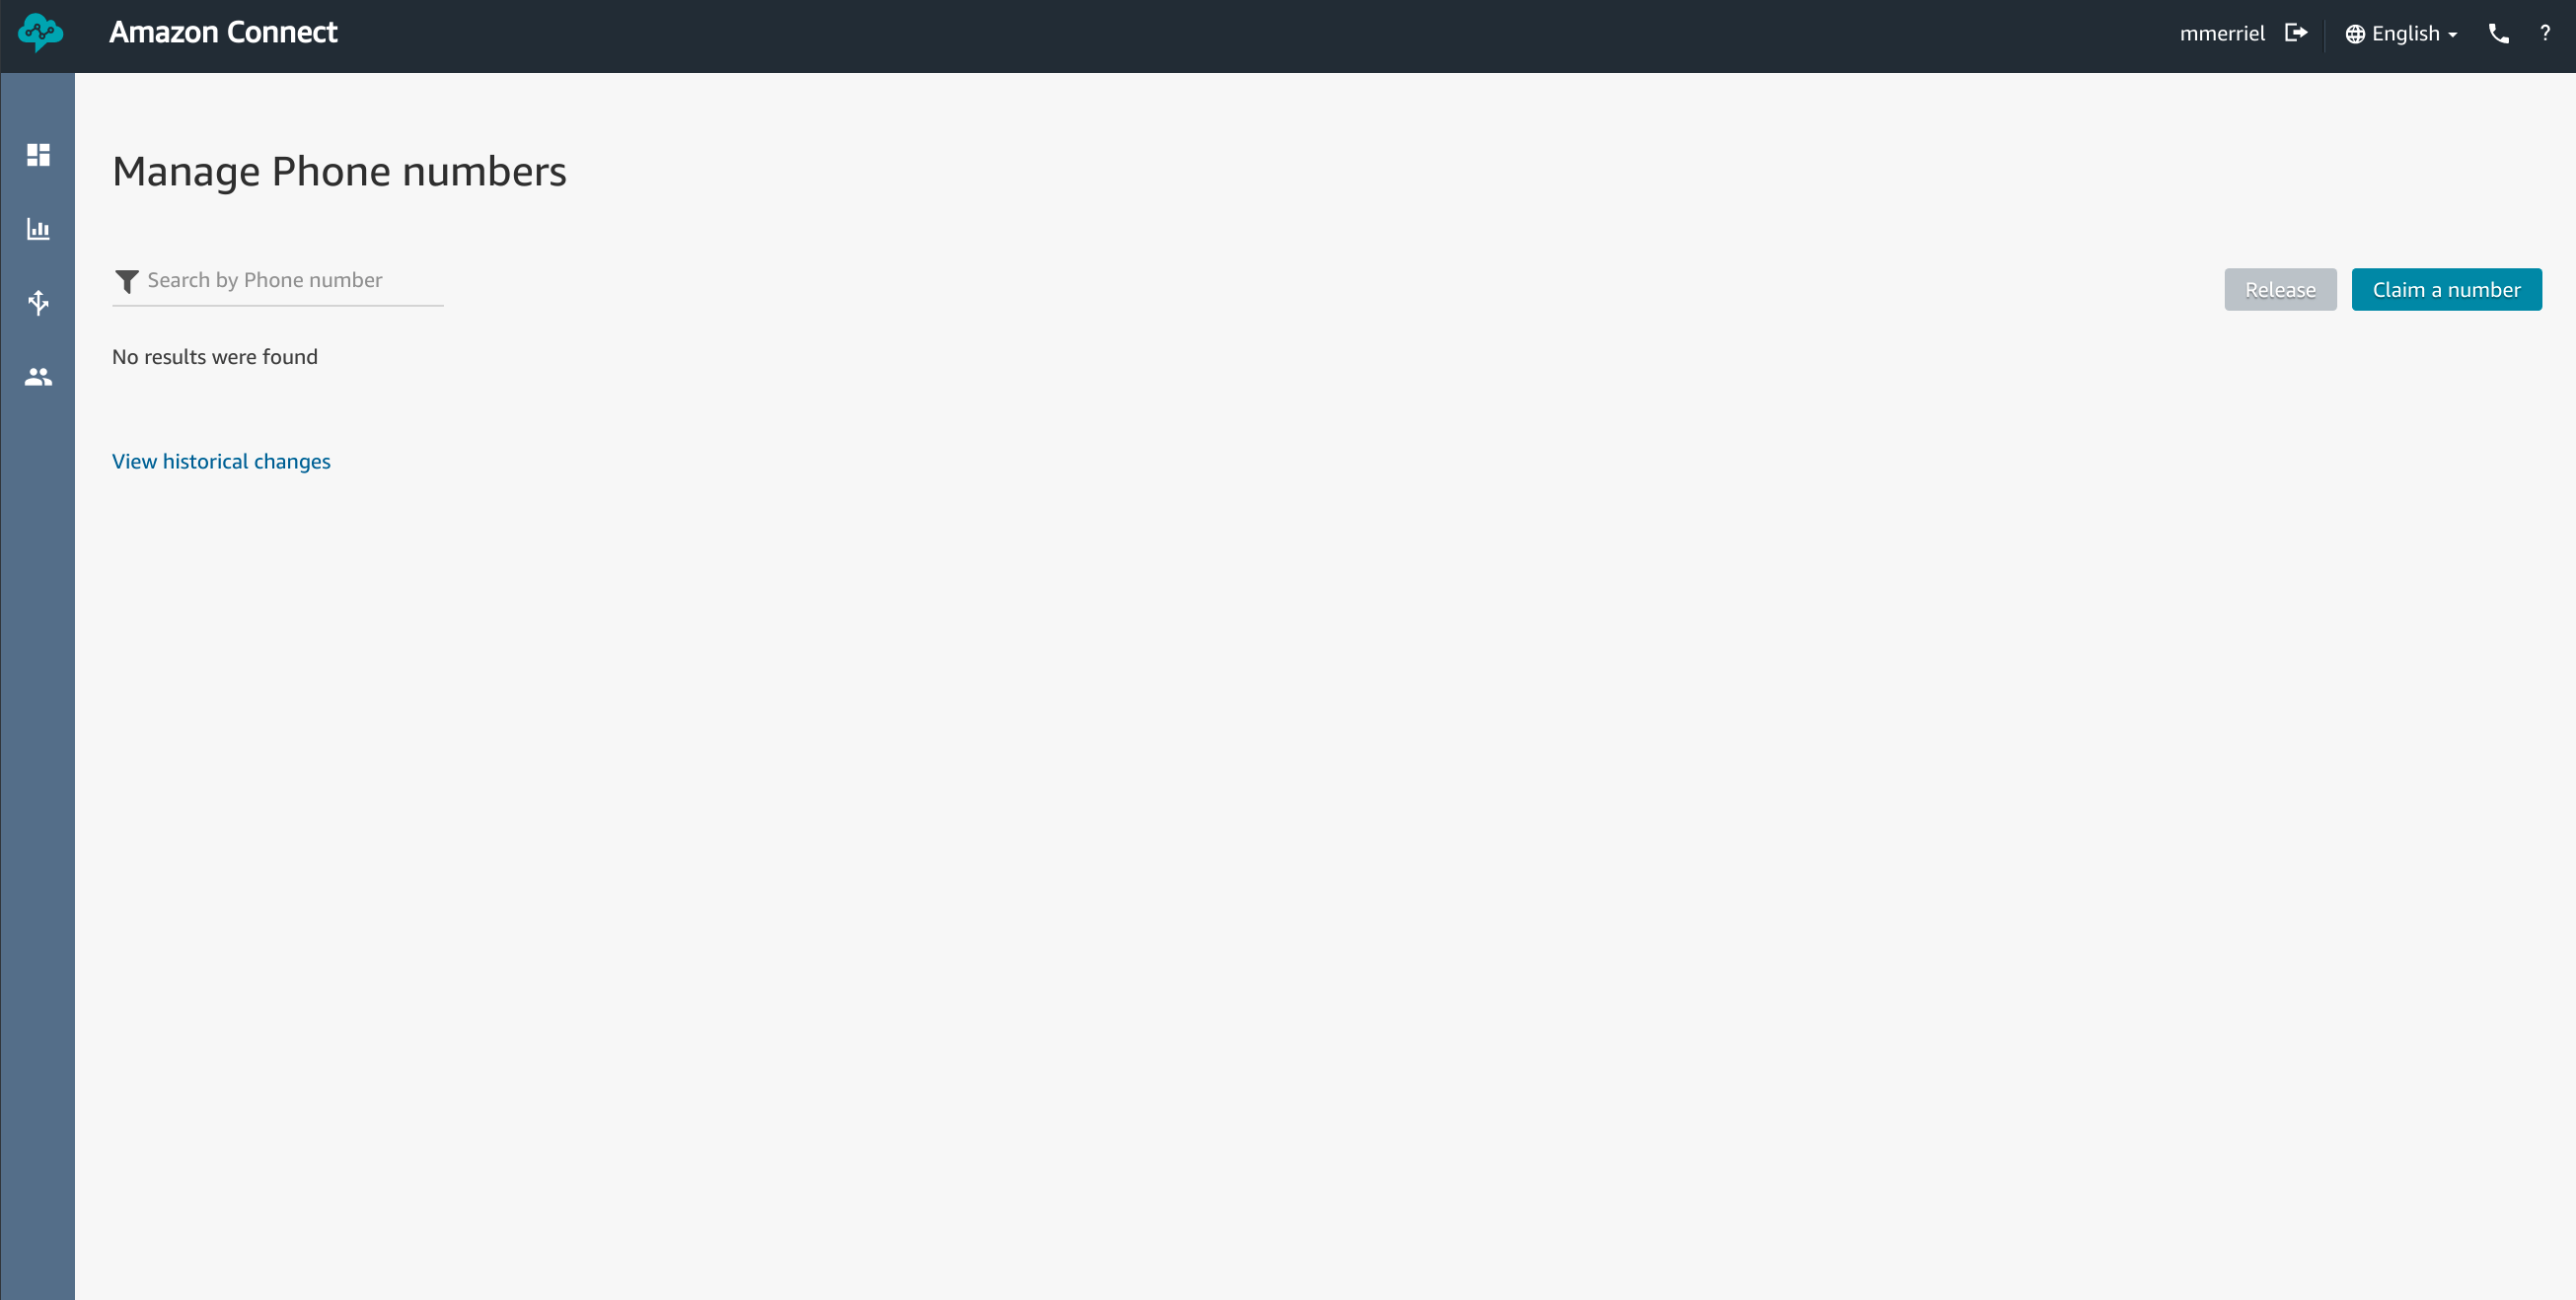
We are now ready to attach an inbound phone number to your Contact Flow and start accepting calls. From the Amazon Connect menu, select “Routing -> Phone Numbers” to be presented with the “Manage Phone numbers” page. Here we can simply select the “Claim a number” button on the top right-hand side of the page.
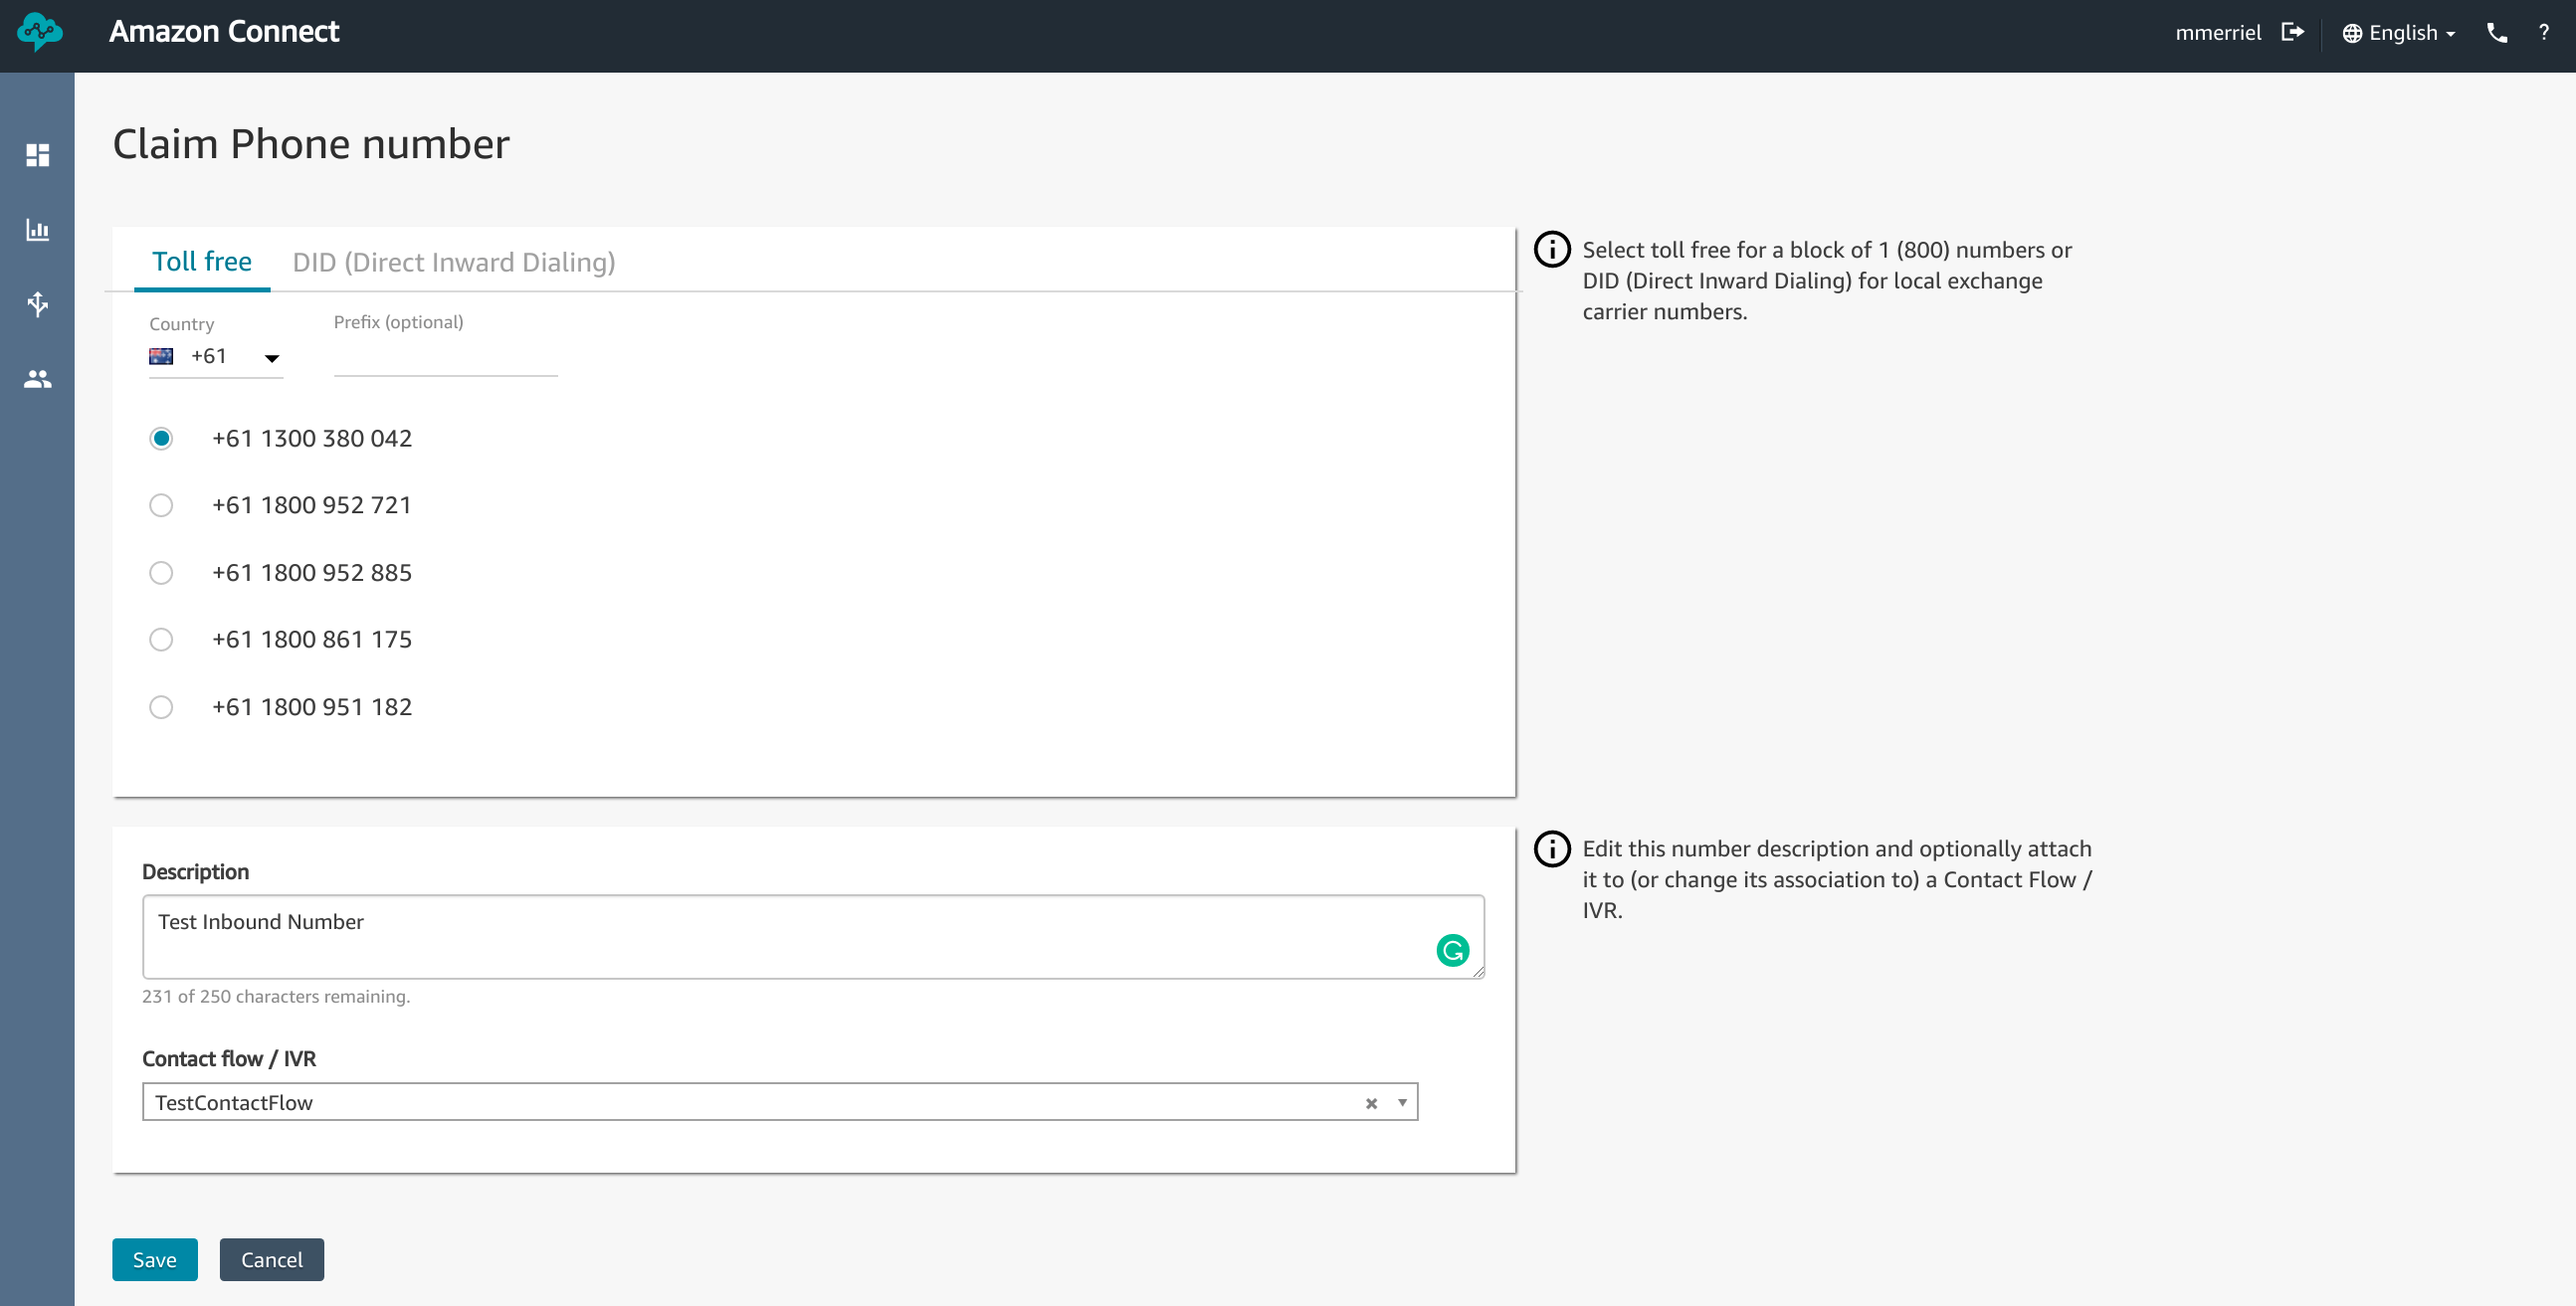
For my example, I’m going to select a “Toll-Free” number located in Australia. Firstly, you can select the country from the list (in my case Australia +61) and you will be presented with a list of possible options. to customize the number you can additionally add a “prefix” to your search, however, for the purposes of a test number, this isn’t required. Simply go ahead and select the number you wish to use by clicking the associated radio button. Once you’ve made your selection, go ahead and enter a description for the number and select the “TestContactFlow” from the “Contact flow / IVR” dropdown.
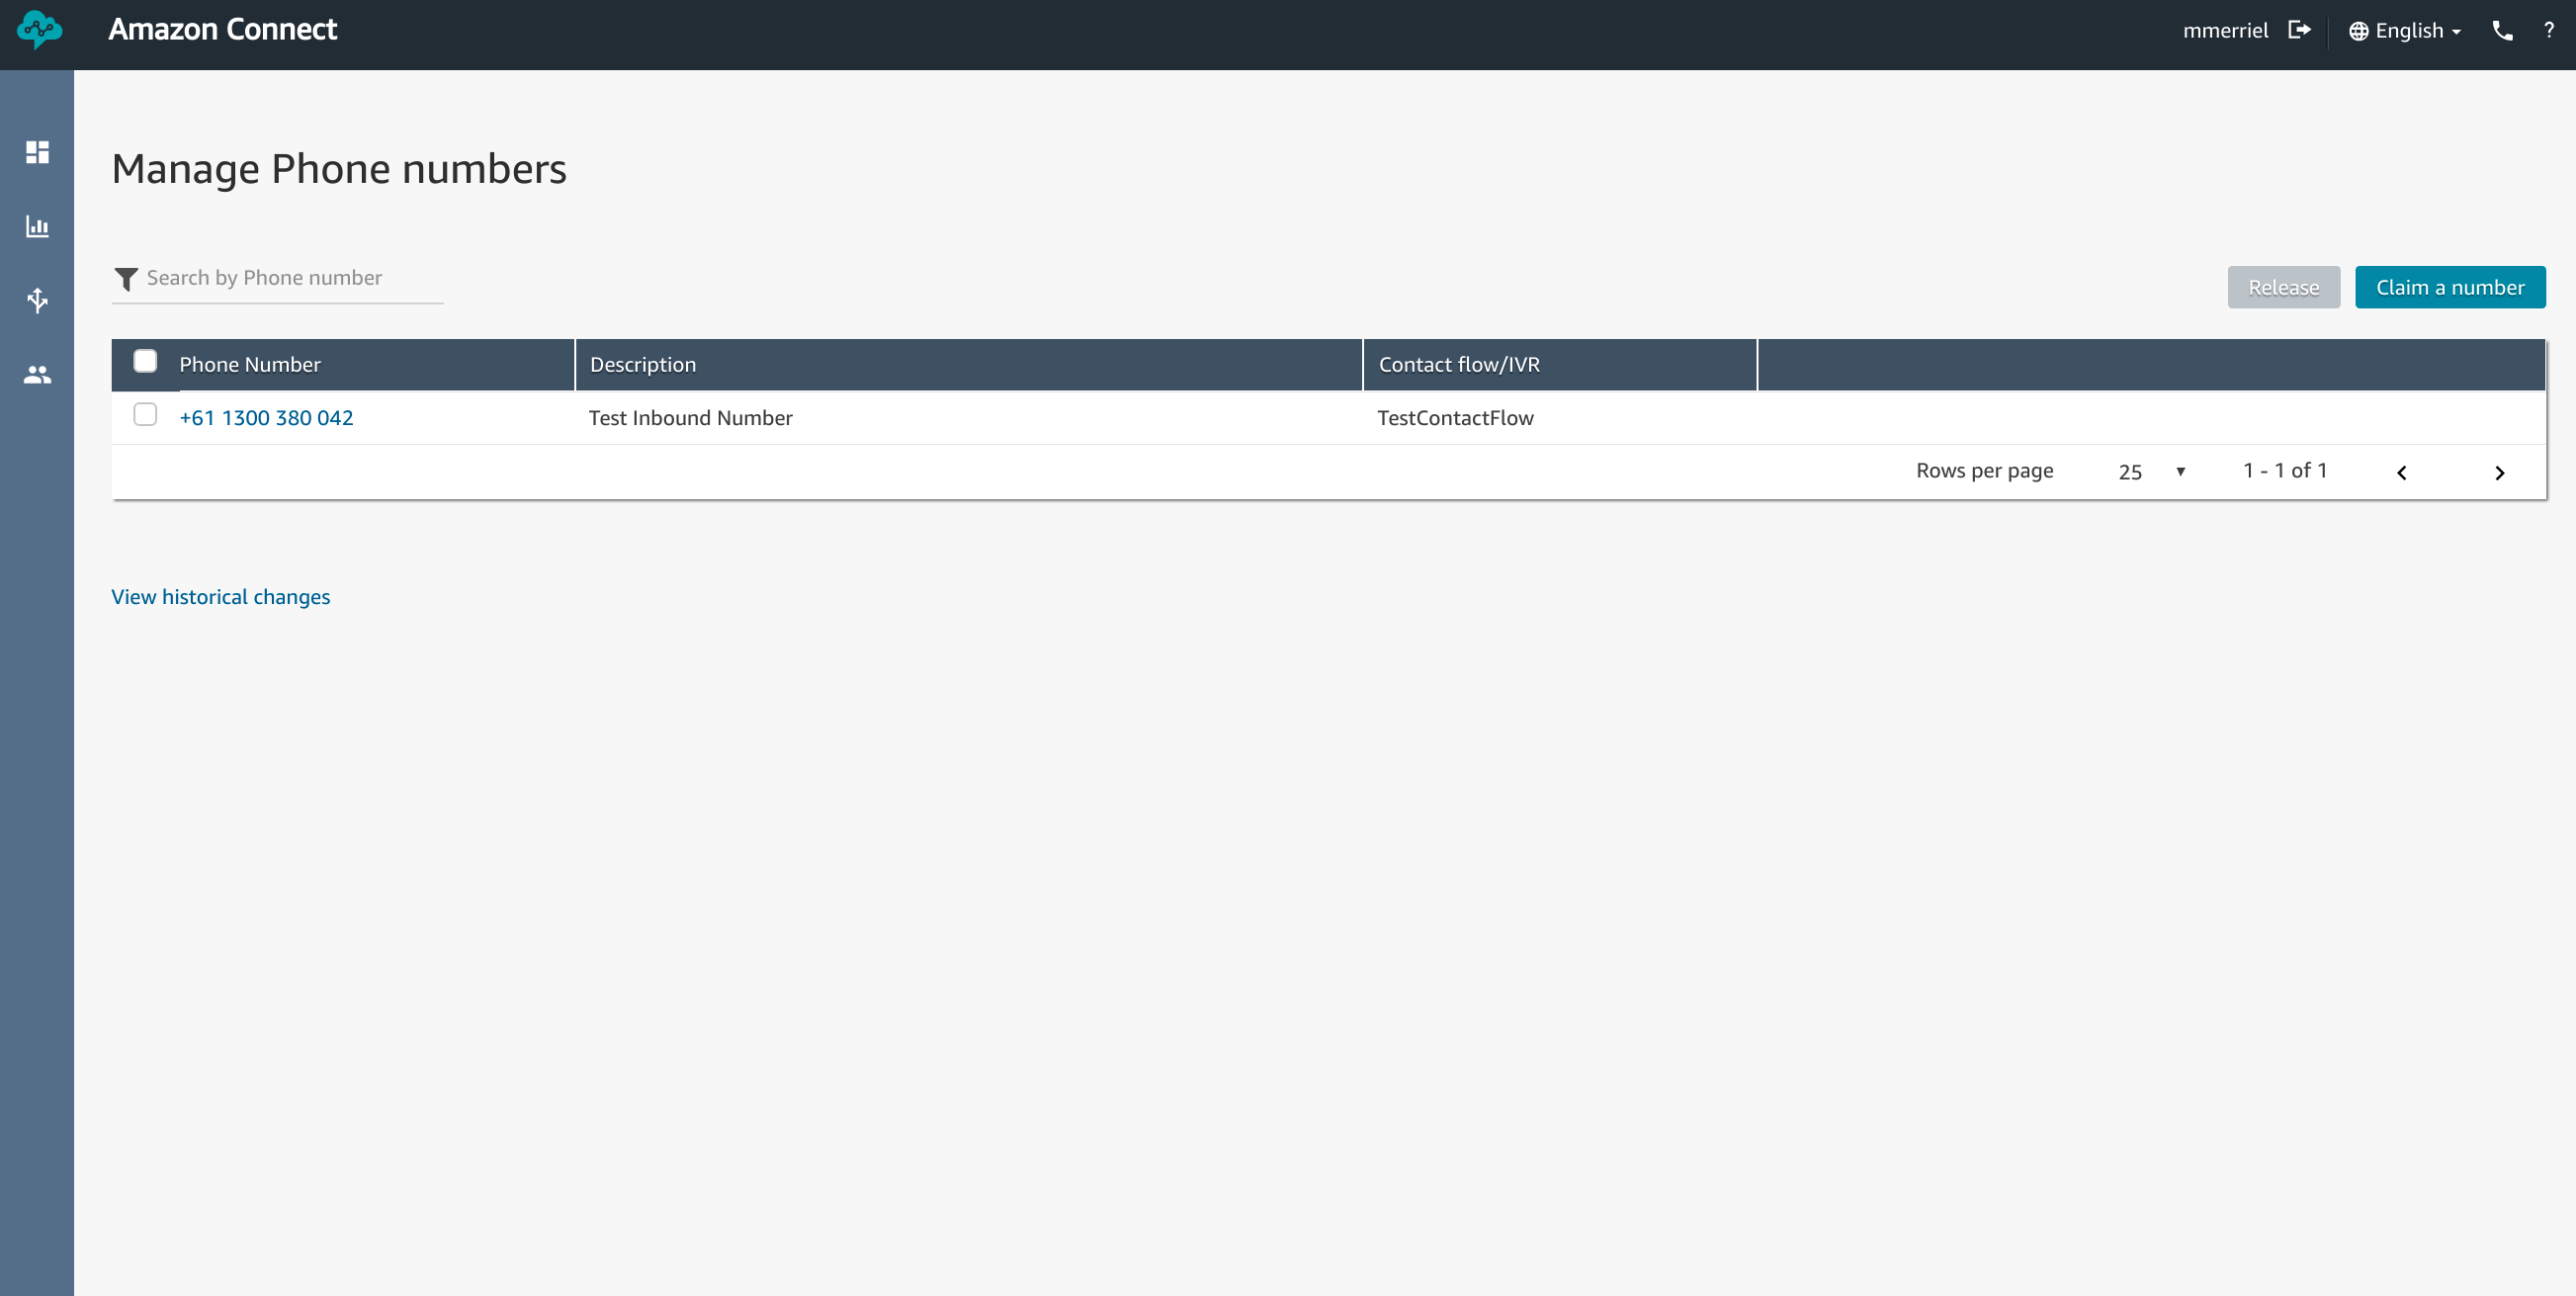
Now that we’ve finished setting up our new phone number, we can go ahead and click the save button. This will take us back to the “Manage Phone numbers” page and our new inbound contact center is ready for testing.
Conclusion
You can now go ahead and ring the new number and you will be greeted with the earlier message. While not the most useful Contact Center as it currently stands, we have all of the core components in place. In my next article, I will walk you through how to add some logic to the Contact Flow. We will add some user prompts and make decisions based on the user’s input.