In this Blog I will discuss how to leverage SharePoint Lists as a front end using MS Flow to call Webhooks on Microsoft Azure Automation PowerShell scripts. These scripts execute via a hybrid worker to access On Premises resources. Results will be zipped and uploaded back to the SharePoint list.
Prerequisites
- Azure Automation Subscription and Account
- SharePoint Online / Site Collection
- On-premises resource (Windows 2016 server) configured as Hybrid Worker
- CredSSP needs to be enabled on hybrid Worker as Azure launches scripts as system account and some commands cannot use ‘-Credential’ )
- Modules needed on Hybrid worker from elevated powershell run “Add-WindowsFeature RSAT-AD-PowerShell and “Install-Module SharePointPnPPowerShellOnline”
- From Azure Import module from gallery SharePointPnPPowerShellOnline
Create SharePoint List
Create a SharePoint list as below this will be the input required for the script.
ServerPath = the server name eg “rv16mimp”
AuditShare = the full path after server name eg “fileshare”
within the script this will become \\rv16mimp\fileshare”
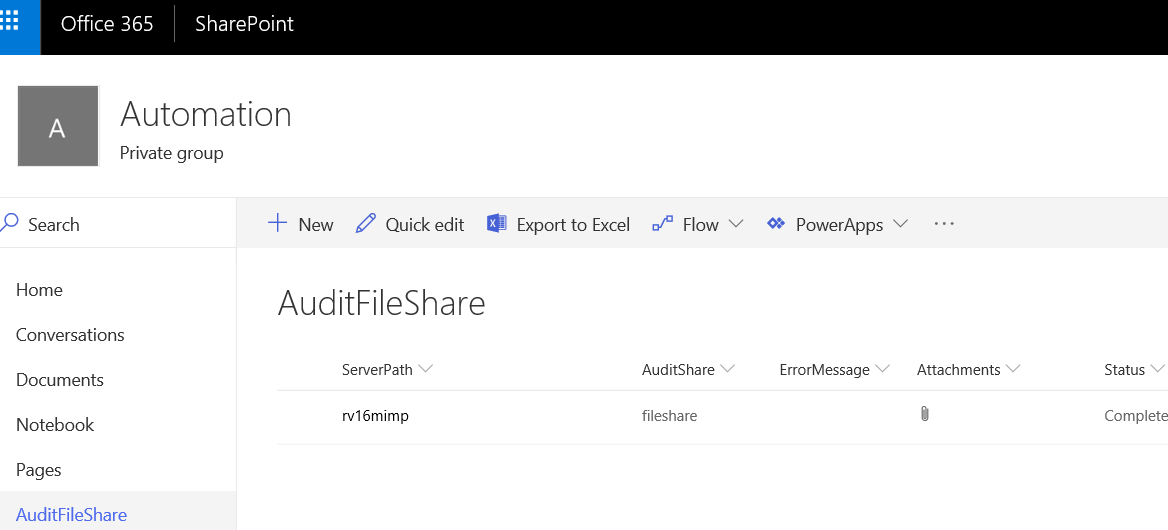
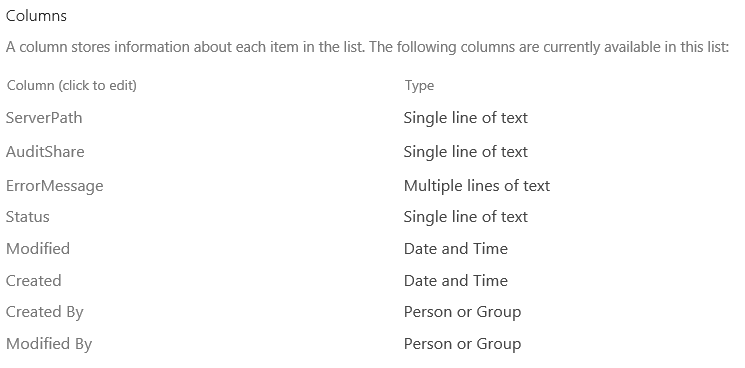
Adjust the SharePoint List from List Settings to include ServerPath/AuditShare/ErrorMessage and Status.
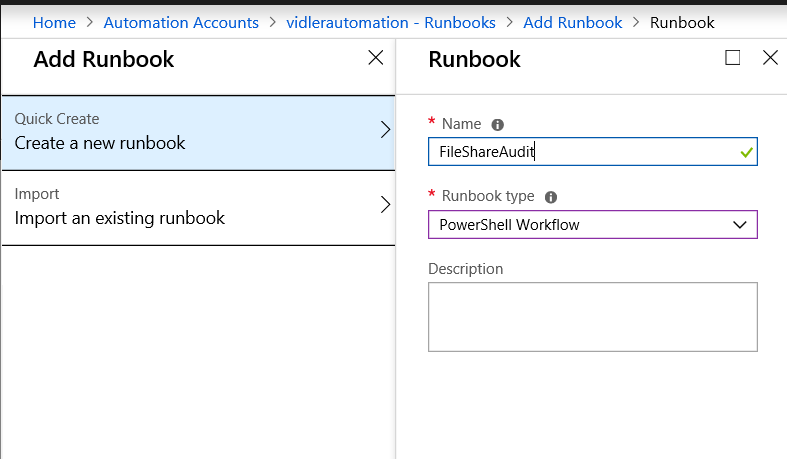
Azure Automation Script and WebHook
Log in to Azure Automation Account and create a new PowerShell Runbook.
This script will take the values input from the SharePoint list and use SharePointPNP module to update the list to In progress. The script will execute on the Hybrid worker as the WebHook is configured as such. It will invoke a command to launch a local script using CredSSP in order to run the script entirely as a Local AD user which is stored as an Azure Credential Object. Any errors encountered both in the Azure script and Local script will be in ErrorMessage. After the local script has completed the Azure script will gather the zip file created and attach it to the SharePoint List.
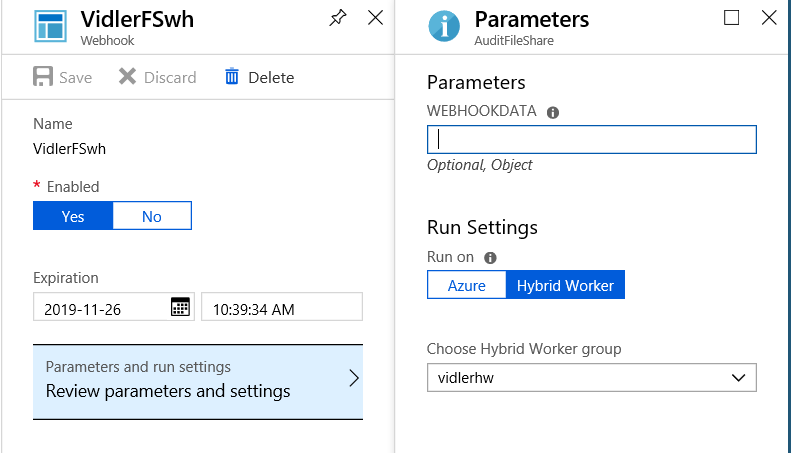
Create a Webhook on an existing runbook
Create a Webhook making sure to select the Hybrid Worker, it is important to copy this and store it safely as you never get to see it again.
Create MS Flow
You can Start the Creation of a Flow from the List, click ‘See your flows’.
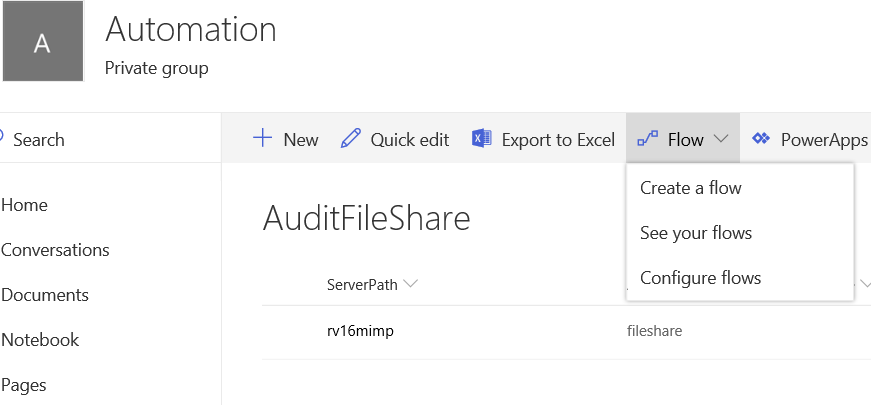
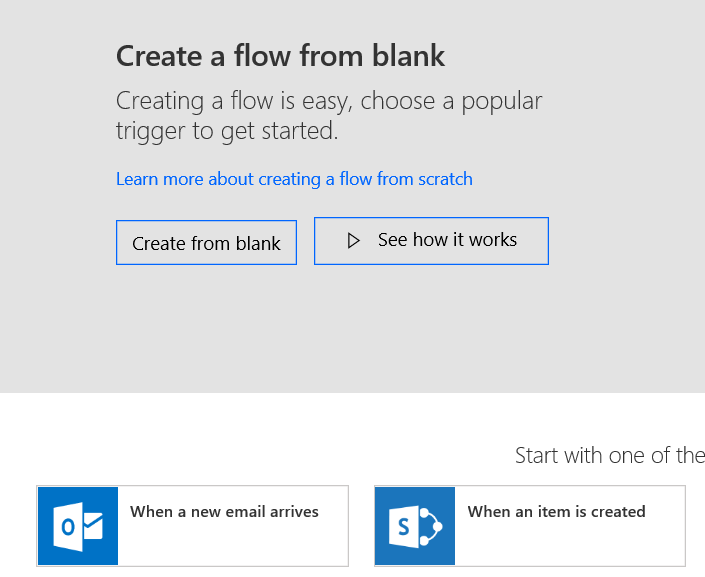
From Flow click the New drop down button, then select “Create from blank”
Next when you see the image below click on the bottom right “when an Item is created”
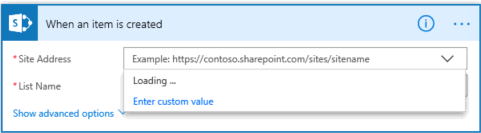
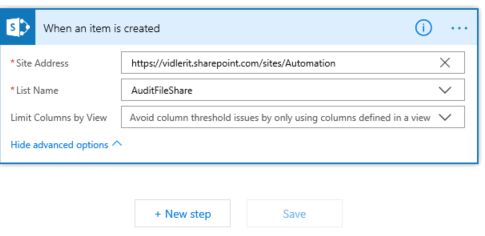
Enter the Site Address by selecting ‘Enter custom value’
Select the List required then click new
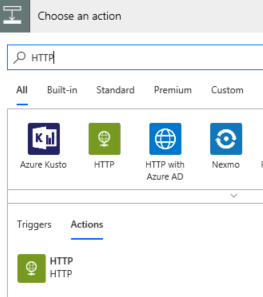
You can filter the search for HTTP then choose it
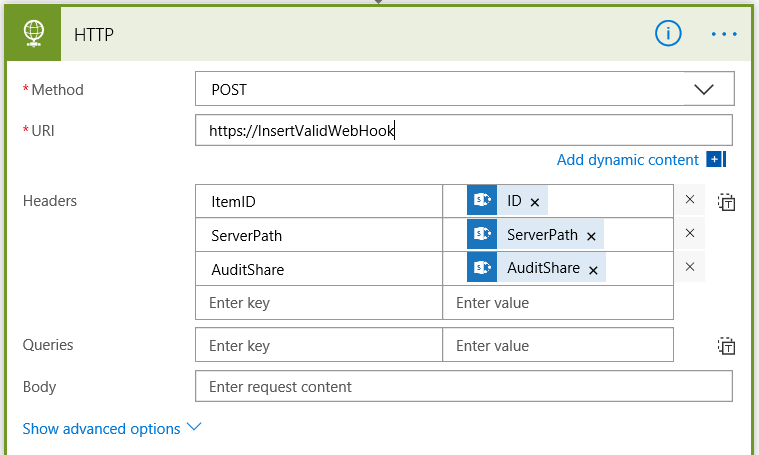
Choose POST as the method and enter the webhook you saved above from Azure. In The Headers we use ItemID to match the list’s ID from SharePoint. ServerPath and AuditShare are the input fields from SharePoint list to the script parameters.
Hybrid Worker Script
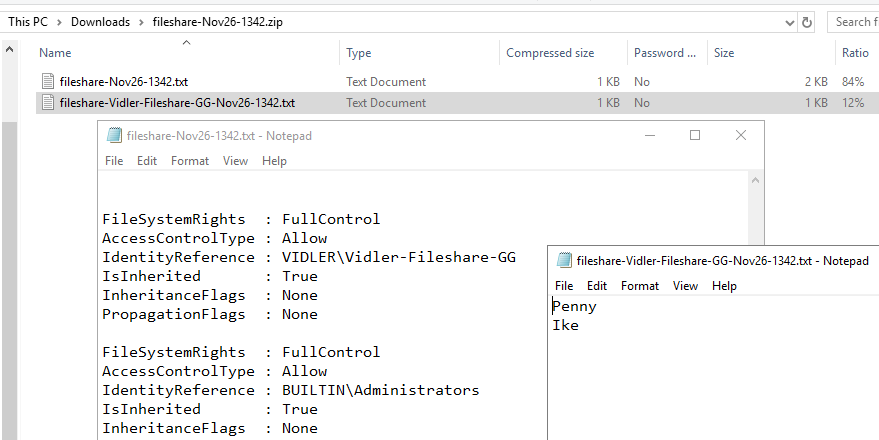
This Script executes on the Hybrid worker using the credentials passed from the Azure automation Script and stored as a credential object. The main tasks it performs is a small audit of a file share and checks the groups members of the global group it finds. Lastly it zips up the files ready to upload back to SharePoint. I have used the $Date from the Azure script in order to Identity the filename and avoid conflicts.
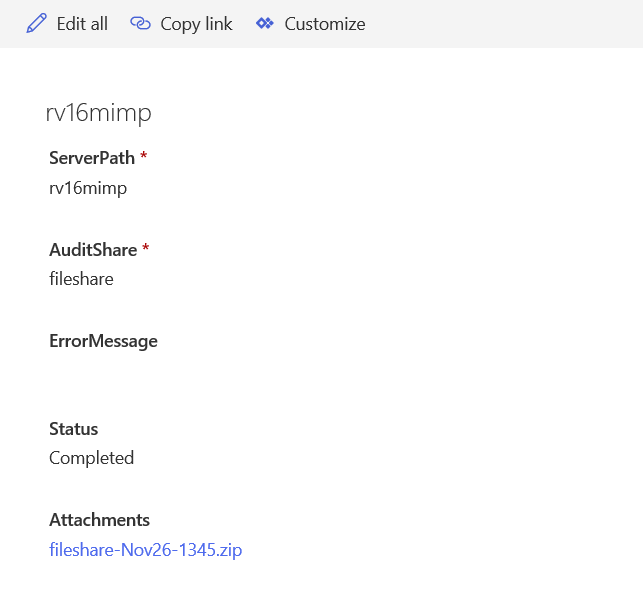
After a successful run the list Item will look like the picture below where you can download the zip file
The Following Picture shows the output of the files above.
This blog article is very useful to learn about how MS Flow can be used to call Webhooks on Microsoft Azure Automation PowerShell script but, for the last line of your article “The Following Picture shows the output of the files above” what are the pictures? Is it a mistake or missing?
Best Regards
RajeshN, Nous Infosystems