Update: Oct 2019. Authoring Identities can be easily performed using the SailPoint IdentityNow PowerShell Module.
Introduction
A key aspect of any Identity Management project is having an Authoritative Source for Identity. Typically this is a Human Resources system. But what about identity types that aren’t in the authoritative source? External Vendors, contingent contractors and identities that are used by End User Computing systems such as Privileged Accounts, Service Accounts, Training Accounts.
Now some Identity Management Solutions allow you to Author identity through their Portals, and provide a nice GUI to create a user/training/service account. SailPoint IdentityNow however doesn’t have that functionality. However it does have an API and I’ll show you in the post how you can use it to Author identity into IdentityNow via the API.
Overview
So, now you’re thinking great, I can author Identity into IdentityNow via the API. But, am I supposed to get managers to interface with an API to kick off a workflow to create identities? Um, no. I don’t think we want to be giving them API access into our Identity Management solution.
The concept is this. An Identity Request WebApp would collect the necessary information for the identities to be authored and facilitate the creation of them in IdentityNow via the API. SailPoint kindly provide a sample project that does just that. It is available on Github here. Through looking at this project and the IdentityNow API I worked out how to author identity via the API using PowerShell. There were a few gotchas I had to work through so I’m providing a working example for you to base a solution around.
Getting Started
There are a couple of things to note.
- Obviously you’ll need API access
- I detailed how to set that up at the start of this post
- You’ll want to create a Source that is of the Flat File type (Generic or Delimited File)
- We can’t create accounts against Directly Connected Sources
- There are a few attributes that are mandatory for the creation
- At a minimum I supply id, name, givenName, familyName, displayName and e-mail
- At an absolute bare minimum you need the following. Otherwise you will end up with an account in IdentityNow that will show as “Identity Exception”
- id, name, givenName, familyName, e-mail*
* see note below on e-mail/email attribute format based on Source type
Creating a Flat File Source to be used for Identity Authoring
In the IdentityNow Portal under Admin => Connections => Sources select New.

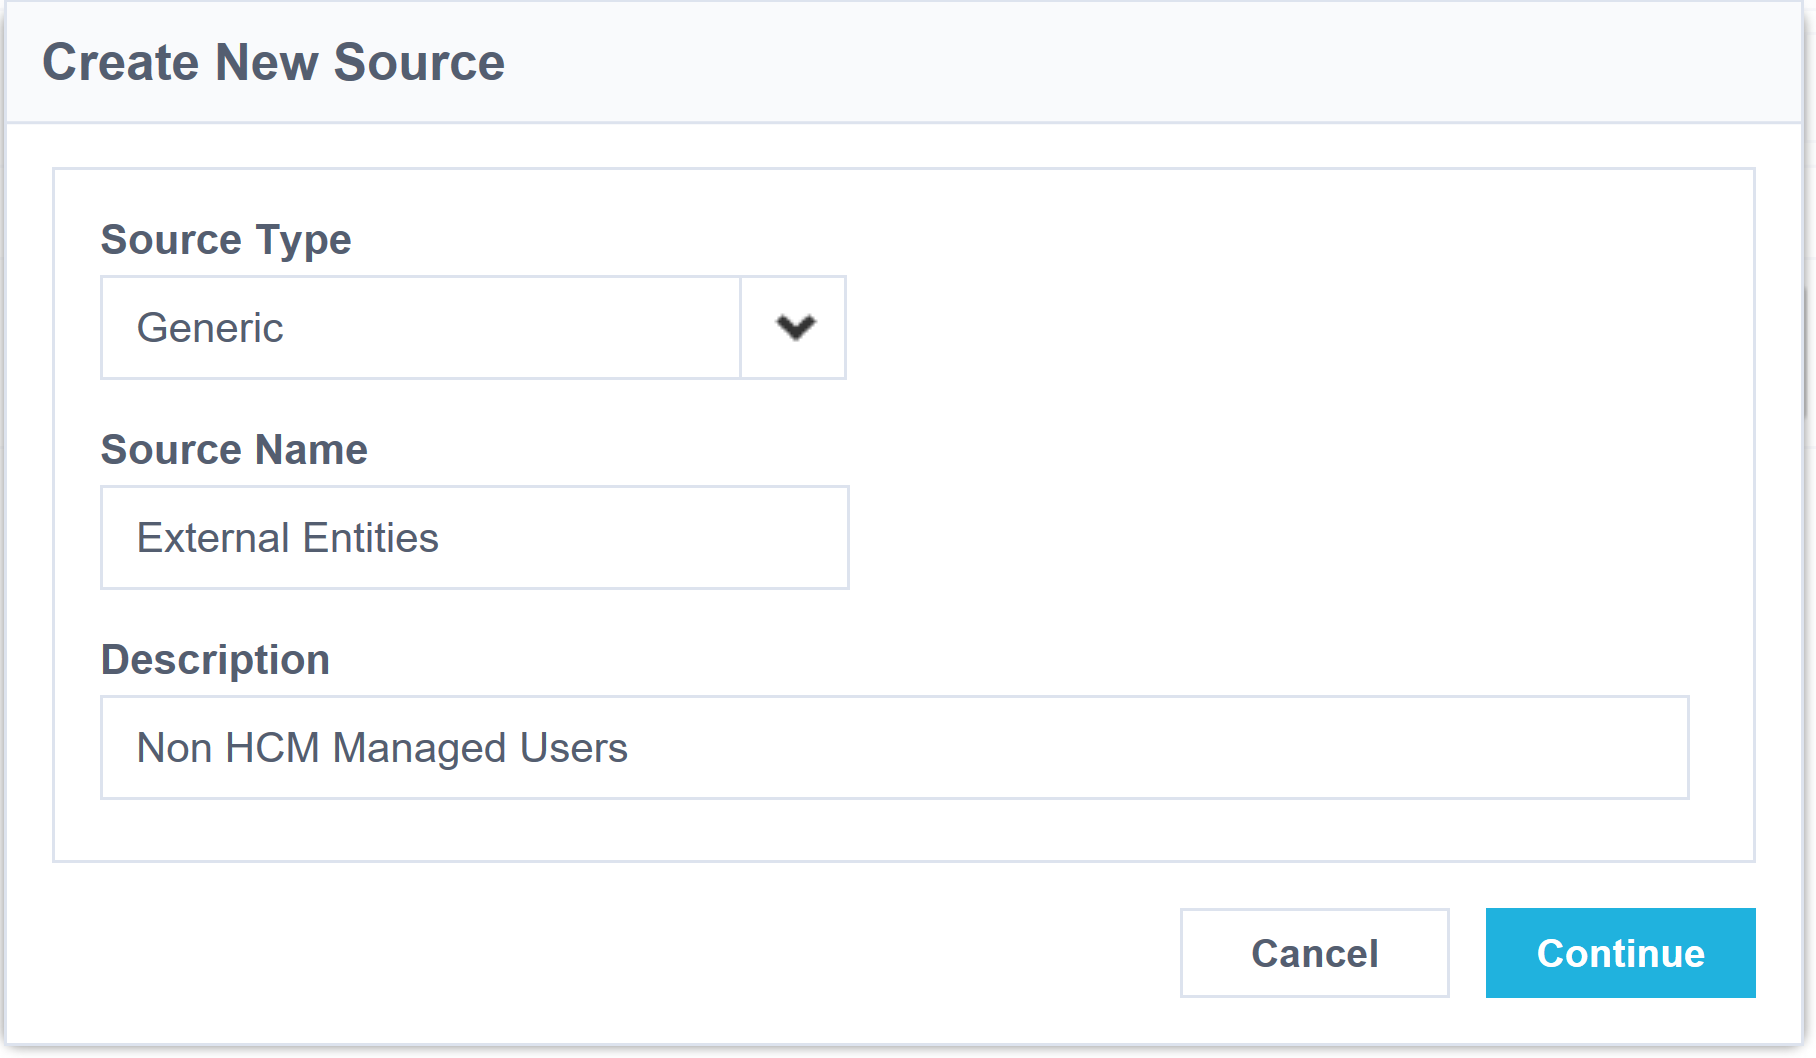
I’m using Generic as the Source Type. Give it a name and description. Select Continue

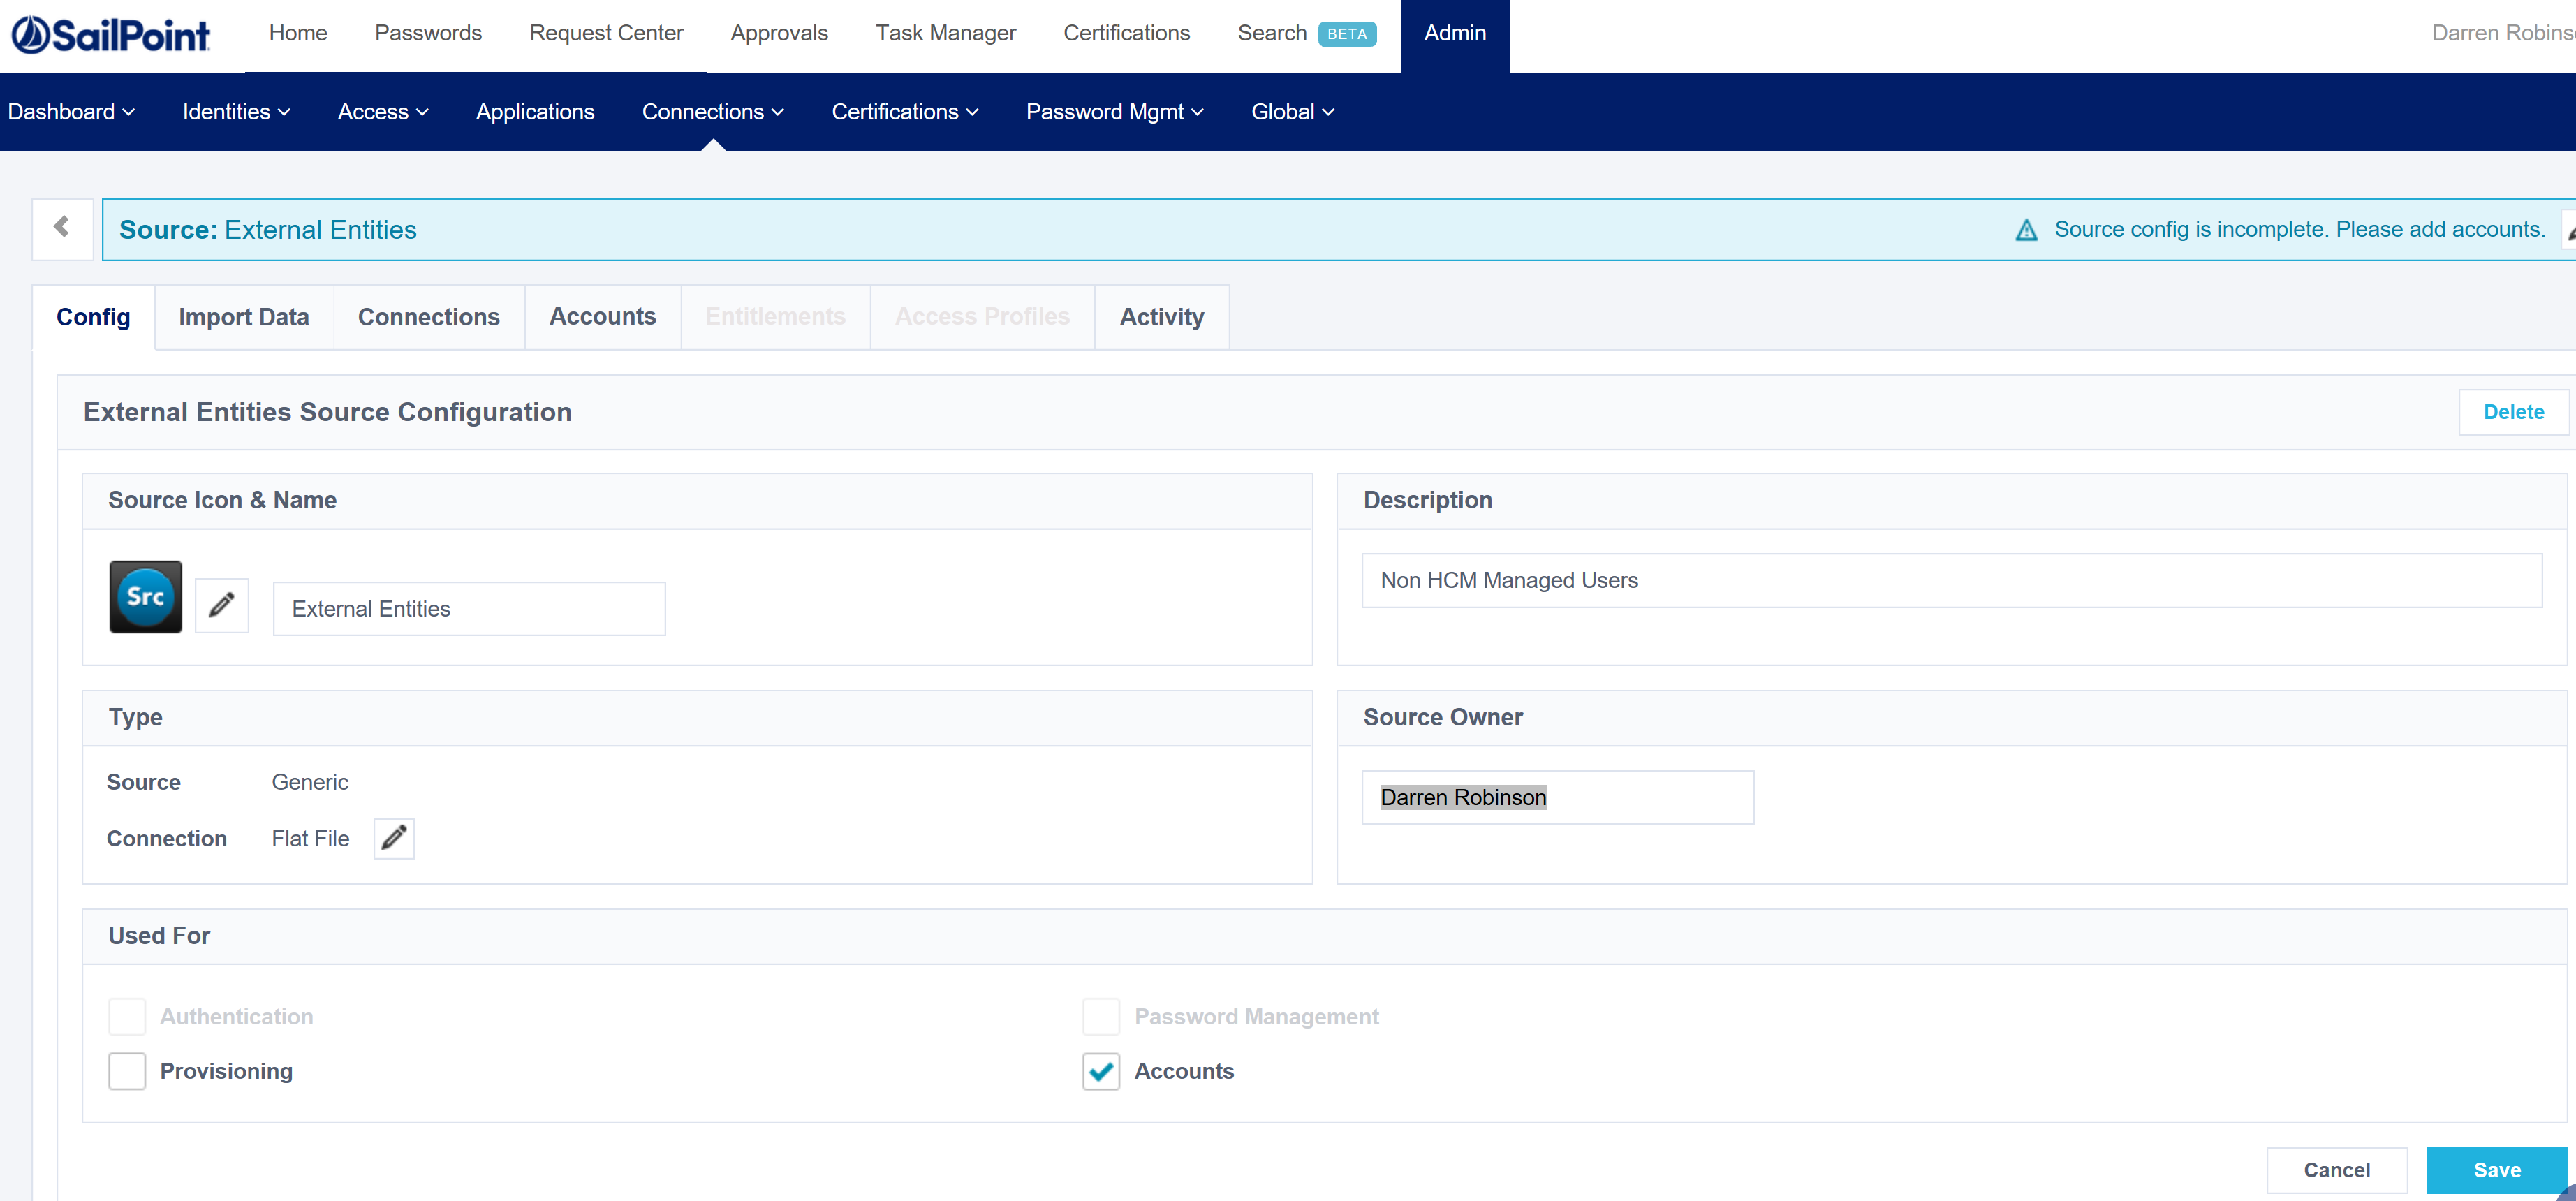
Assign an Owner for the Source and check the Accounts checkbox. Select Save.

At the end of the URL of the now Saved new Source get and record the SourceID. This will be required so that when we create users via the API, they will be created against this Source.

If we look at the Accounts on this Source we see there are obviously none.

We’d better create some. But first you need to complete the configuration for this Source. Go and create an Identity Profile for this Source, and configure your Identity Mappings as per your requirements. This is the same as you would for any other IdentityNow Source.
Authoring Identities in IdentityNow with PowerShell
The following script is the bare minimum to use PowerShell to create an account in IdentityNow. Change;
- line 2 for your Client ID
- line 4 for your Client Secret
- line 8 for your Tenant Org Name
- line 12 for your Source ID
- the body of the request for the account to be created (lines 16-21)
NOTE: By default on the Generic Source the email attribute is ’email’. By default on the Delimited Source the email attribute is ‘e-mail’. If your identities after executing the script and a correlation are showing as ‘Identity Exception’ then it’s probably because of this field being incorrect for the Source type. If in doubt check the Account Schema on the Source.
Execute the script and refresh the Accounts page. You’ll see we now have an account for Rick.

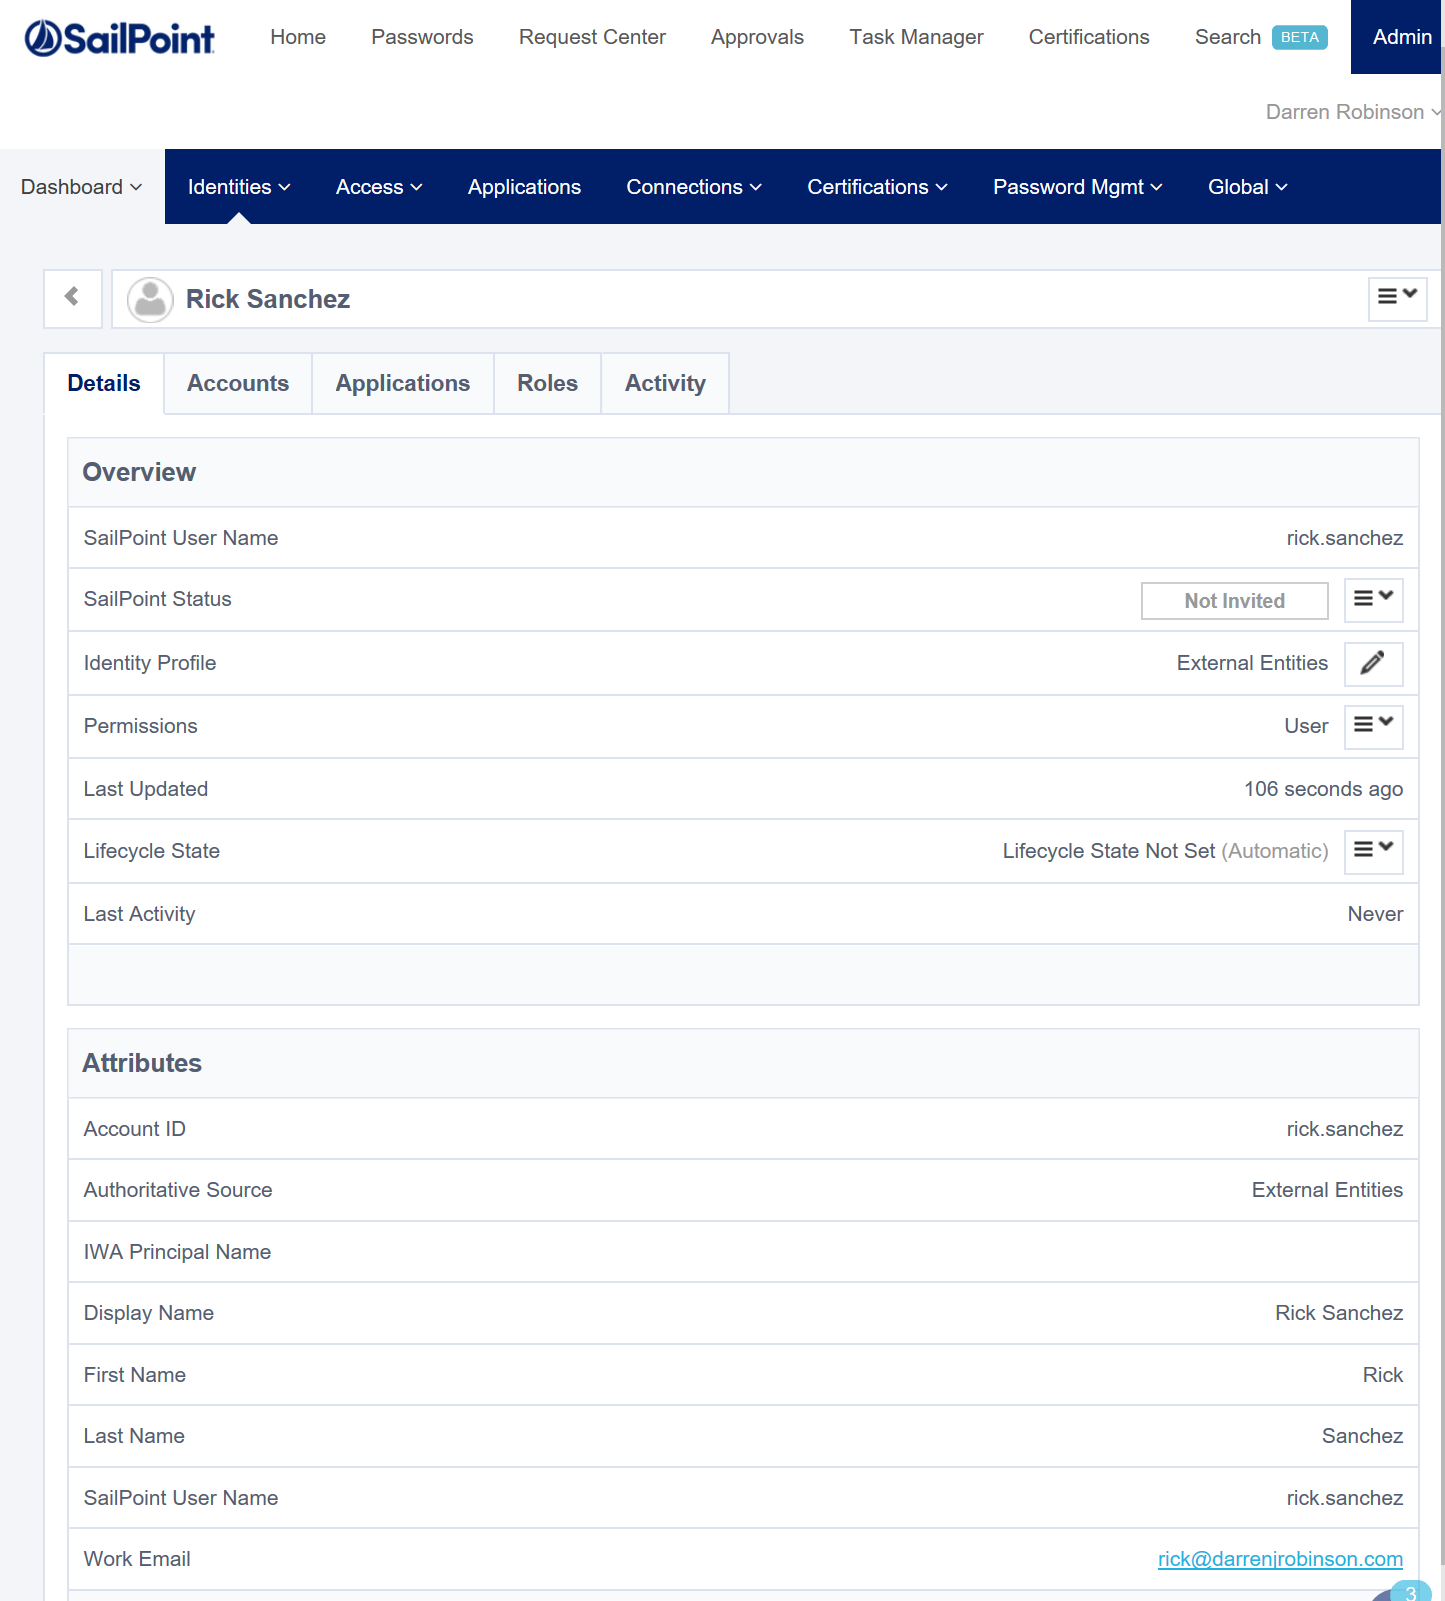
Expanding Rick’s account we can see the full details.

Testing it out for a Bulk Creation
A few weeks ago I wrote this post about generating user data from public datasets. I’m going to take that and generate 50 accounts. I’ve added additional attributes to the Account Schema (for suburb, state, postcode, street). Here is a script combining the two.
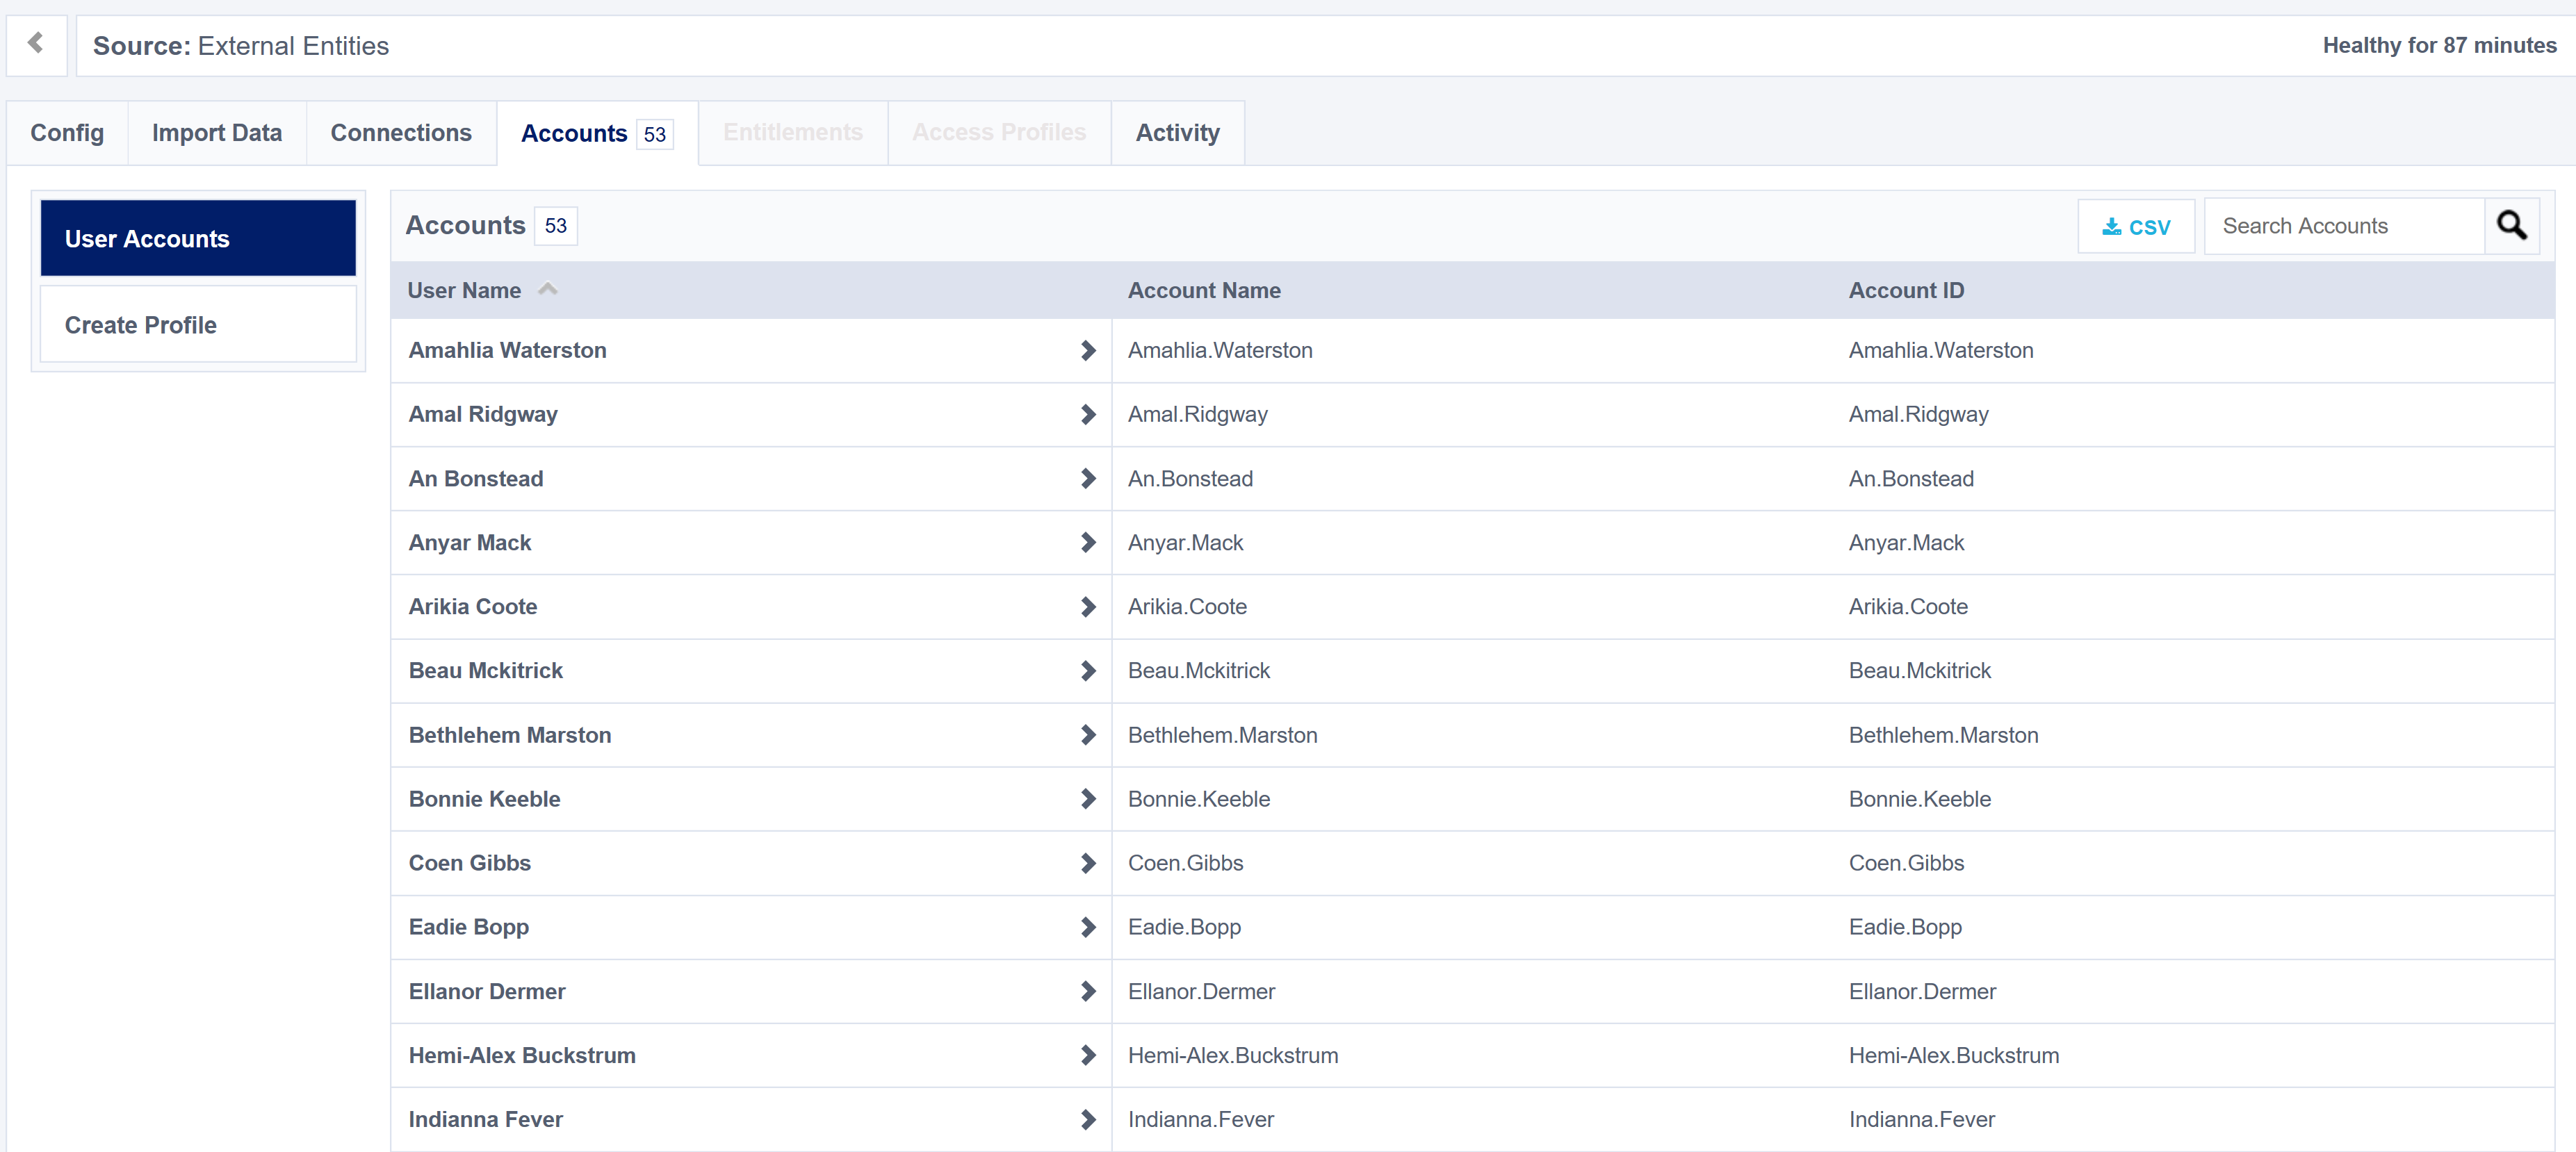
Running the script creates our 50 users in conjunction to the couple I already had present.

Summary
Using the IdentityNow API we can quickly leverage it to author identity into SailPoint IdentityNow. That’s the easy bit sorted. Now to come up with a pretty UI and a UX that passes the End-User usability tests. I’ll leave that with you.
