
Introduction
In the last couple of weeks I’ve posted about visualizing relationships of data from Microsoft Identity Manager using Power BI. Earlier this week I posted about building a Management Agent for Microsoft Identity Manger to integrate with xMatters.
In this post I combine data from the last two in order to allow us to visualise the geographic office locations for an organisation and then summary data about it (how many employees are located there, and what departments).
Prerequisites
You’ll need an Azure AD and Office 365 subscription to allow you to create a Power BI Application. Too create a Power BI Application see Registering a Power BI Application in this post here.
You’ll also need the Power BI PowerShell Module. I’m using 2.0.0.9 available from the PowerShell Gallery here and of course the Lithnet MIIS PowerShell Module available from here.
Overview
Using our registered Power BI Application we’ll create a Dataset consisting of two tables. One for the xMatters Sites (that we also get the geographic co-ordinates of from the xMatters Management Agent), and the other with our xMatters Users that contains the officeLocation that maps to an xMatters Site.
I create a relationship between the two tables on xMattersSite displayName (which is the location name) and the xMattersUsers officeLocation. We can then create a nice visual using data from both tables.
Create the Dataset (two tables with relationship)
Initially I tried to create the dataset with a relationship as I’ve previously shown here. However that didn’t work. After some debugging I got the result I wanted after some trial and error using the Power BI API Explorer. So I’ll provide you with the raw JSON format for creating a New Dataset, Two Tables (xMattersSites and xMattersUsers) and a relationship between them (where xMattersSites\displayName joins with xMattersUsers\officeLocation) as per my xMatters Management Agent detailed here.
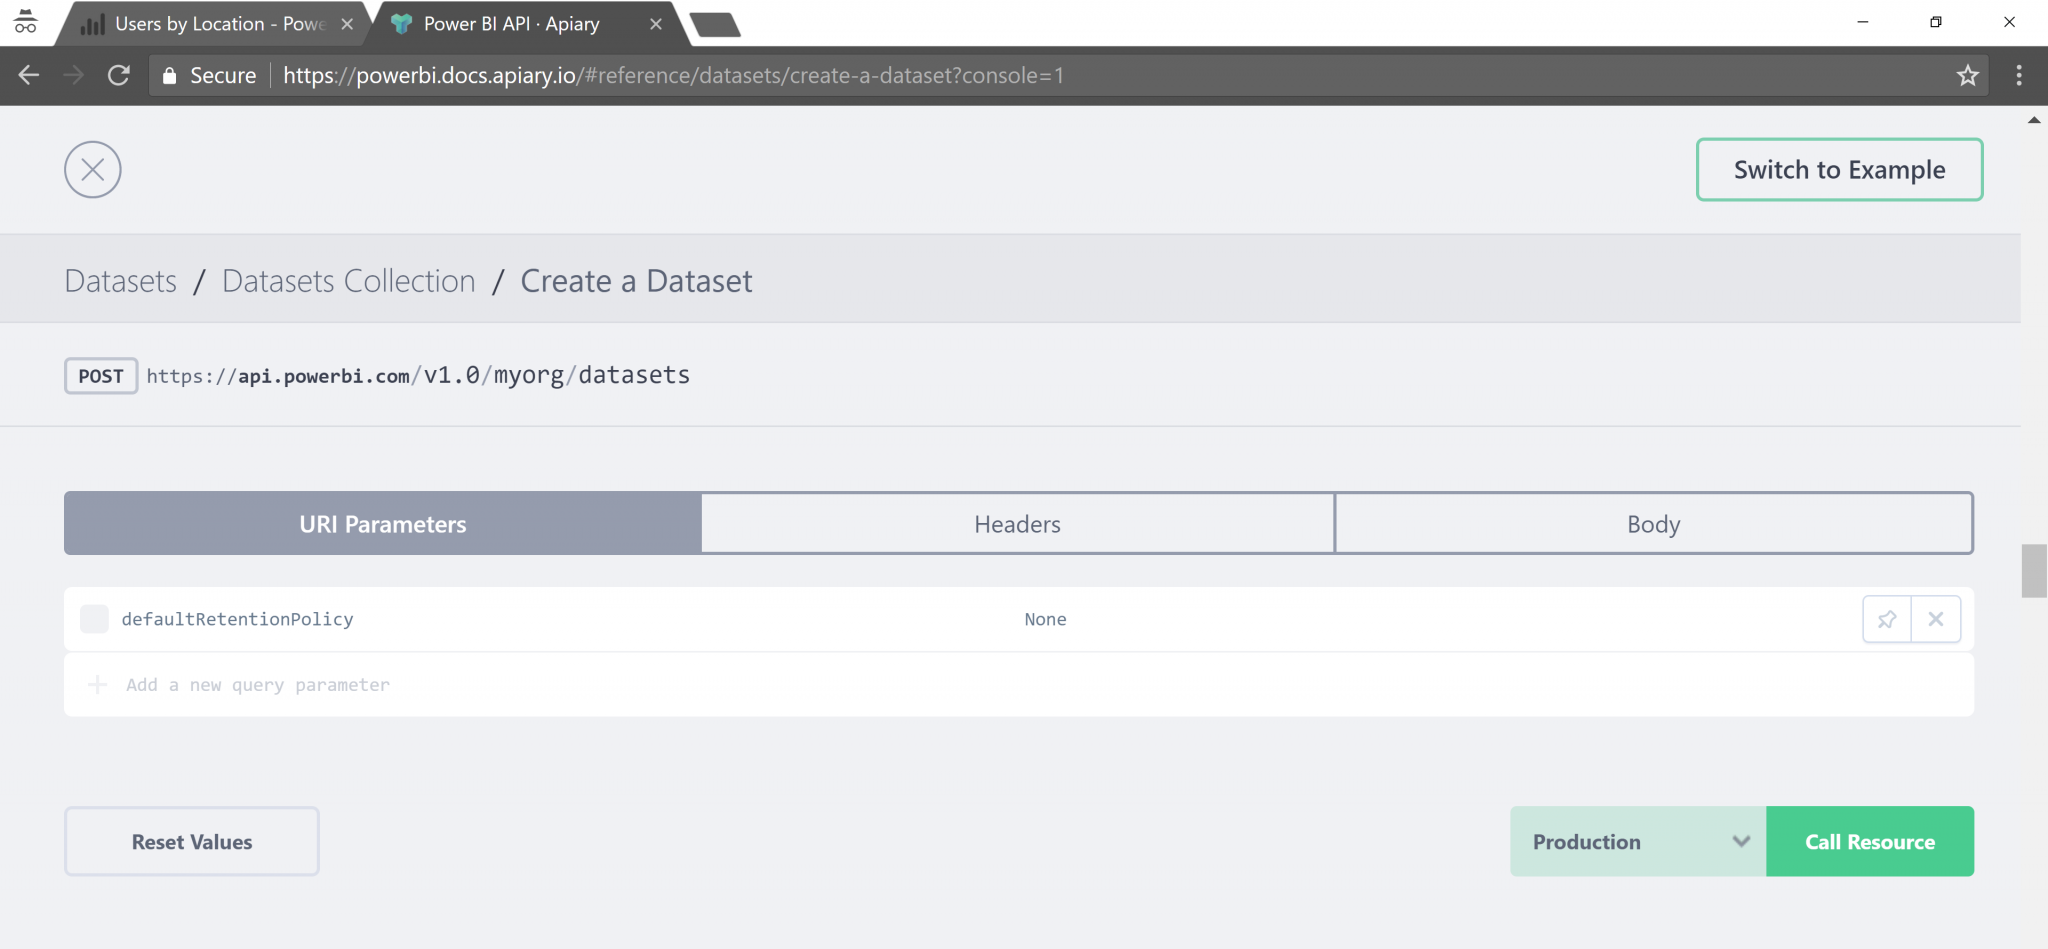
Start by authenticating to the Power BI API Explorer with an account in the environment where you created your Power BI Application and navigate to the Create Dataset section here.
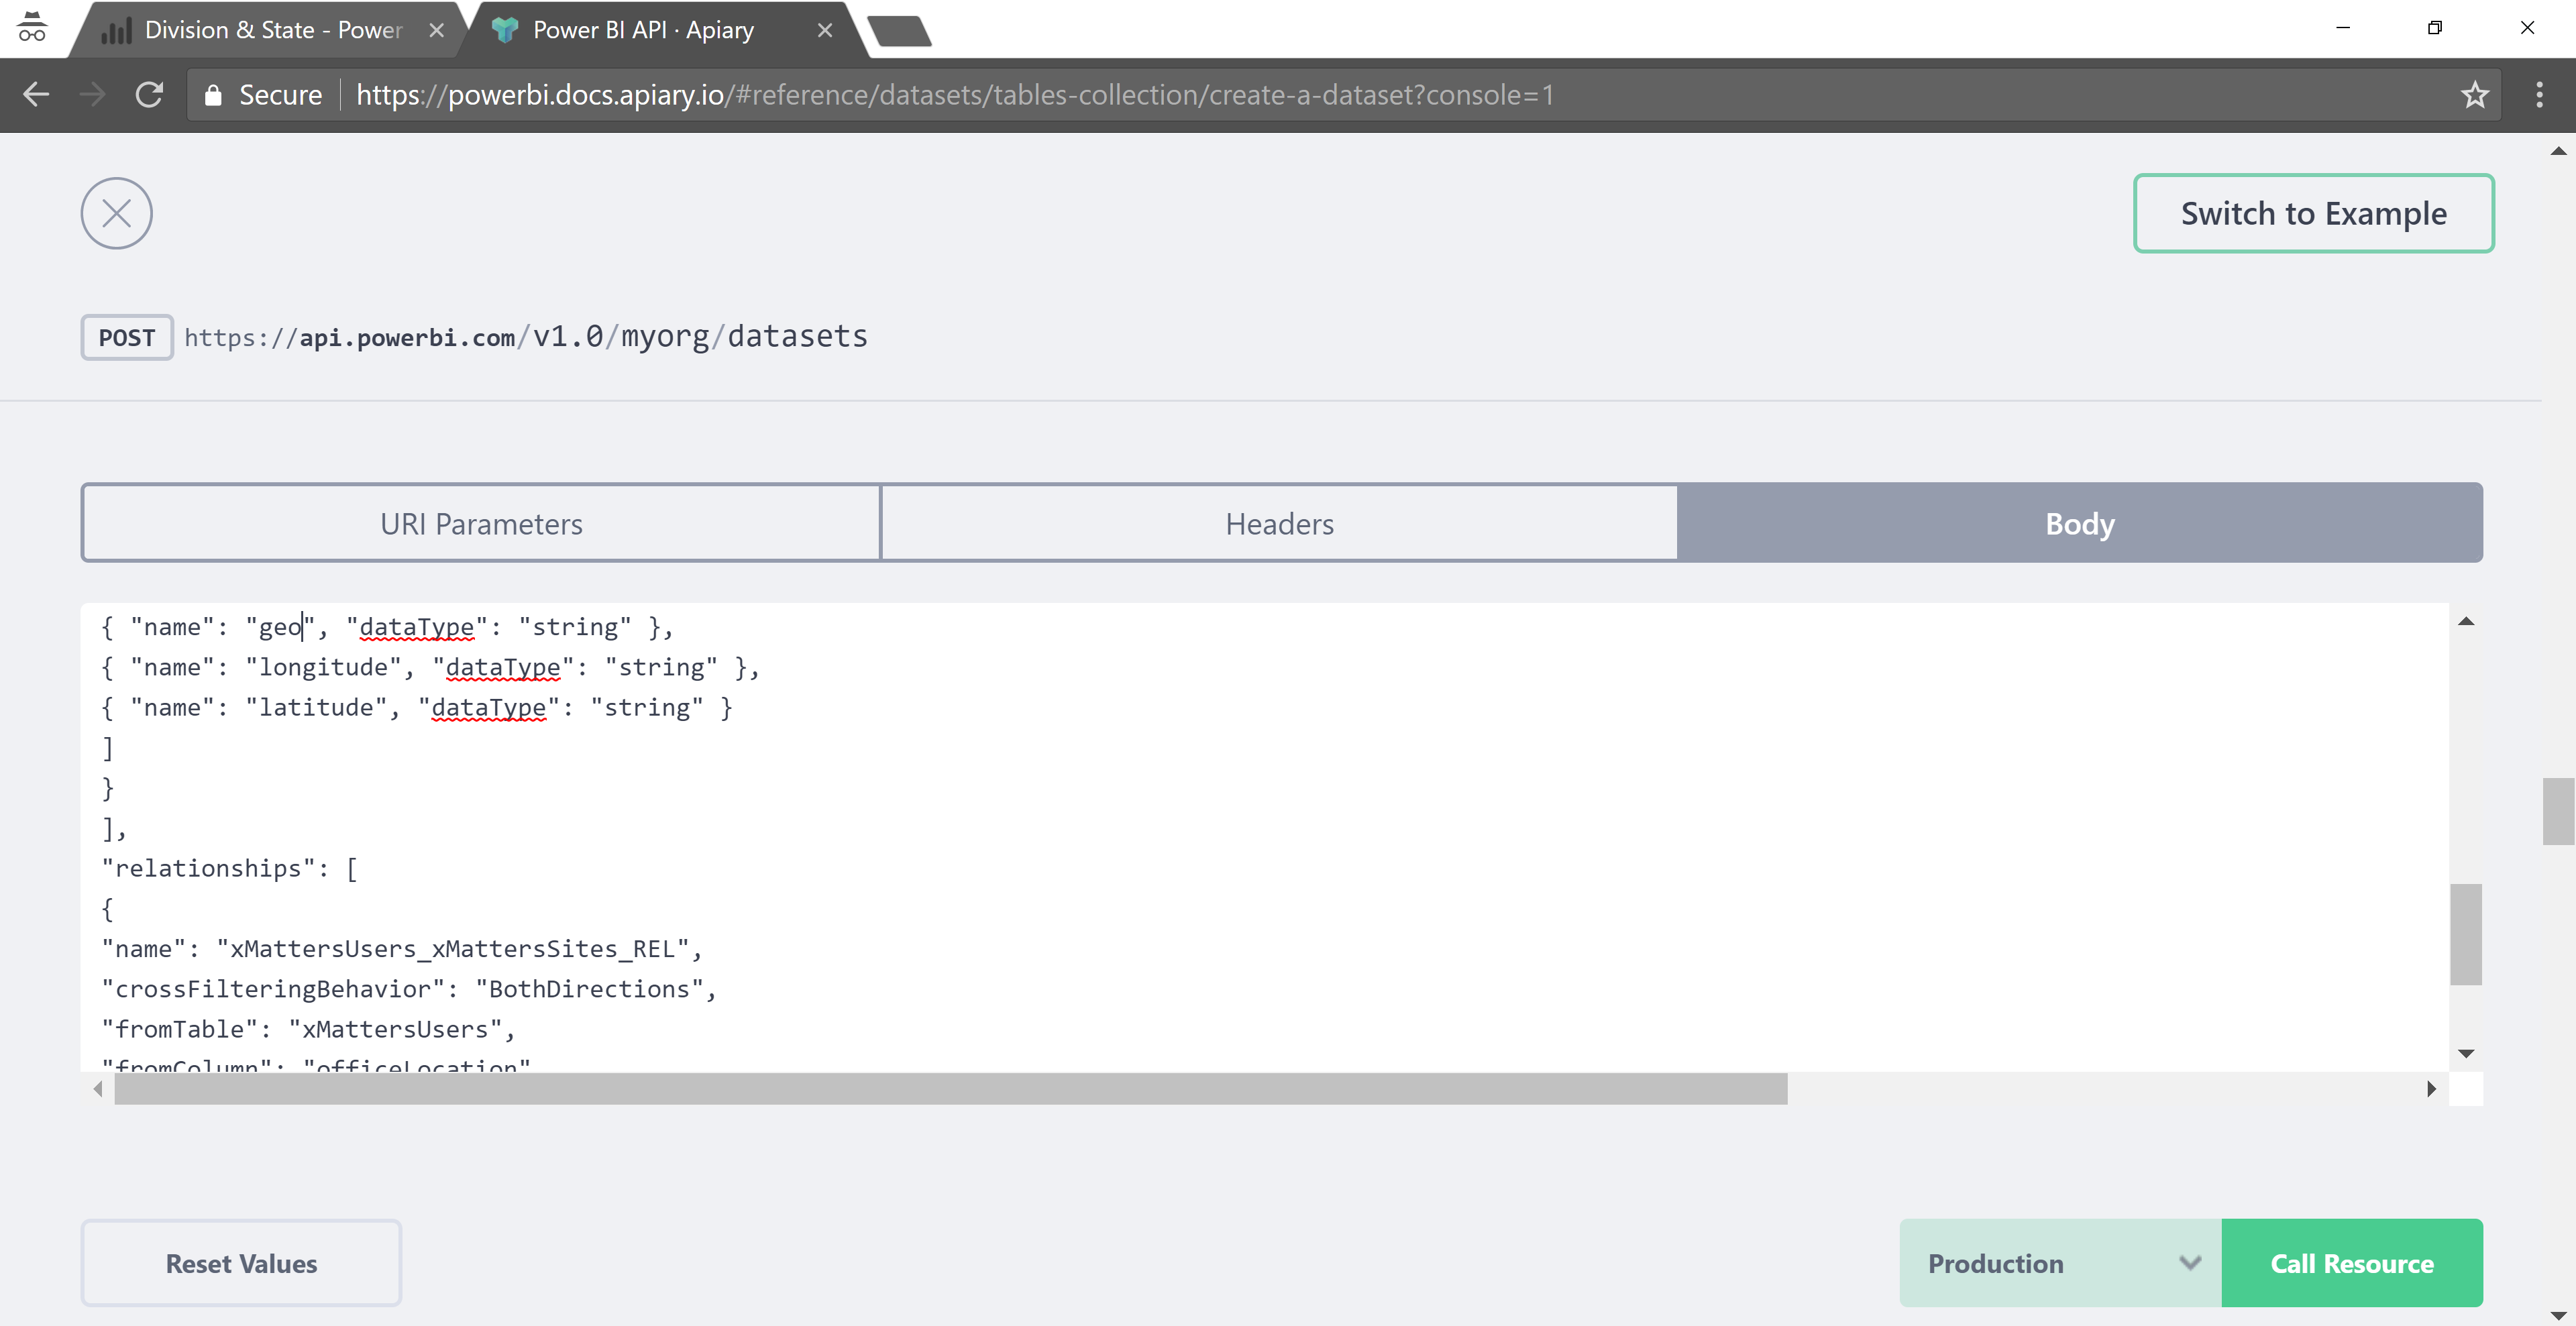
Update this JSON formatted object that details the Dataset, Tables and Relationships for your environment.
Paste your validated JSON object into the Body section of the API Explorer and select Call Resource.
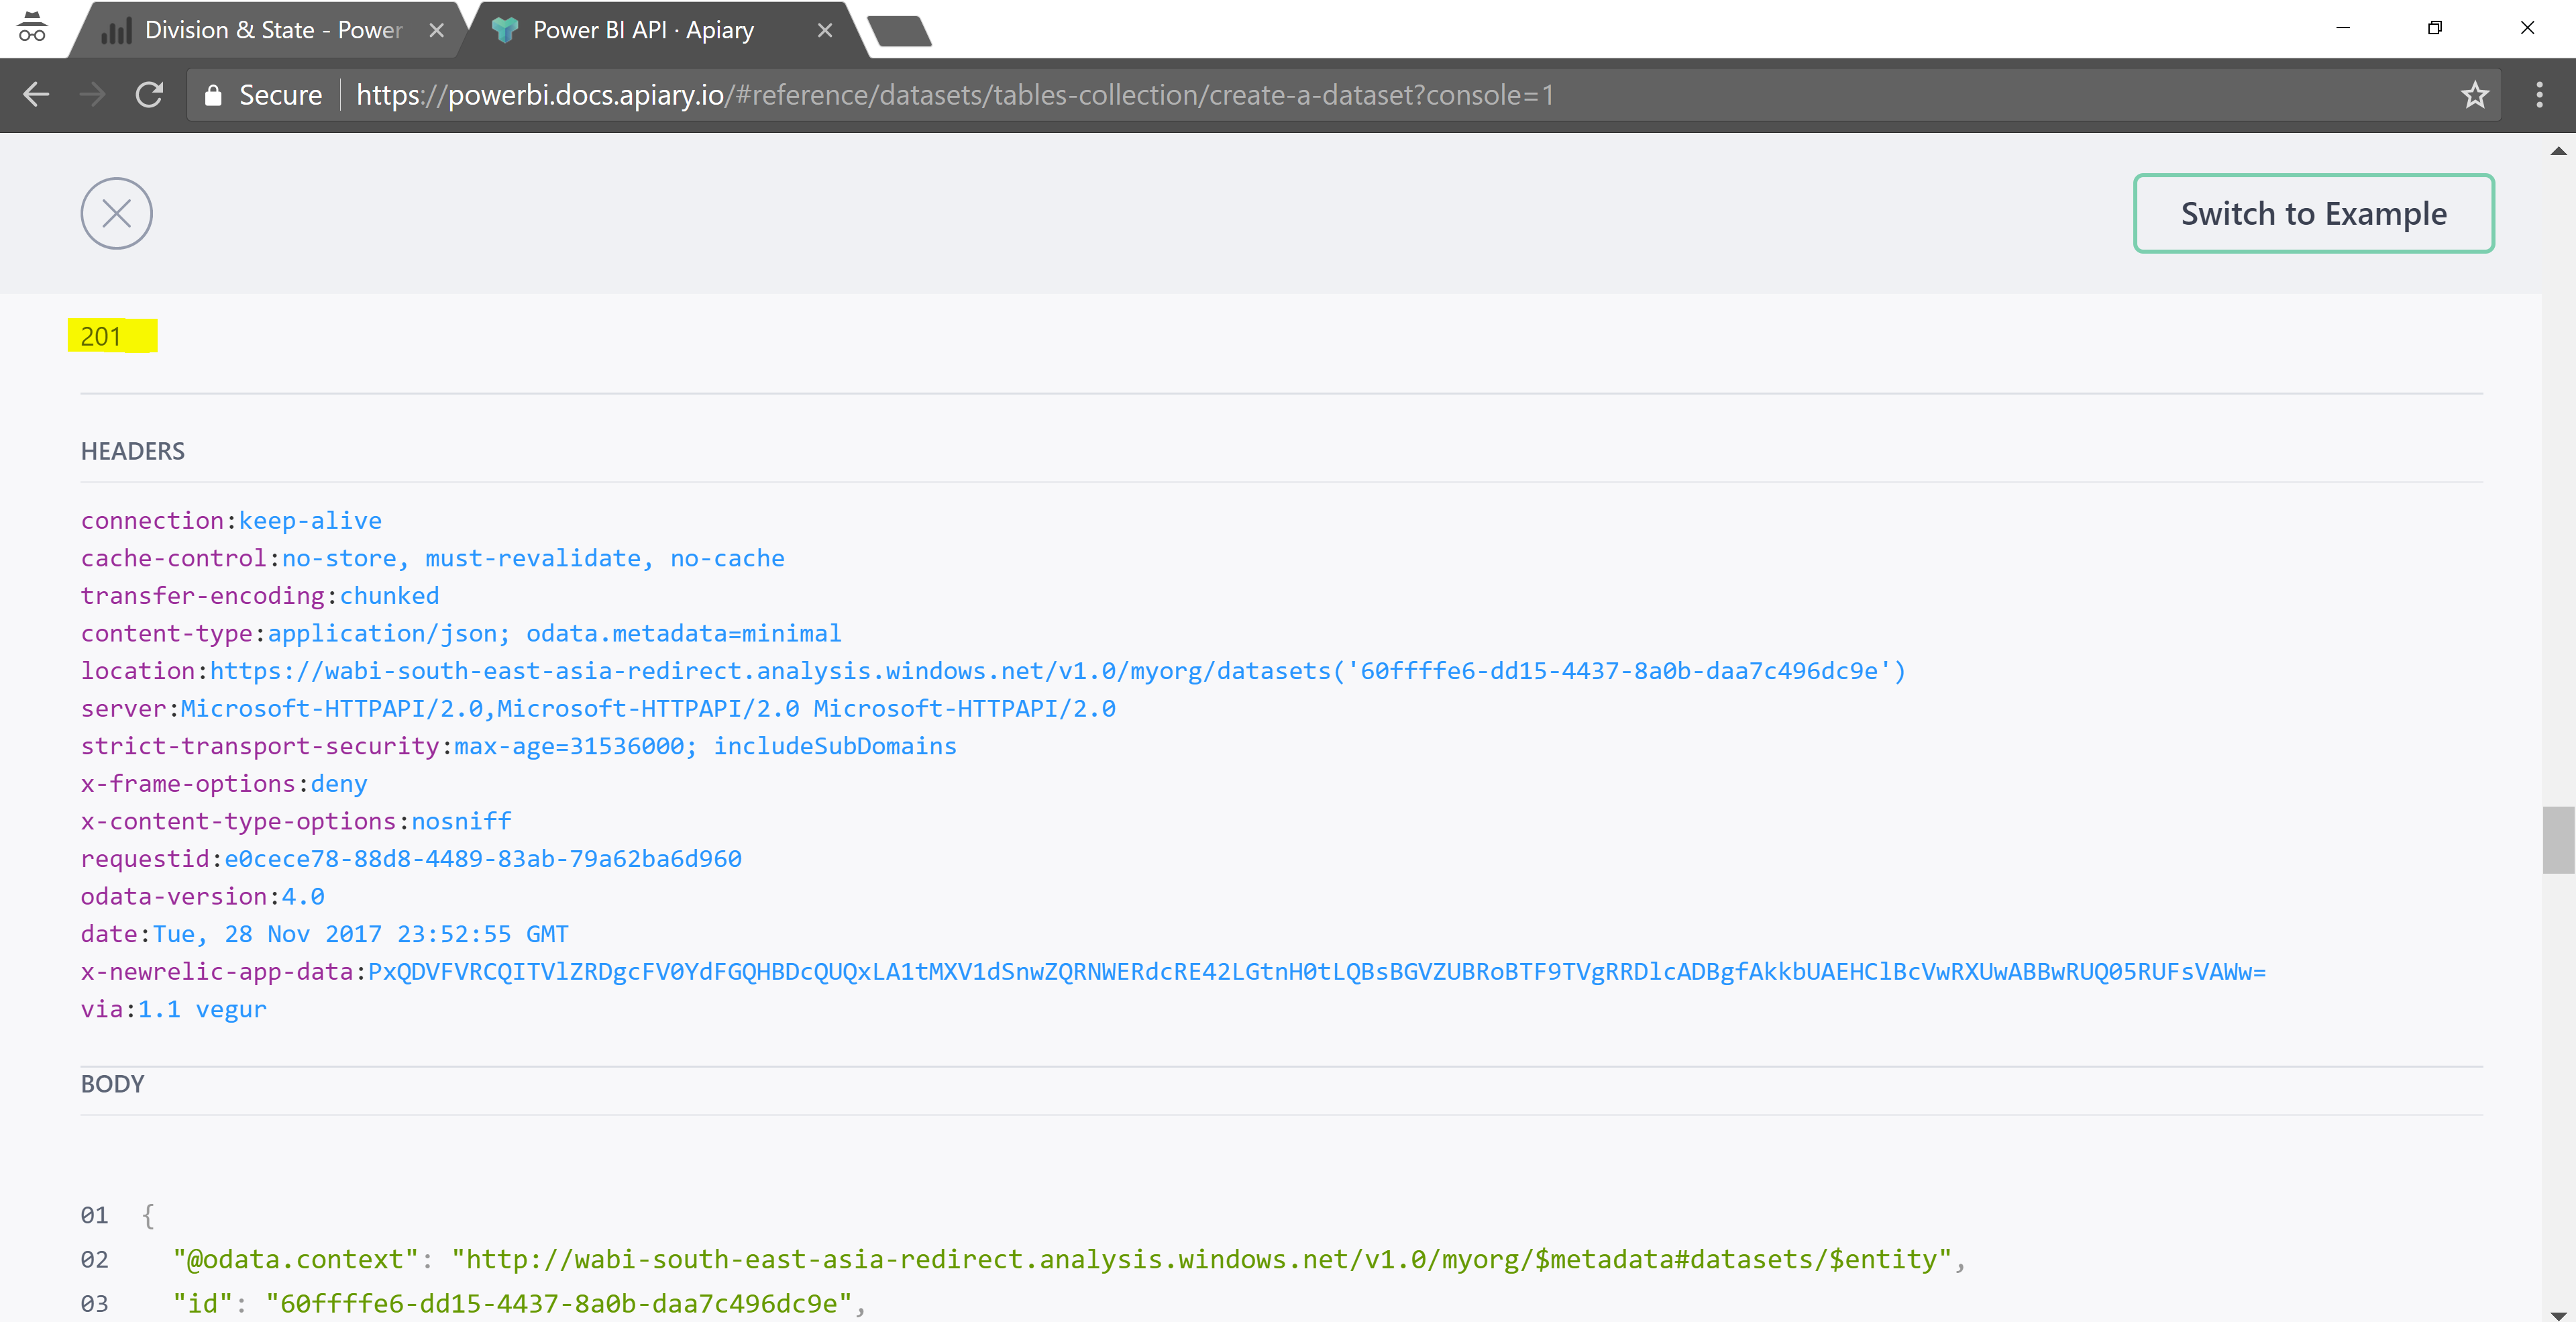
If your JSON object is formatted corrected you’ll get a 201 response and your DataSet and Tables with Relationship will be created.
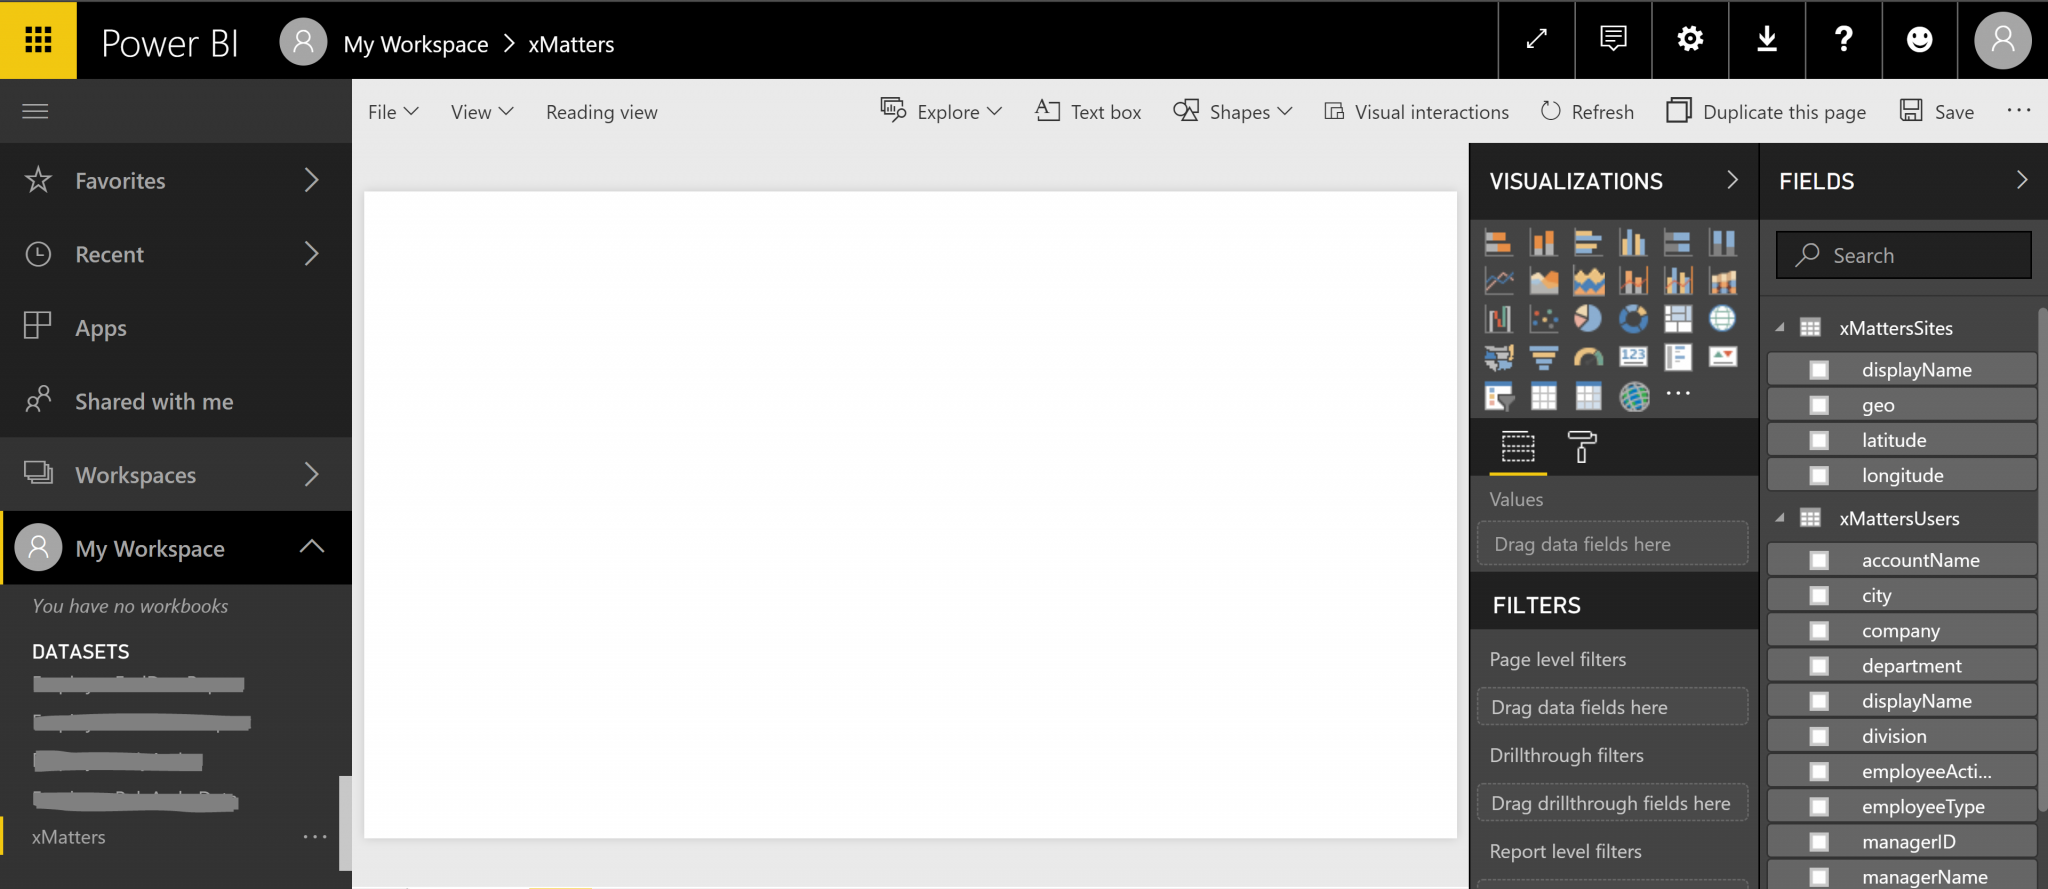
Switching over to Power BI you’ll see the xMatters Dataset in the bottom left, then the two tables in on the right hand side with their columns.
Load xMatters User Data into Power BI
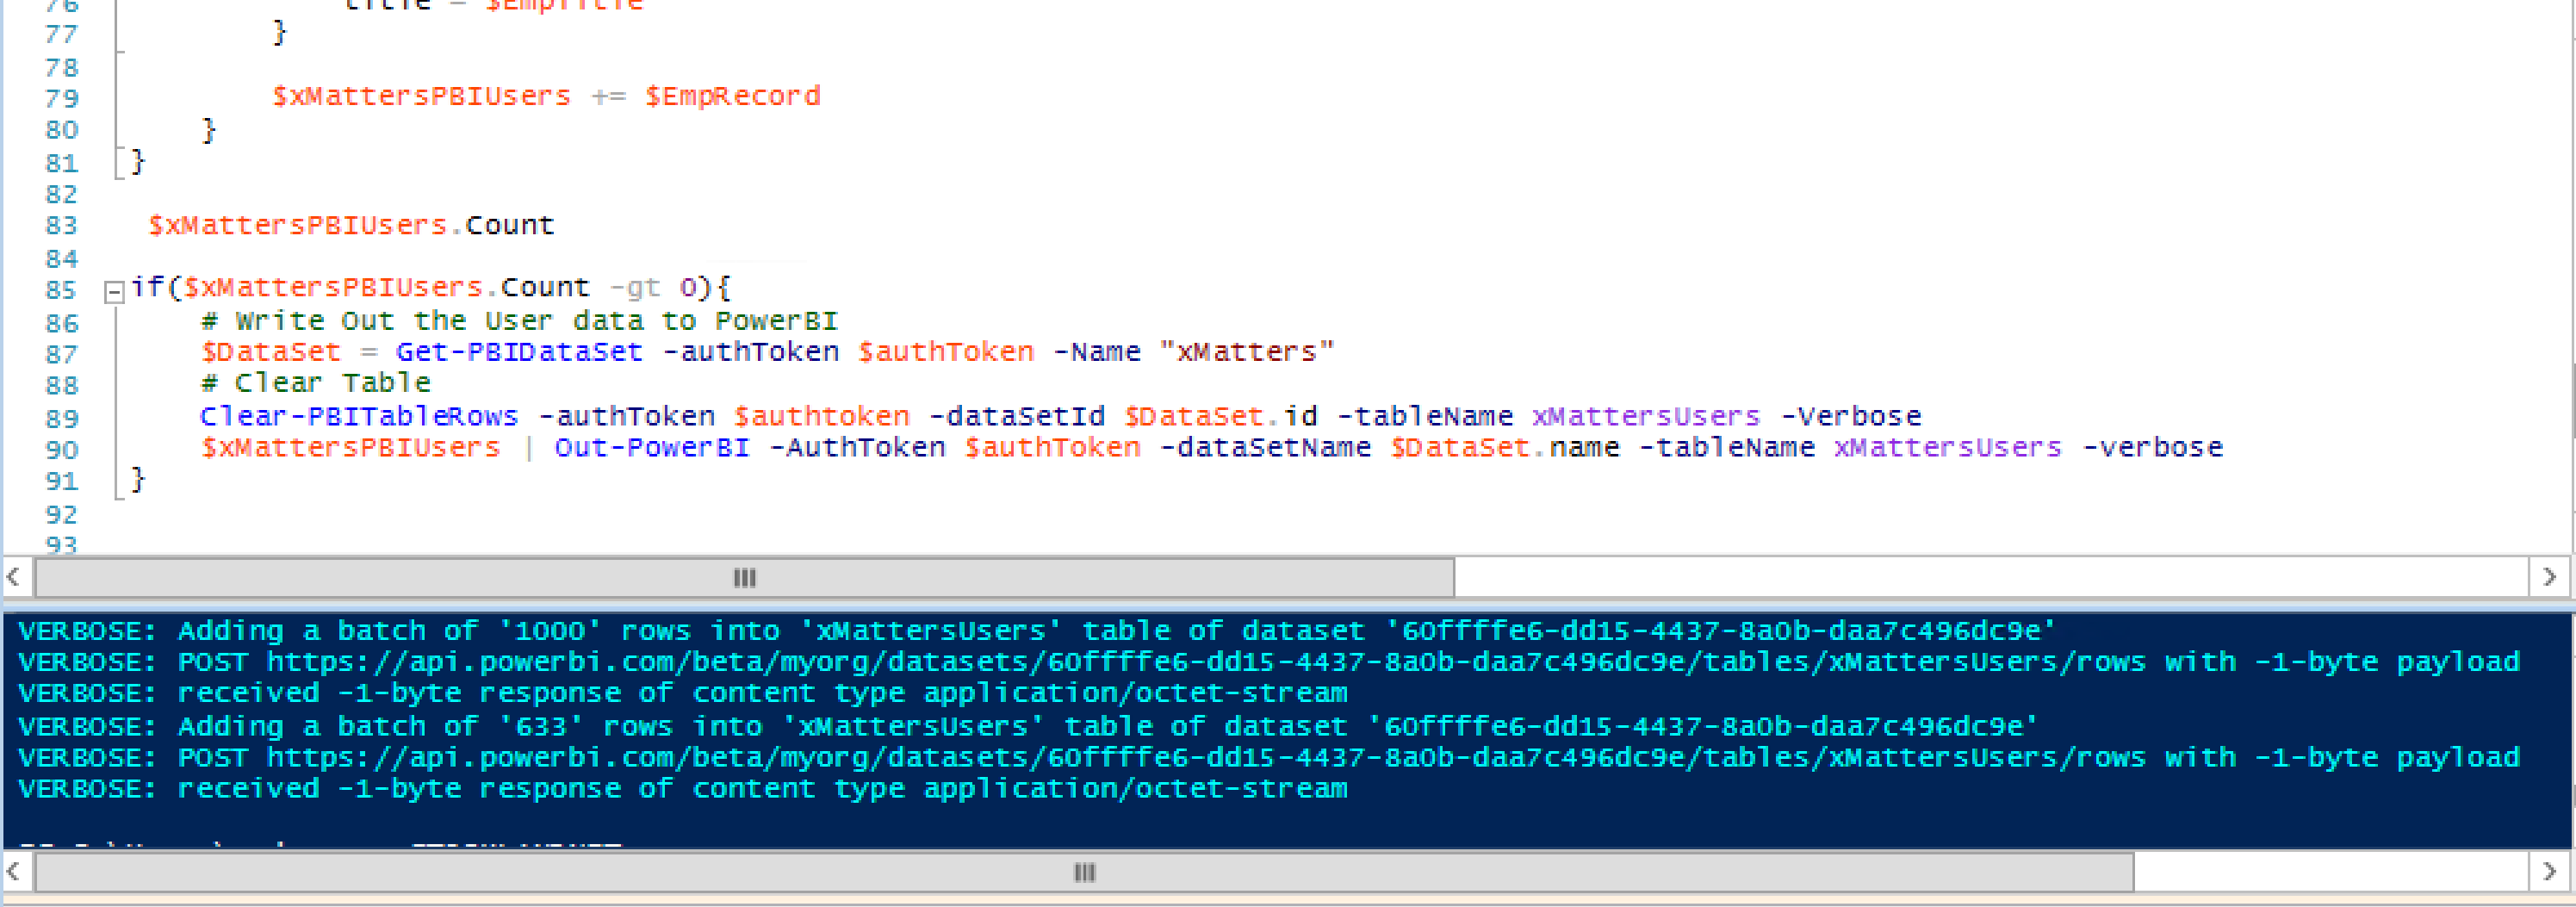
Now that we have somewhere to put the data, lets populate the dataset. I’m using the Lithnet MIIS Automation PowerShell Module (detailed in the prerequsites to query the Metaverse and return all users. Then I refine the list down to those that are Active (based on my employeeActive Boolean attribute) then finally, only those users that are connected on the xMatters Management Agent (see lines 14 & 18).
The script will drop any existing values from the xMatters Users table then upload what we have retrieved from the Metaverse (and refined).
Load xMatters Site Data into Power BI
Again I’m also using the Lithnet MIIS Automation PowerShell Module to query the Metaverse and return all xMatters Sites.
The script will drop any existing values from the xMatters Sites table then upload what we have retrieved from the Metaverse.

Creating the Power BI Visual
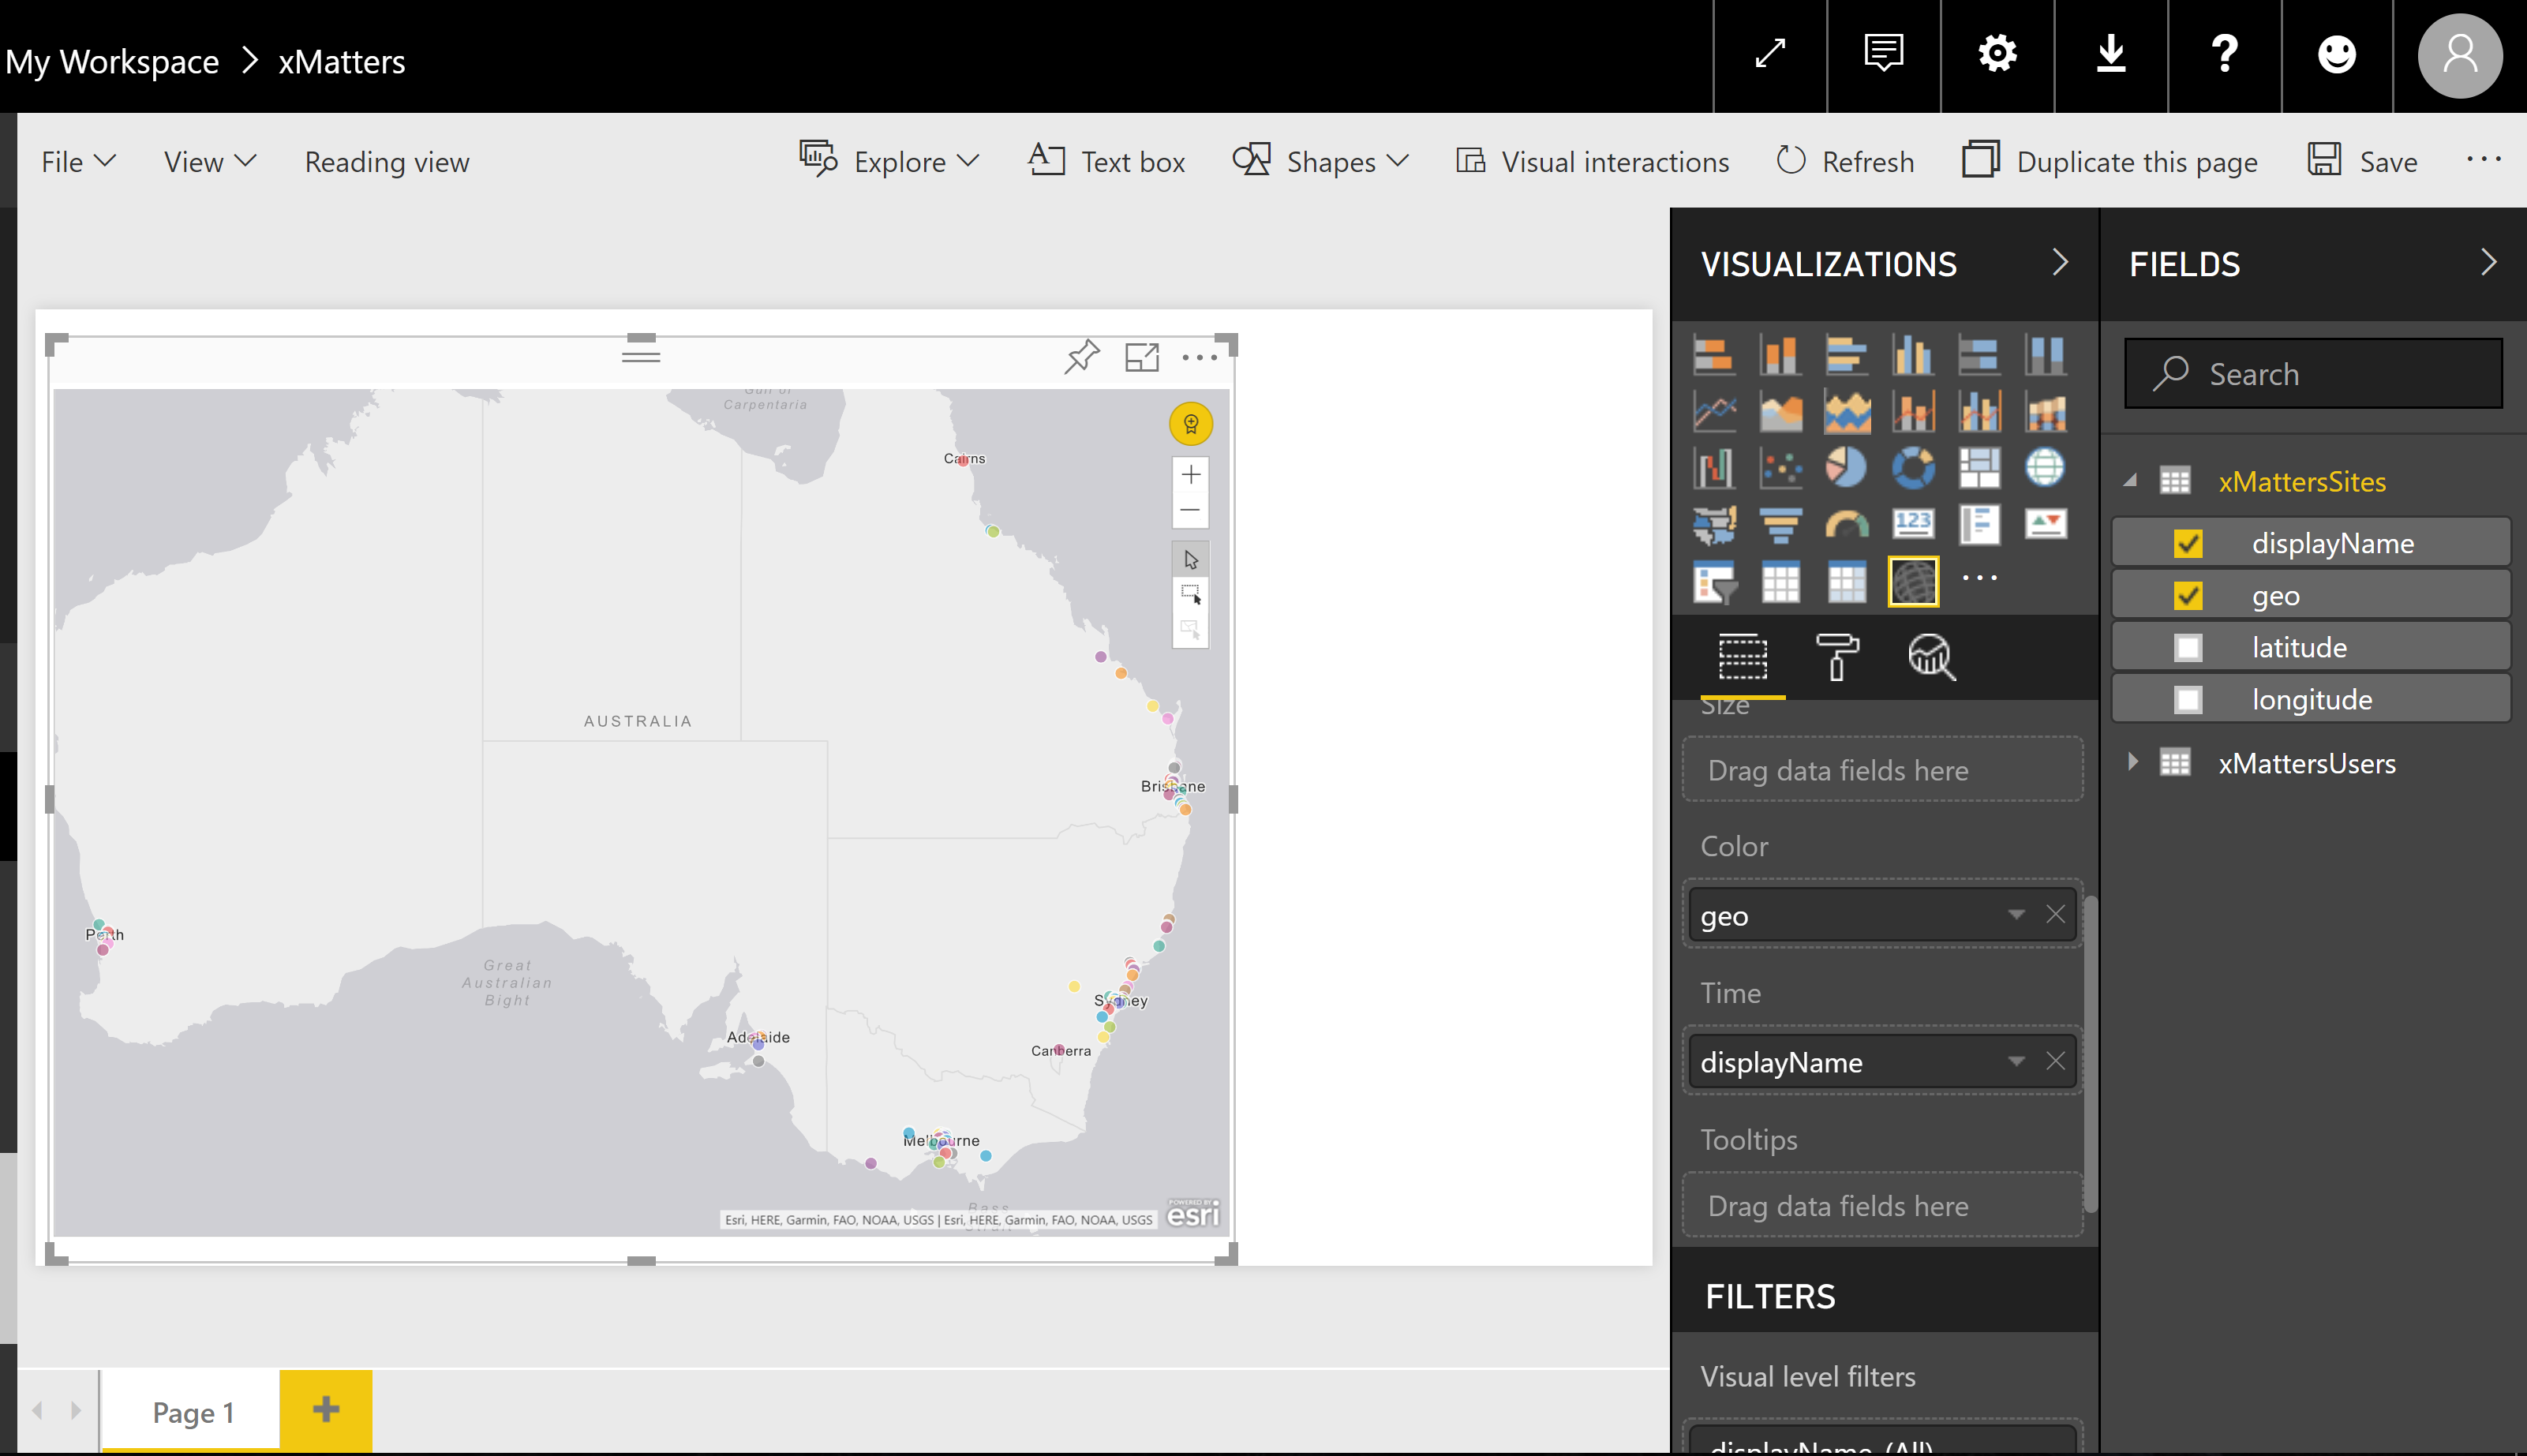
Now we have data we can build the visual. I’m using the ArcGIS Maps for Power BI visual which is available in the default set of visuals. Then by selecting displayName and geo the map will automagically show all xMatters Sites in their respective co-ordinates.
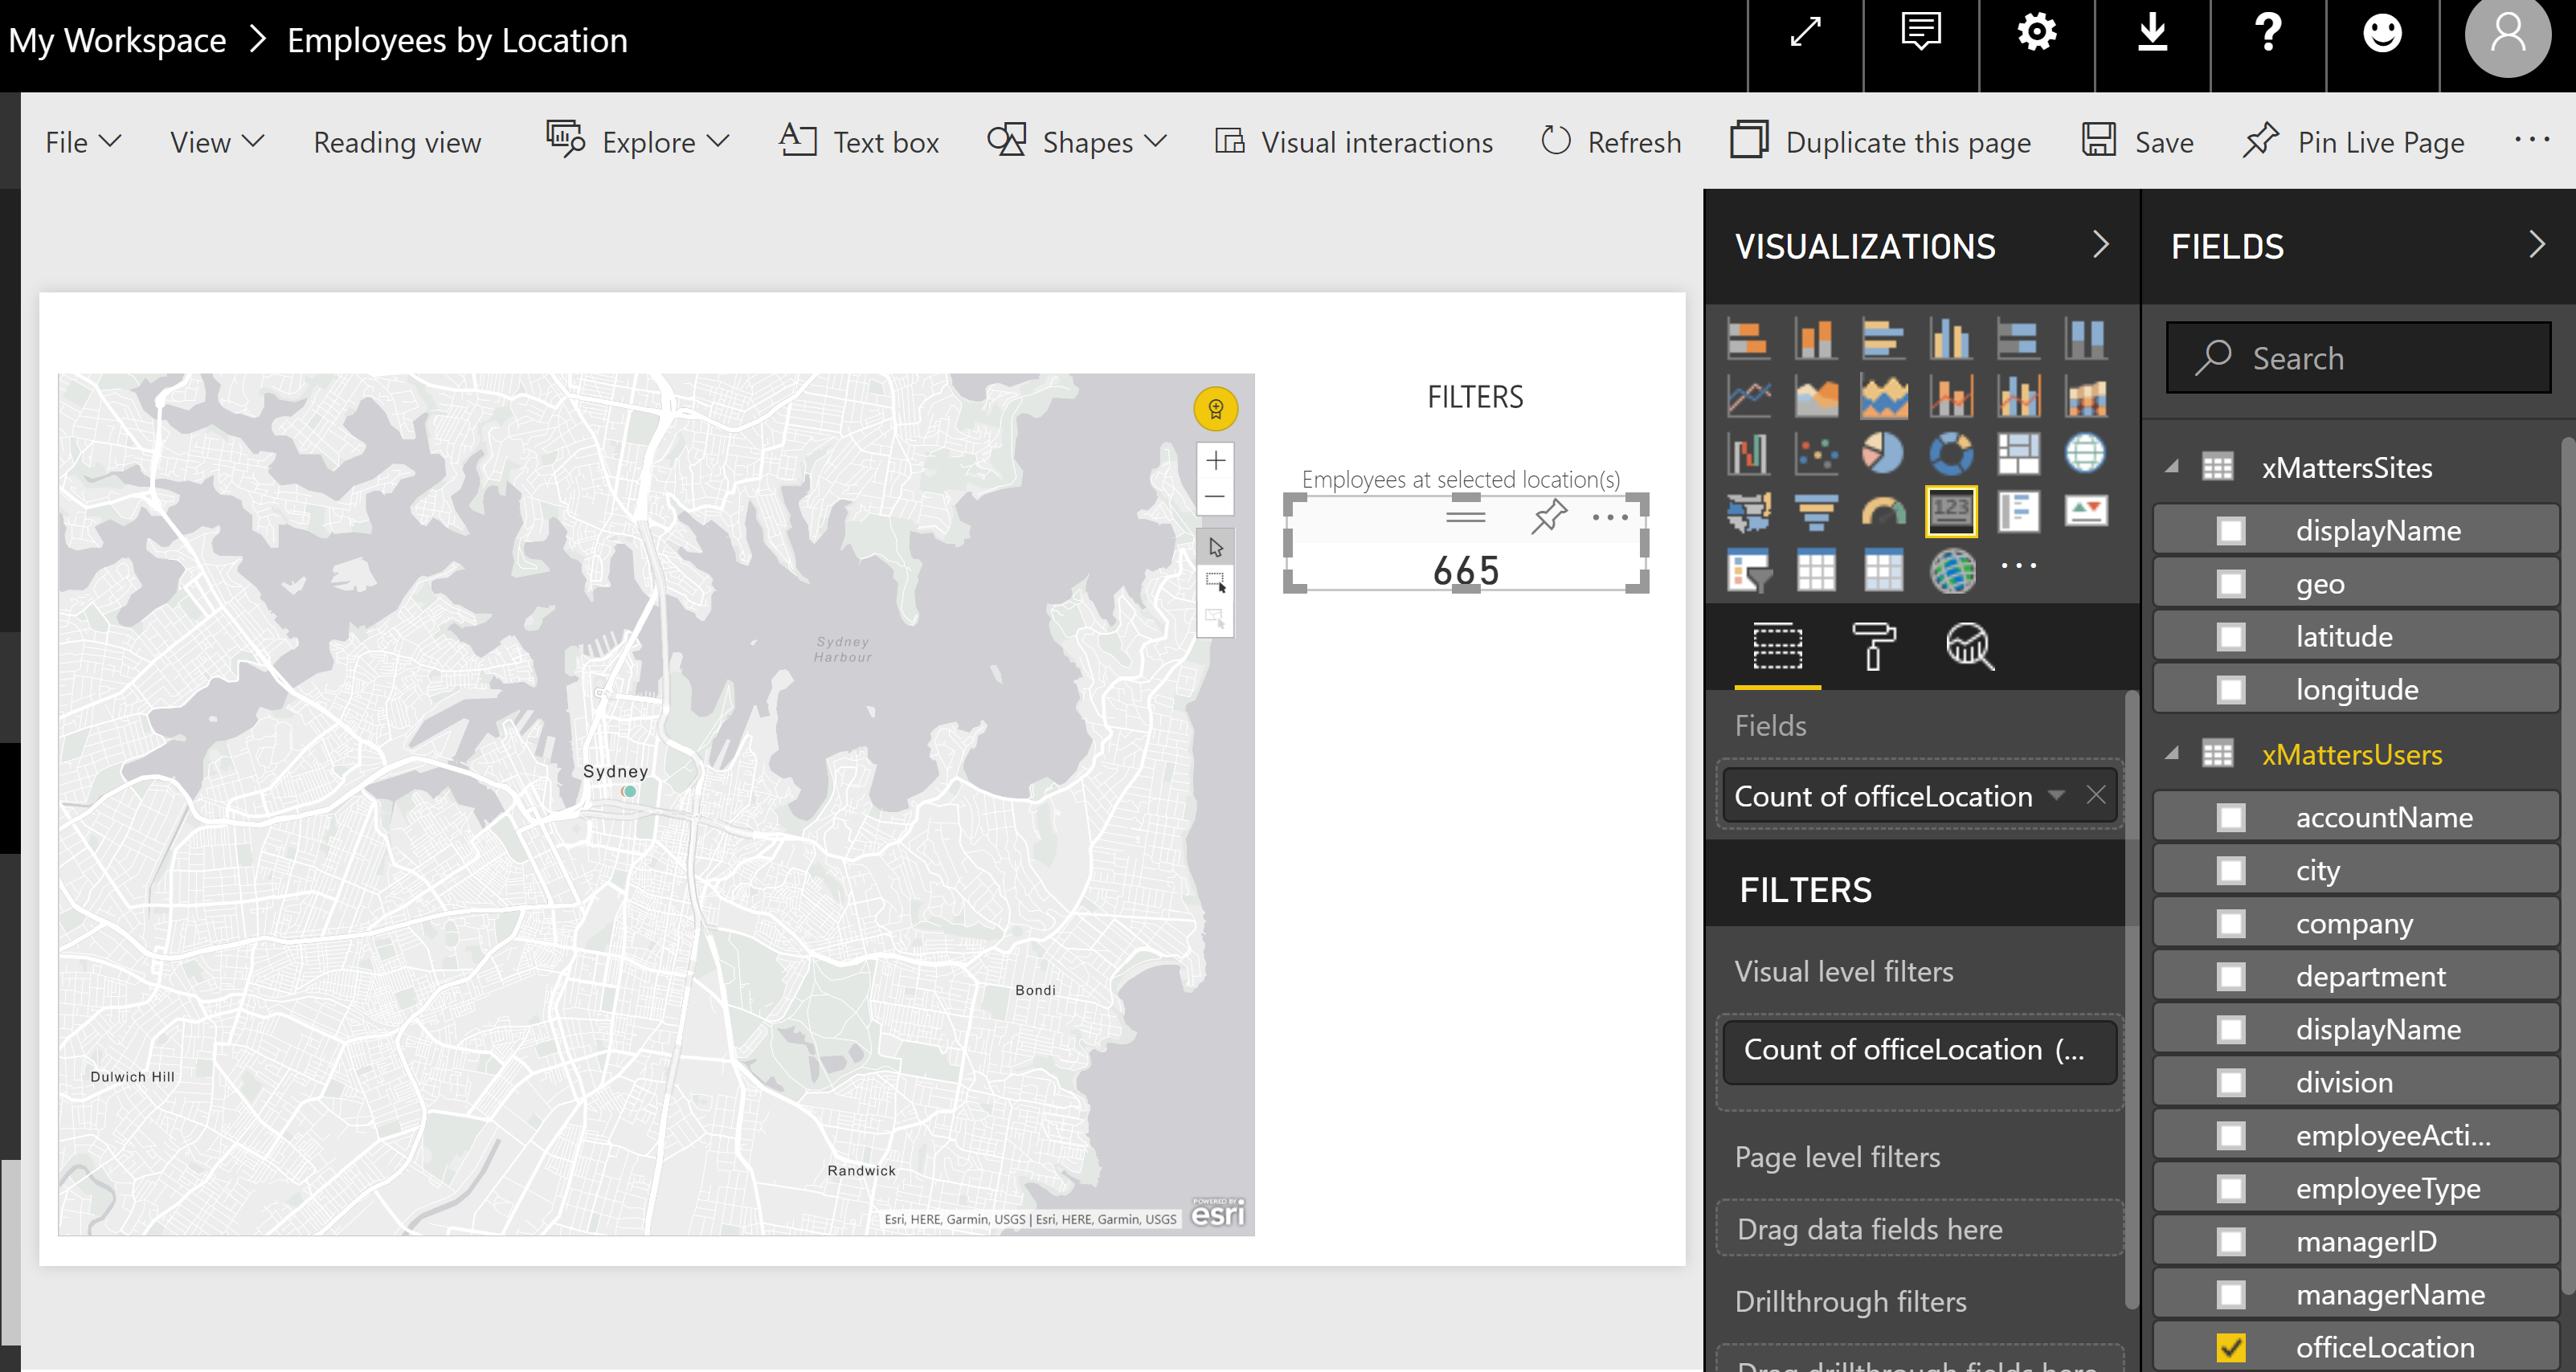
We can then add a Card Visual and choose officeLocation and then configure the visual for Count of officeLocation and we’ll get a count of the employees at that location. As we can see below with the Sydney location selected from the map the card updates to tell me there are 665 Employees at that officeLocation.
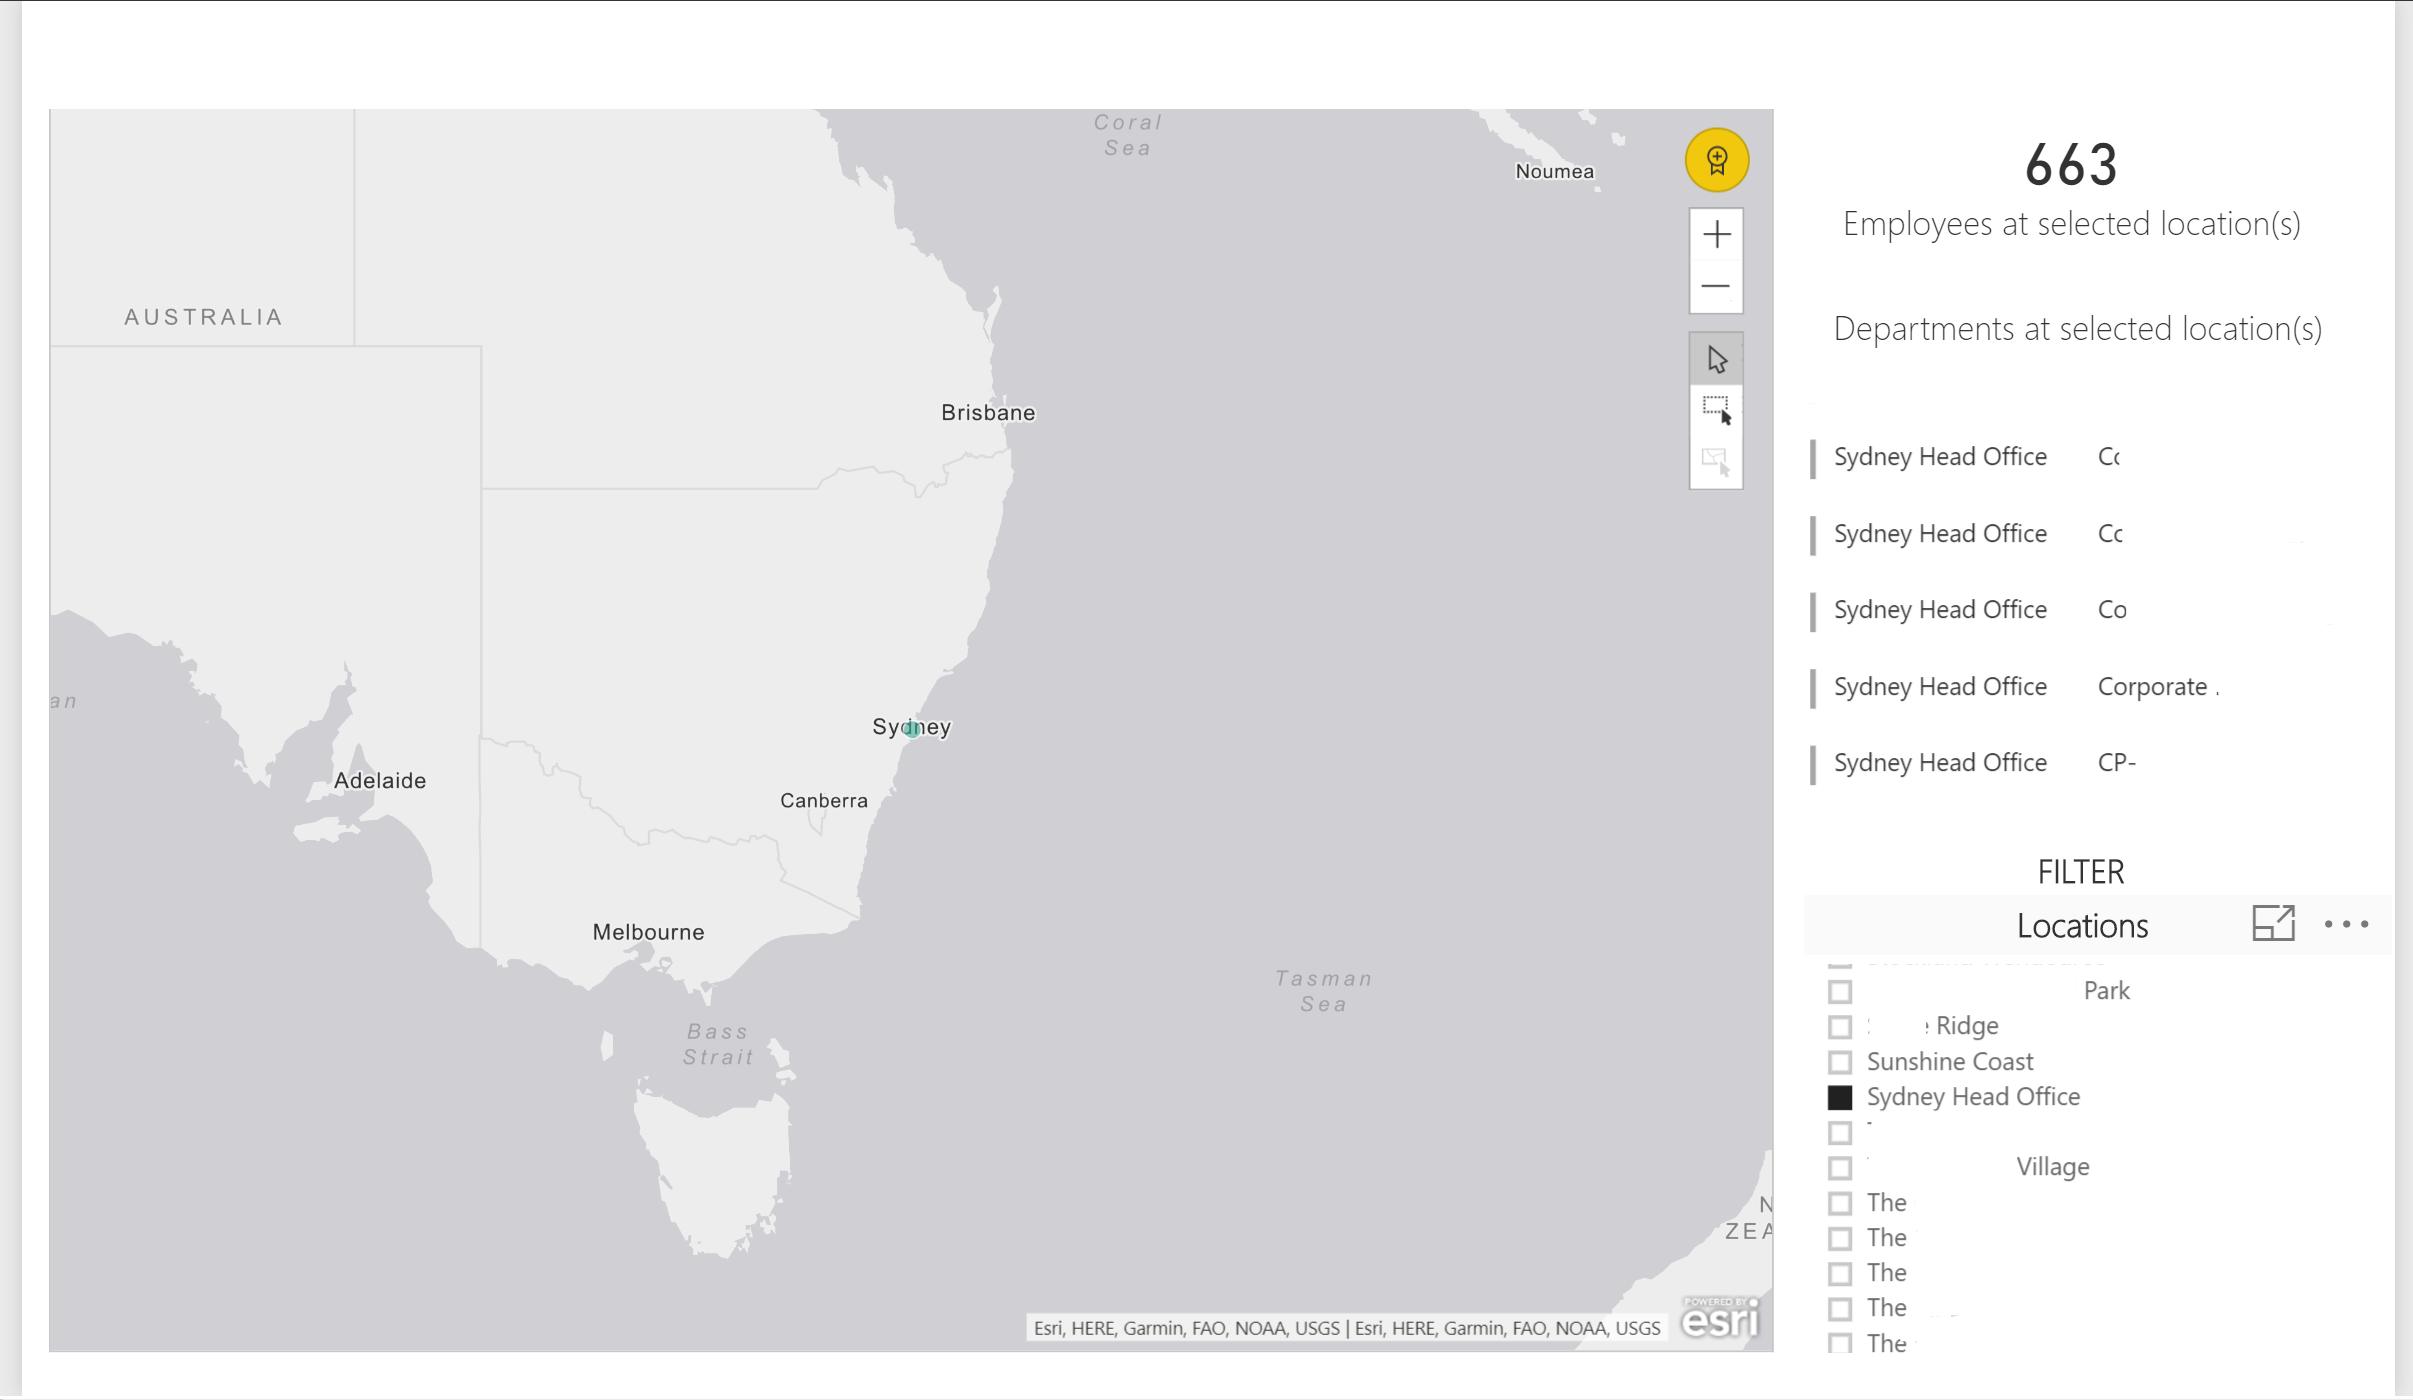
Pretty quickly we can also expand out other data points, like departments at a location, employees etc as shown below (I’ve obfuscated the departments and a number of the other office locations).
Conclusion
We haven’t generated any new data. We’ve taken information we already have in Microsoft Identity Manager from connected systems and quickly visualized it via Power BI. However providing this to the business and with the ability for consumers of the information to export it from the visual can be pretty powerful.
