Following the Azure Managed Kubernetes announcement yesterday, I immediately upgraded my Azure CLI on Windows 10 so I could try it out.
Unfortunately I discovered there was a bug with retrieving credentials for your newly created Kubernetes cluster – the command bombs with the following error:
C:\Users\rafb> az aks get-credentials --resource-group myK8Group --name myCluster
[Errno 13] Permission denied: 'C:\\Users\\rafb\\AppData\\Local\\Temp\\tmpn4goit44'
Traceback (most recent call last):
 File "C:\Program Files (x86)\Microsoft SDKs\Azure\CLI2\lib\site-packages\azure\cli\main.py", line 36, in main
 cmd_result = APPLICATION.execute(args)
(...)
A Github Issue had already been created by a someone else and a few hours later, the author of the offending code submitted a Pull Request (PR) fixing the issue. While this is great, until the PR is merged into master and a new release of the Azure CLI for Windows is out , the fix will be unavailable.
Given this delay I thought it would be neat to setup an environment in order to try out the fix and also contribute to the Azure CLI in future. Presumably any other GitHub project can be accessed this way so it is by no means restricted to the Azure CLI.
Prerequisites
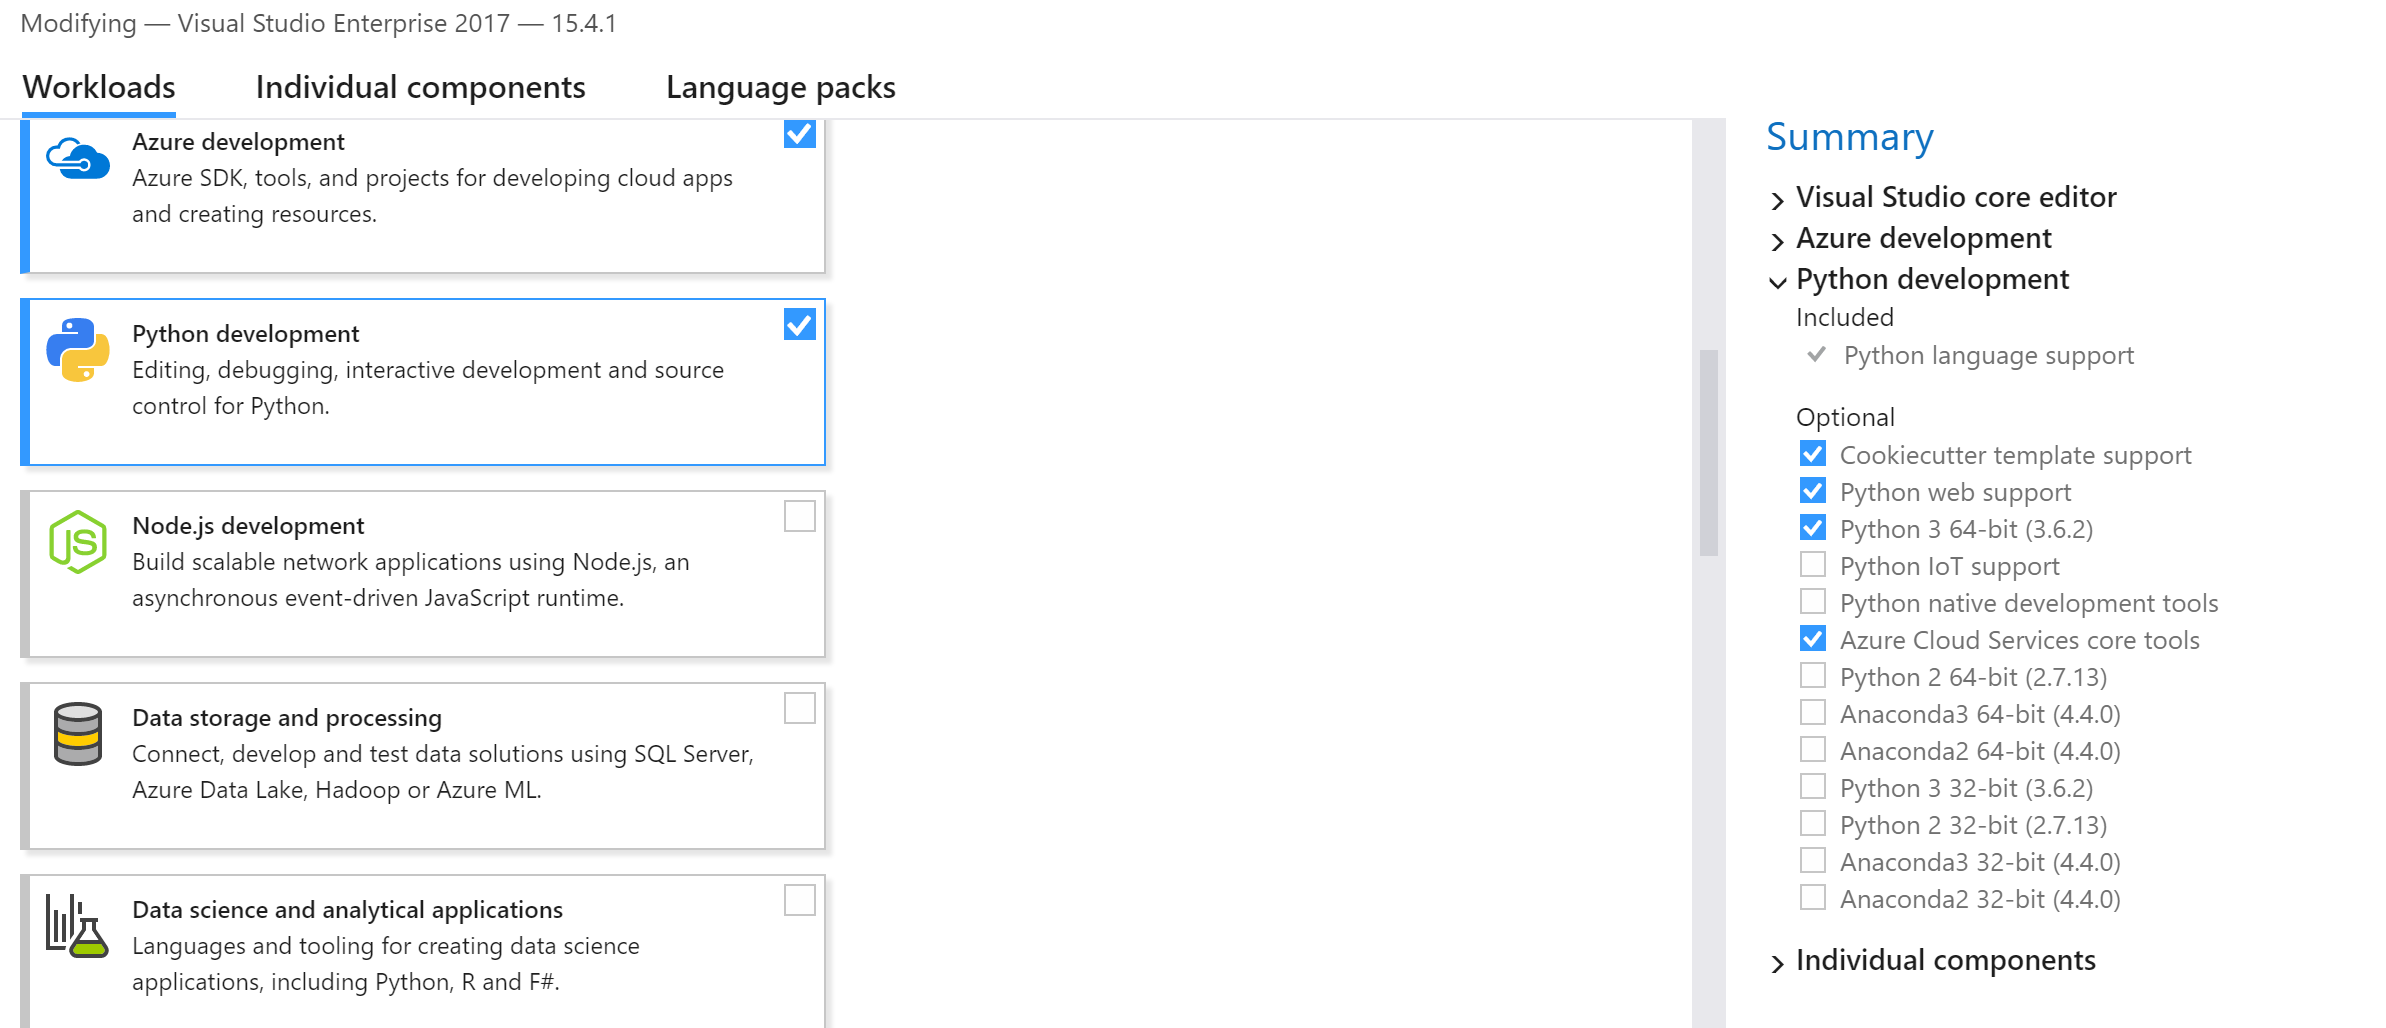
I will assume you have a fairly recent version of Visual Studio 2017 running on Windows 10, with Python support installed. By going into the Tools menu and choosing “Get Extensions and Features” in Visual Studio, you can add Python support as follows:
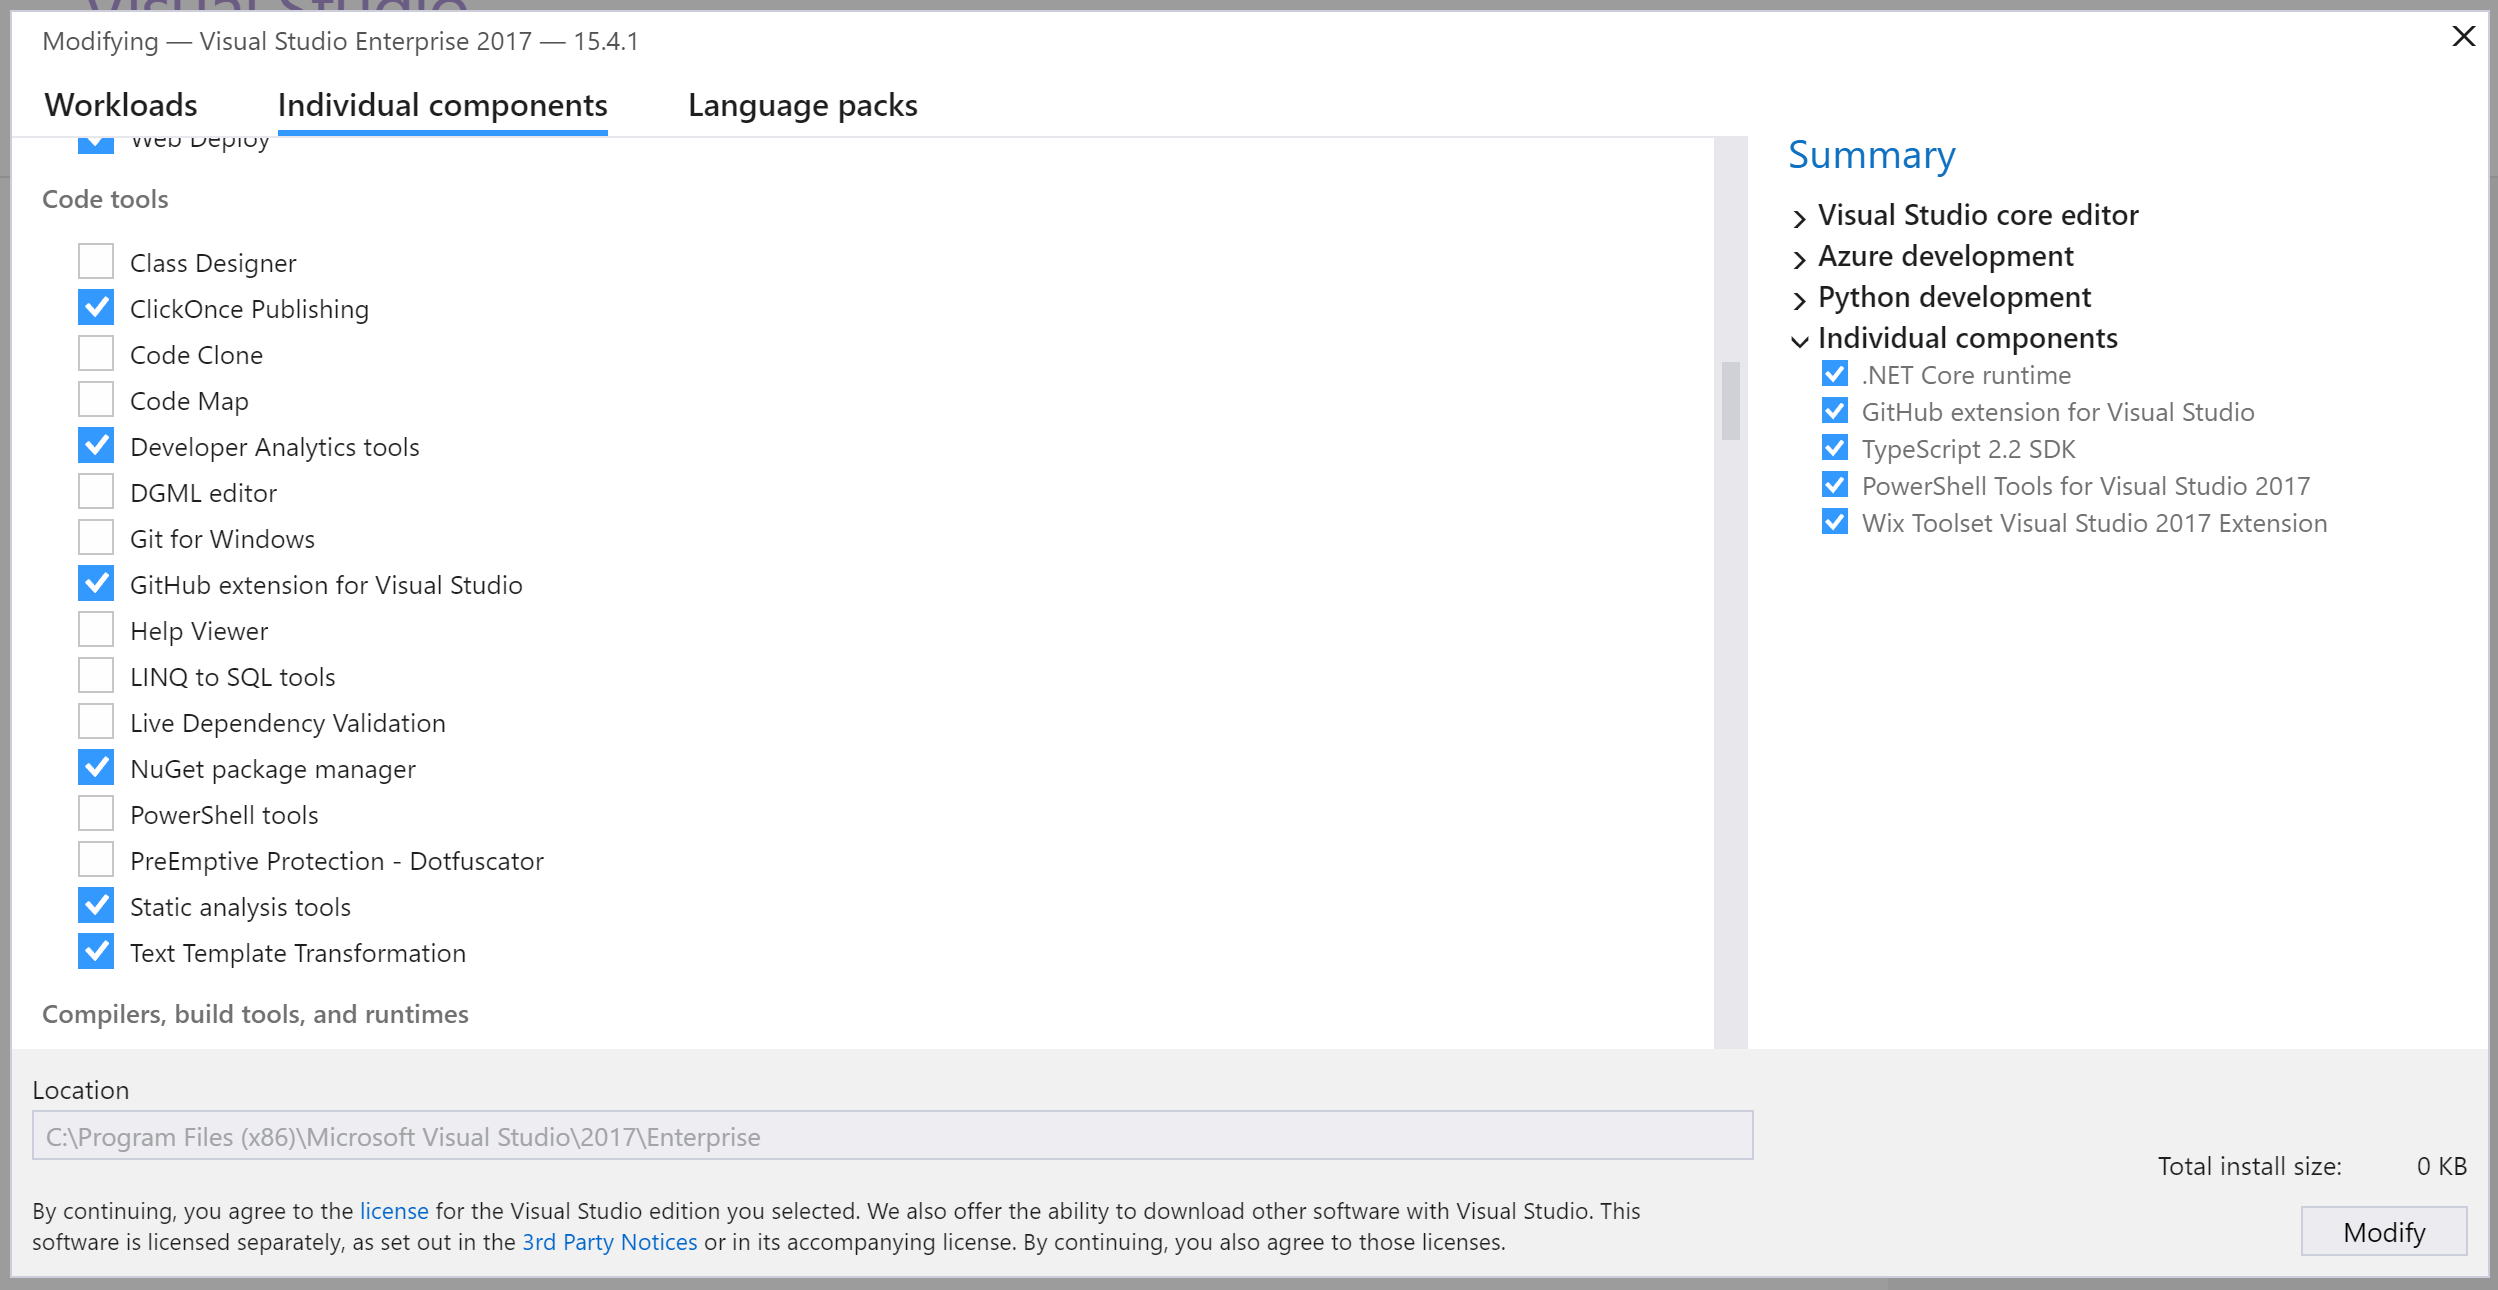
By clicking in the “Individual Components” tab in the Visual Studio installer, install the “GitHub Extension for Visual Studio”:
You will need a GitHub login, and for the purpose of this blog post you will also need a Git client such as Git Bash (https://git-for-windows.github.io/).
Getting the Code
After launching Visual Studio 2017, you’ll notice a “Github” option under “Open”:
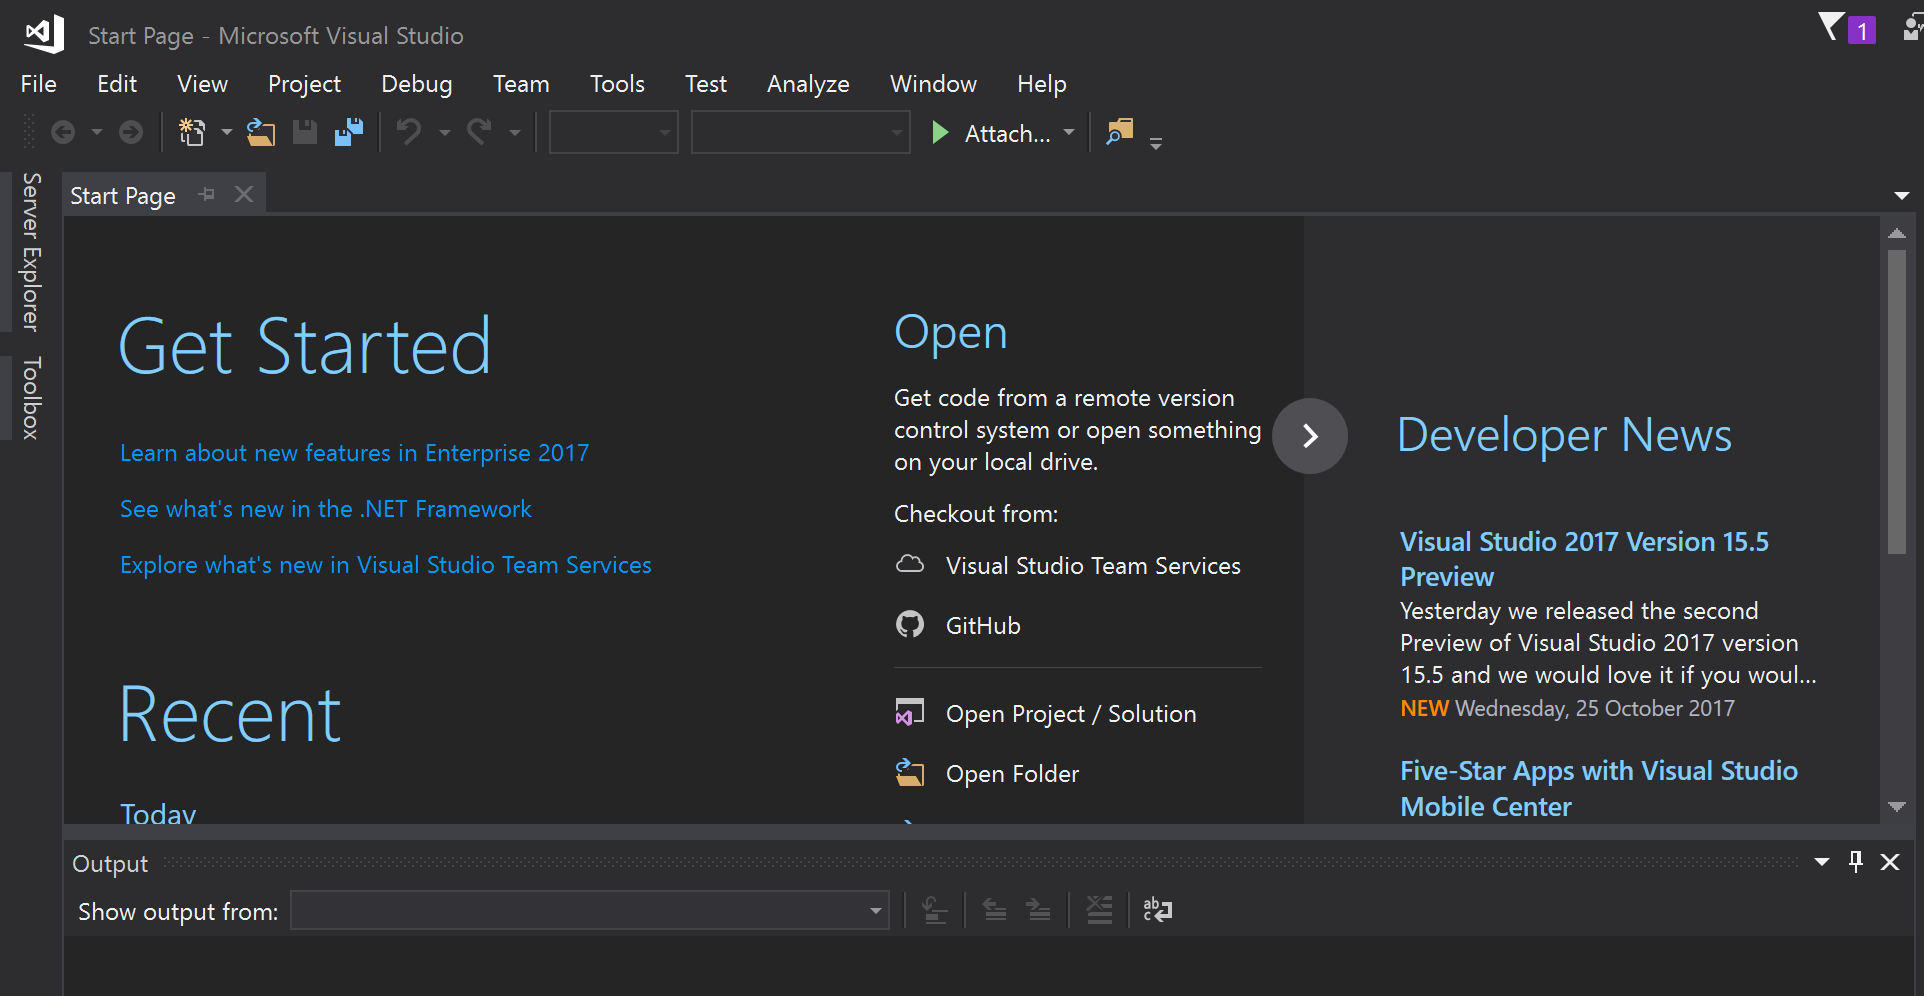
If you click on Github, you will be asked to enter your Github credentials and you will presented with a list of repositories you own but you won’t be able to clone the Azure CLI repository (unless you have your own fork of it).
The trick is to go to the Team Explorer window (View > Team Explorer) and choose to clone to a Local Git Repository:
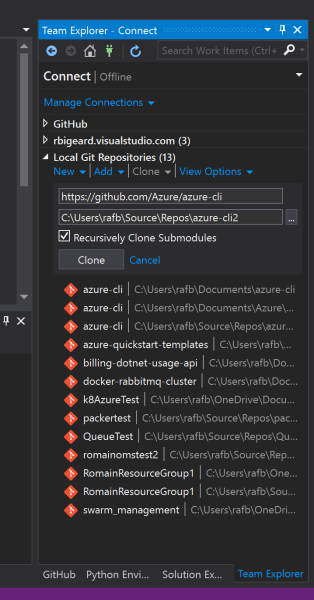
After a little while the Azure CLI Github repo (https://github.com/Azure/azure-cli) will be cloned to the directory of your choosing (“C:\Users\rafb\Source\Repos\azure-cli2” in my case).
Running Azure CLI from your Dev Environment
Before we can start hacking the Azure CLI, we need to make sure we can run the code we have just cloned from Github.
In Visual Studio, go to File > Open > Project/Solutions and open
“azure-cli2017.pyproj” from your freshly cloned repo. This type of project is handled by the Python Support extension for Visual Studio.
Once opened you will see this in the Solution Explorer:
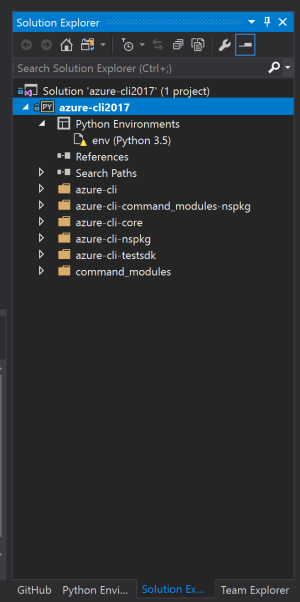
As is often the case with Python projects, you usually run programs in a virtual environment. Looking at the screenshot above, the environment pre-configured in the Python project has a little yellow warning sign. This is because it is looking for Python 3.5 and the Python Support extension for Visual Studio comes with 3.6.
The solution is to create an environment based on Python 3.6. In order to do so, right click on “Python Environments” and choose “Add Virtual Environment…”:
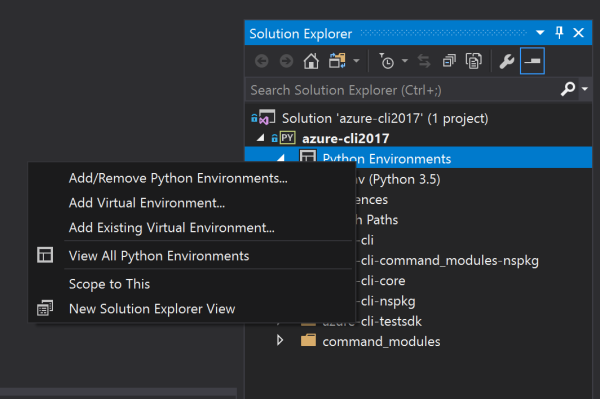
Then choose the default in the next dialog box (“Python 3.6 (64 bit)”) and click on “Create”:
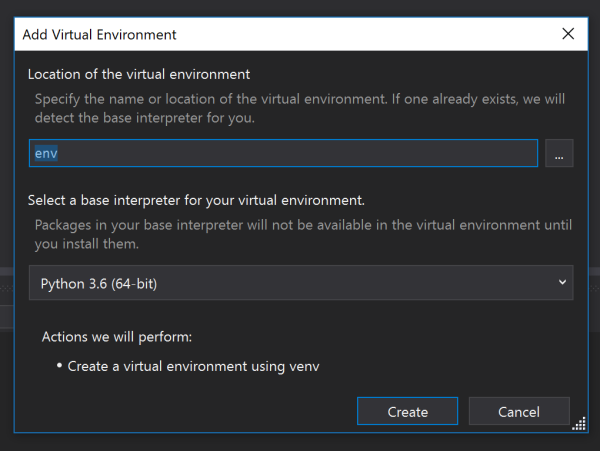
After a few seconds, you will see a brand new Python 3.6 virtual environment:
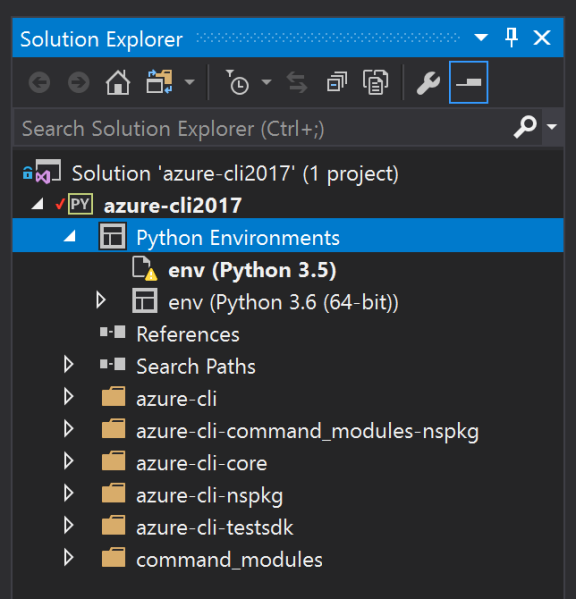
Right click on “Python Environments” and Choose “View All Python Environments”:

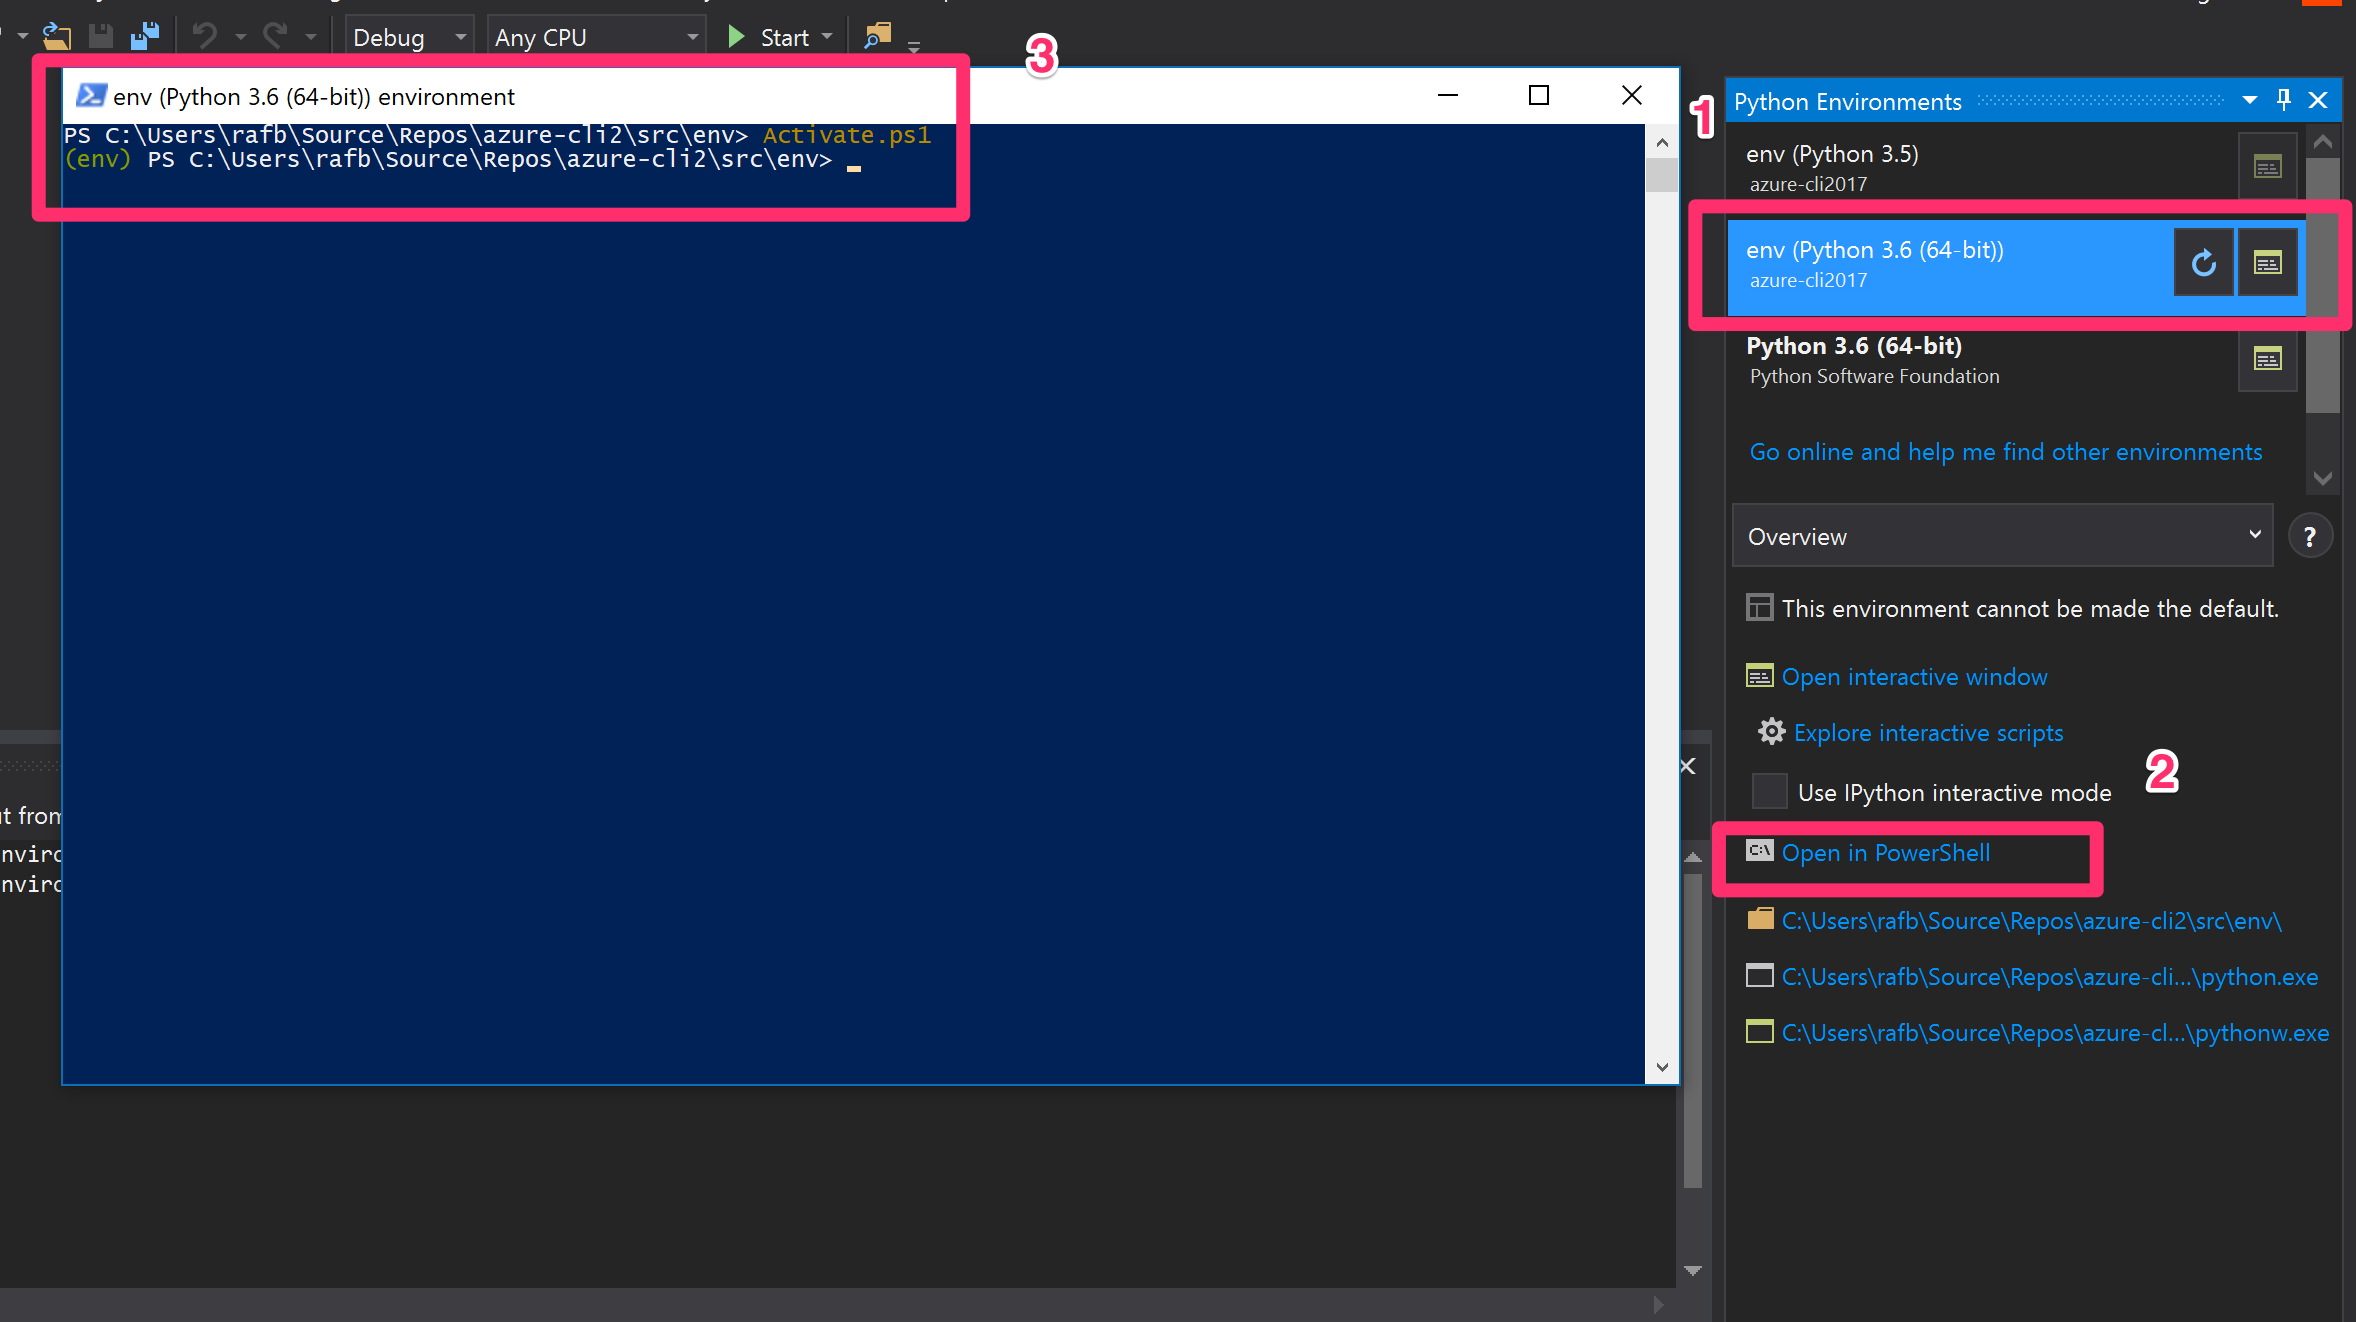
Make sure the environment you created is selected and click on “Open in PowerShell”. The PowerShell Window should open straight in the cloned repository directory – the “src/env” sub directory, where your newly created Python Environment lives.
Run the “Activate.ps1” PowerShell script to activate the Python Environment.
Now we can get the dependencies for our version of Azure CLI to run (we’re almost there!).
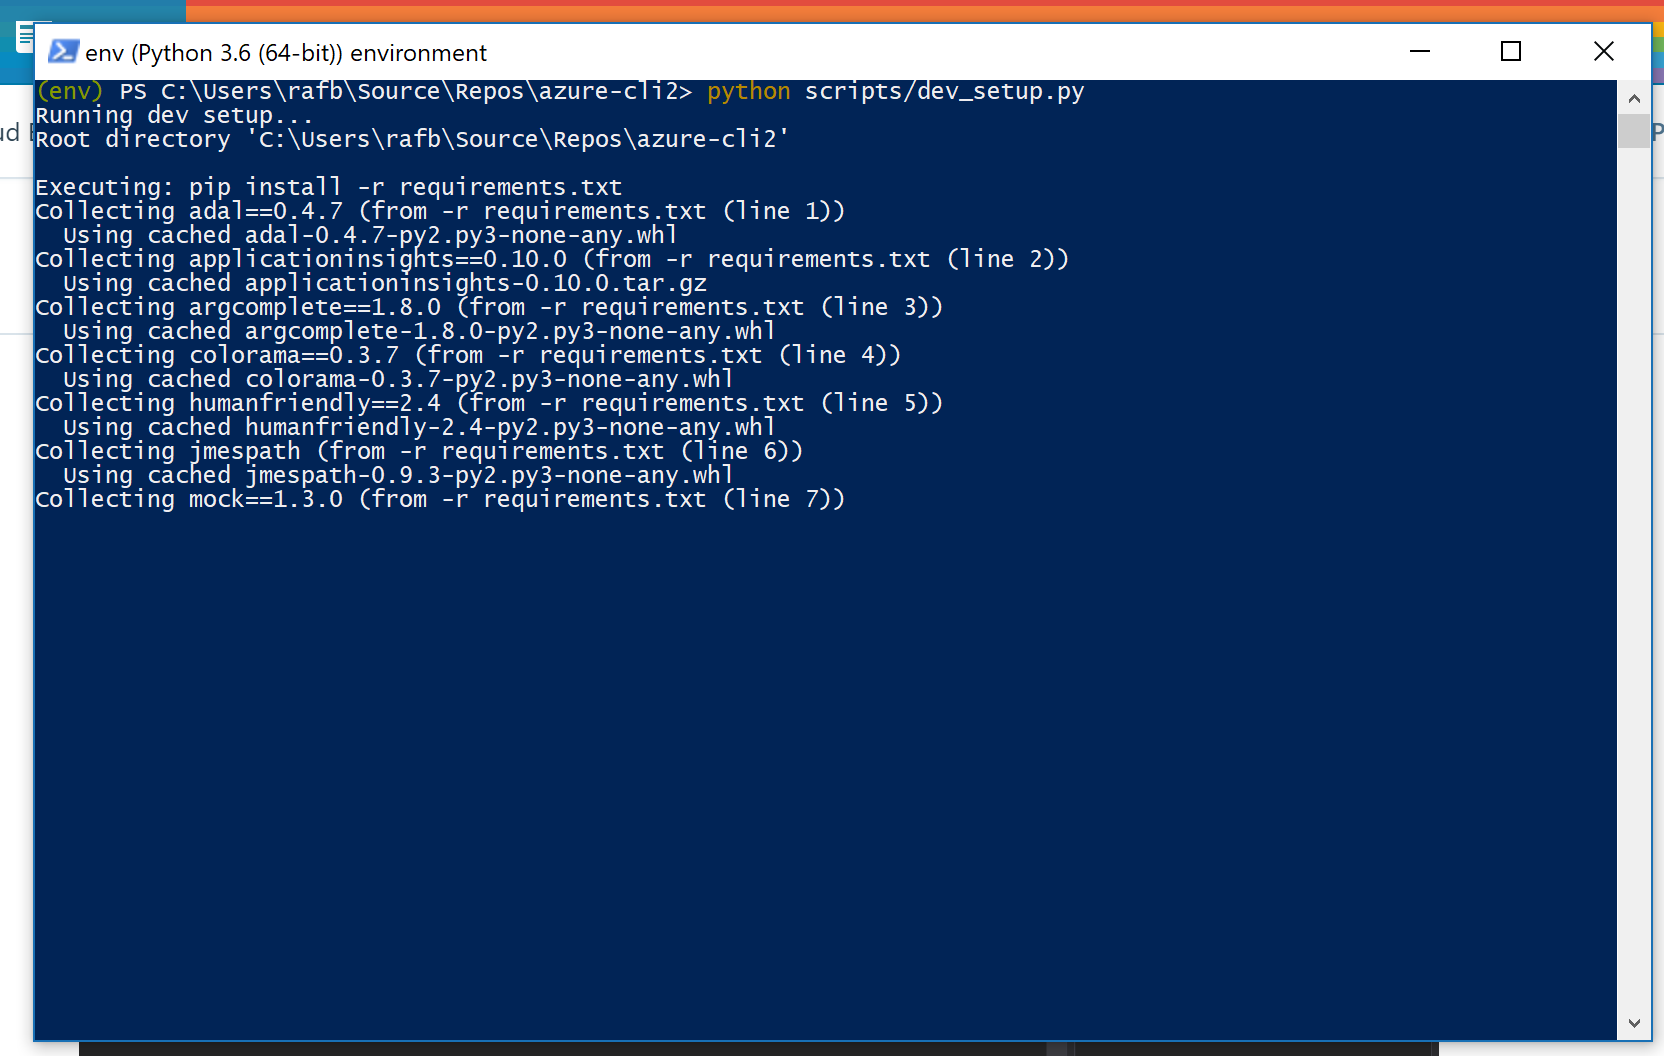
Run “python scripts/dev_setup.py” from the base directory of the repo as per the documentation.
Getting the dependencies will take a while (in the order of 20 to 30 minutes on my laptop).
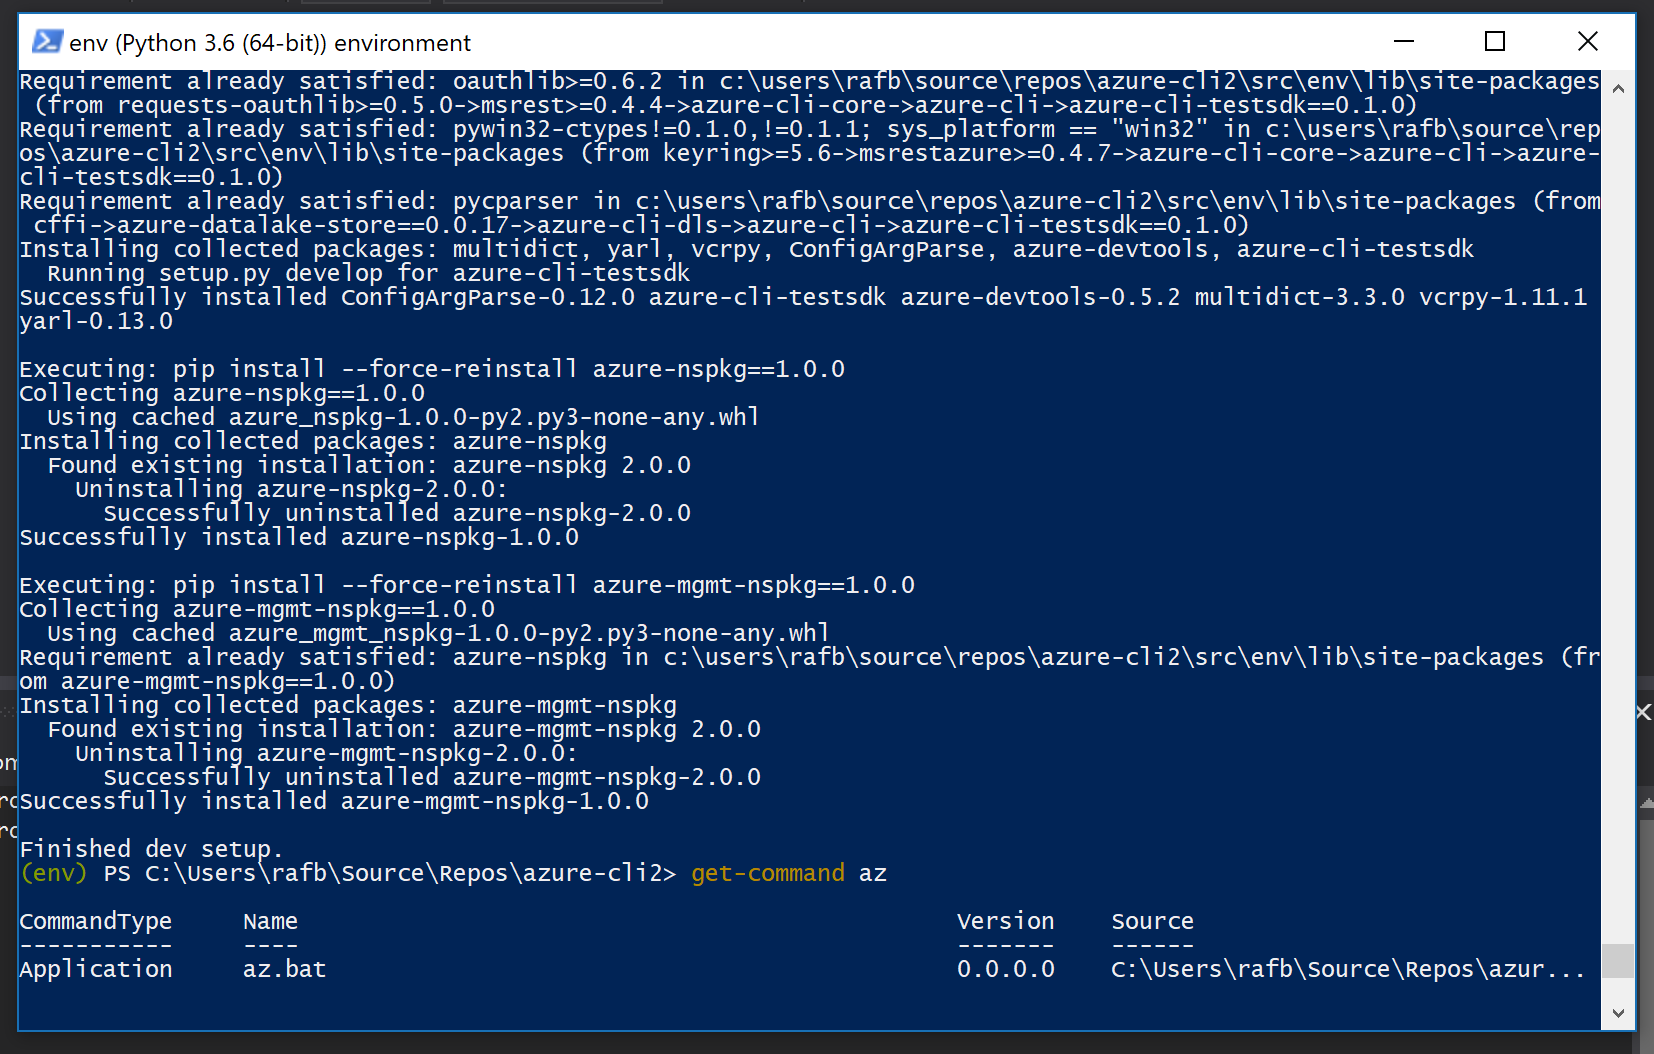
Once the environment is setup, you can execute the “az” command and it is indeed the version you have cloned that executes:
Trying Pull Request Modifications Straight from Github
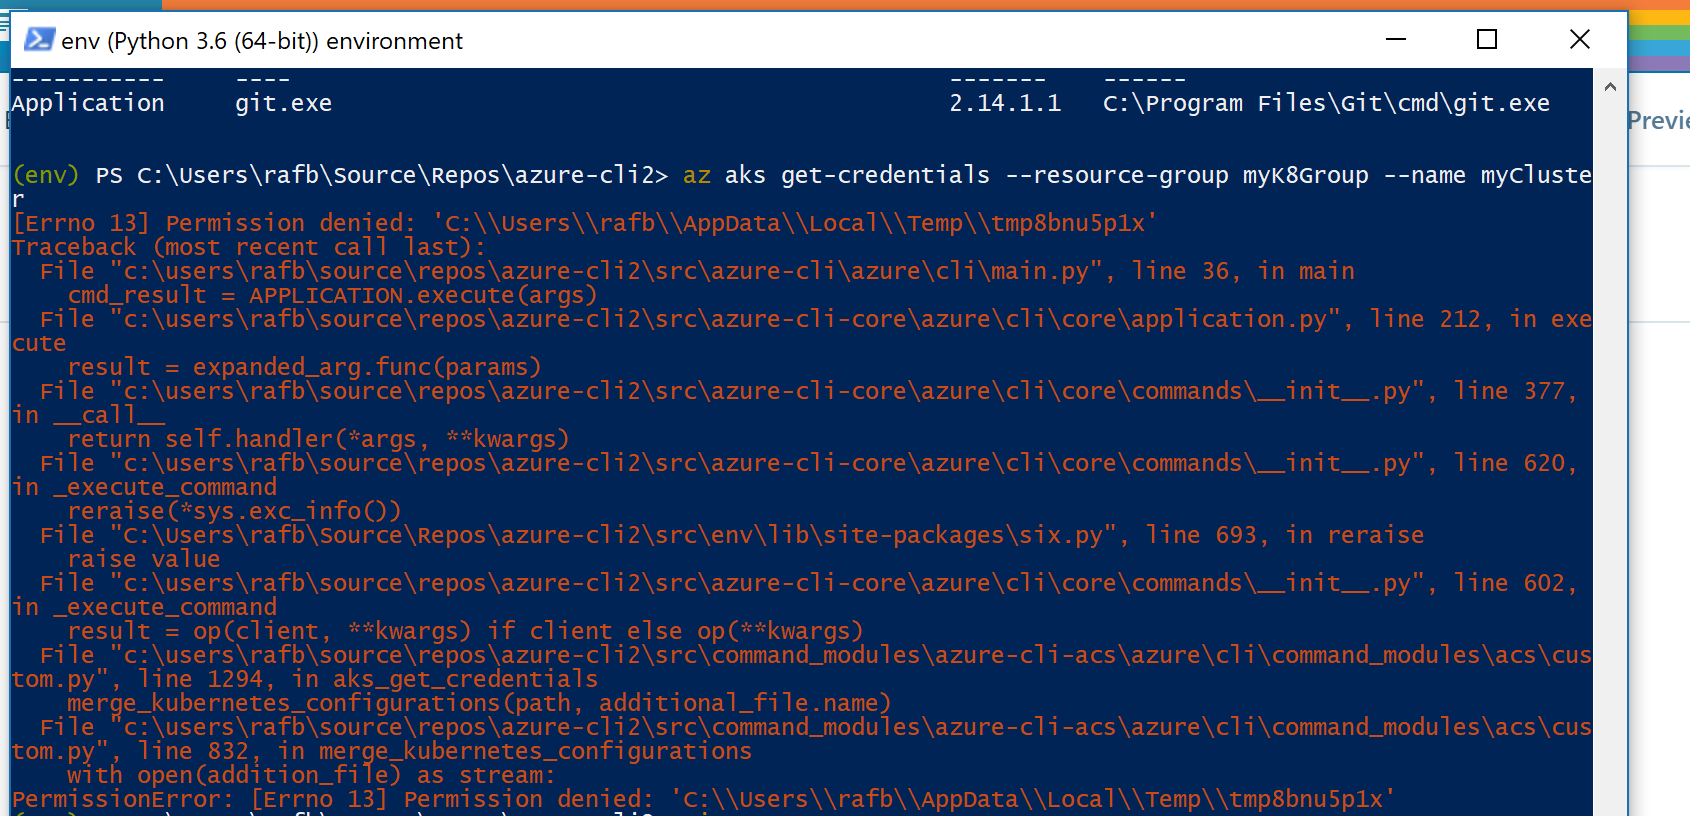
Running “git status” will show which branch you are on. Here is “dev” which does not have the “aks get-credentials” fix yet:

And indeed, we are getting this now familiar error:
Back in Visual Studio, go to the Github Window (View > Other Windows > GitHub) and enter your credentials if need be.
Once authenticated click on the “Pull Requests” icon and you will see a list of current Pull Requests against the Azure CLI Github repo:
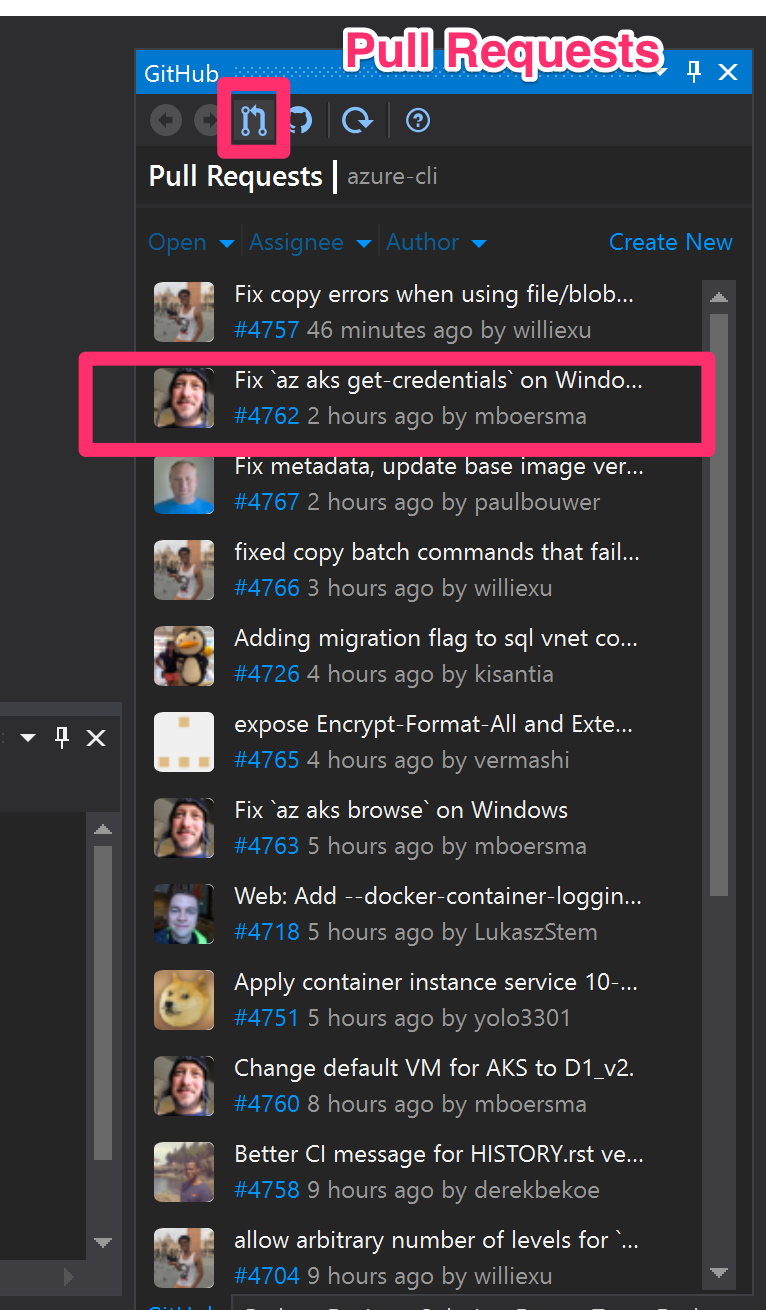
Now, click on pull request 4762 which has the fix for the “aks get-credentials” issue and you will see an option to checkout the branch which has the fix. Click on it:
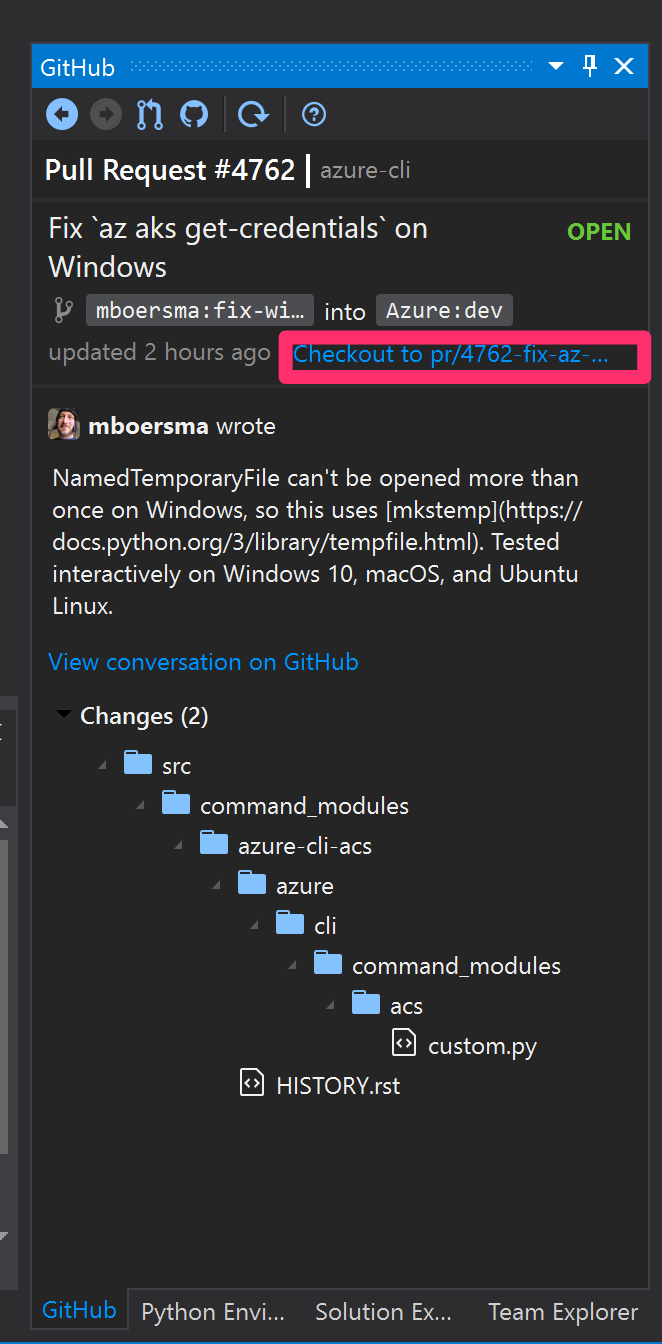
And lo and behold, we can see that the branch has been changed to the PR branch and that the fix is working:

You now have a dev environment for the Azure CLI with the ability to test the latest features even before they are merged and in general use!
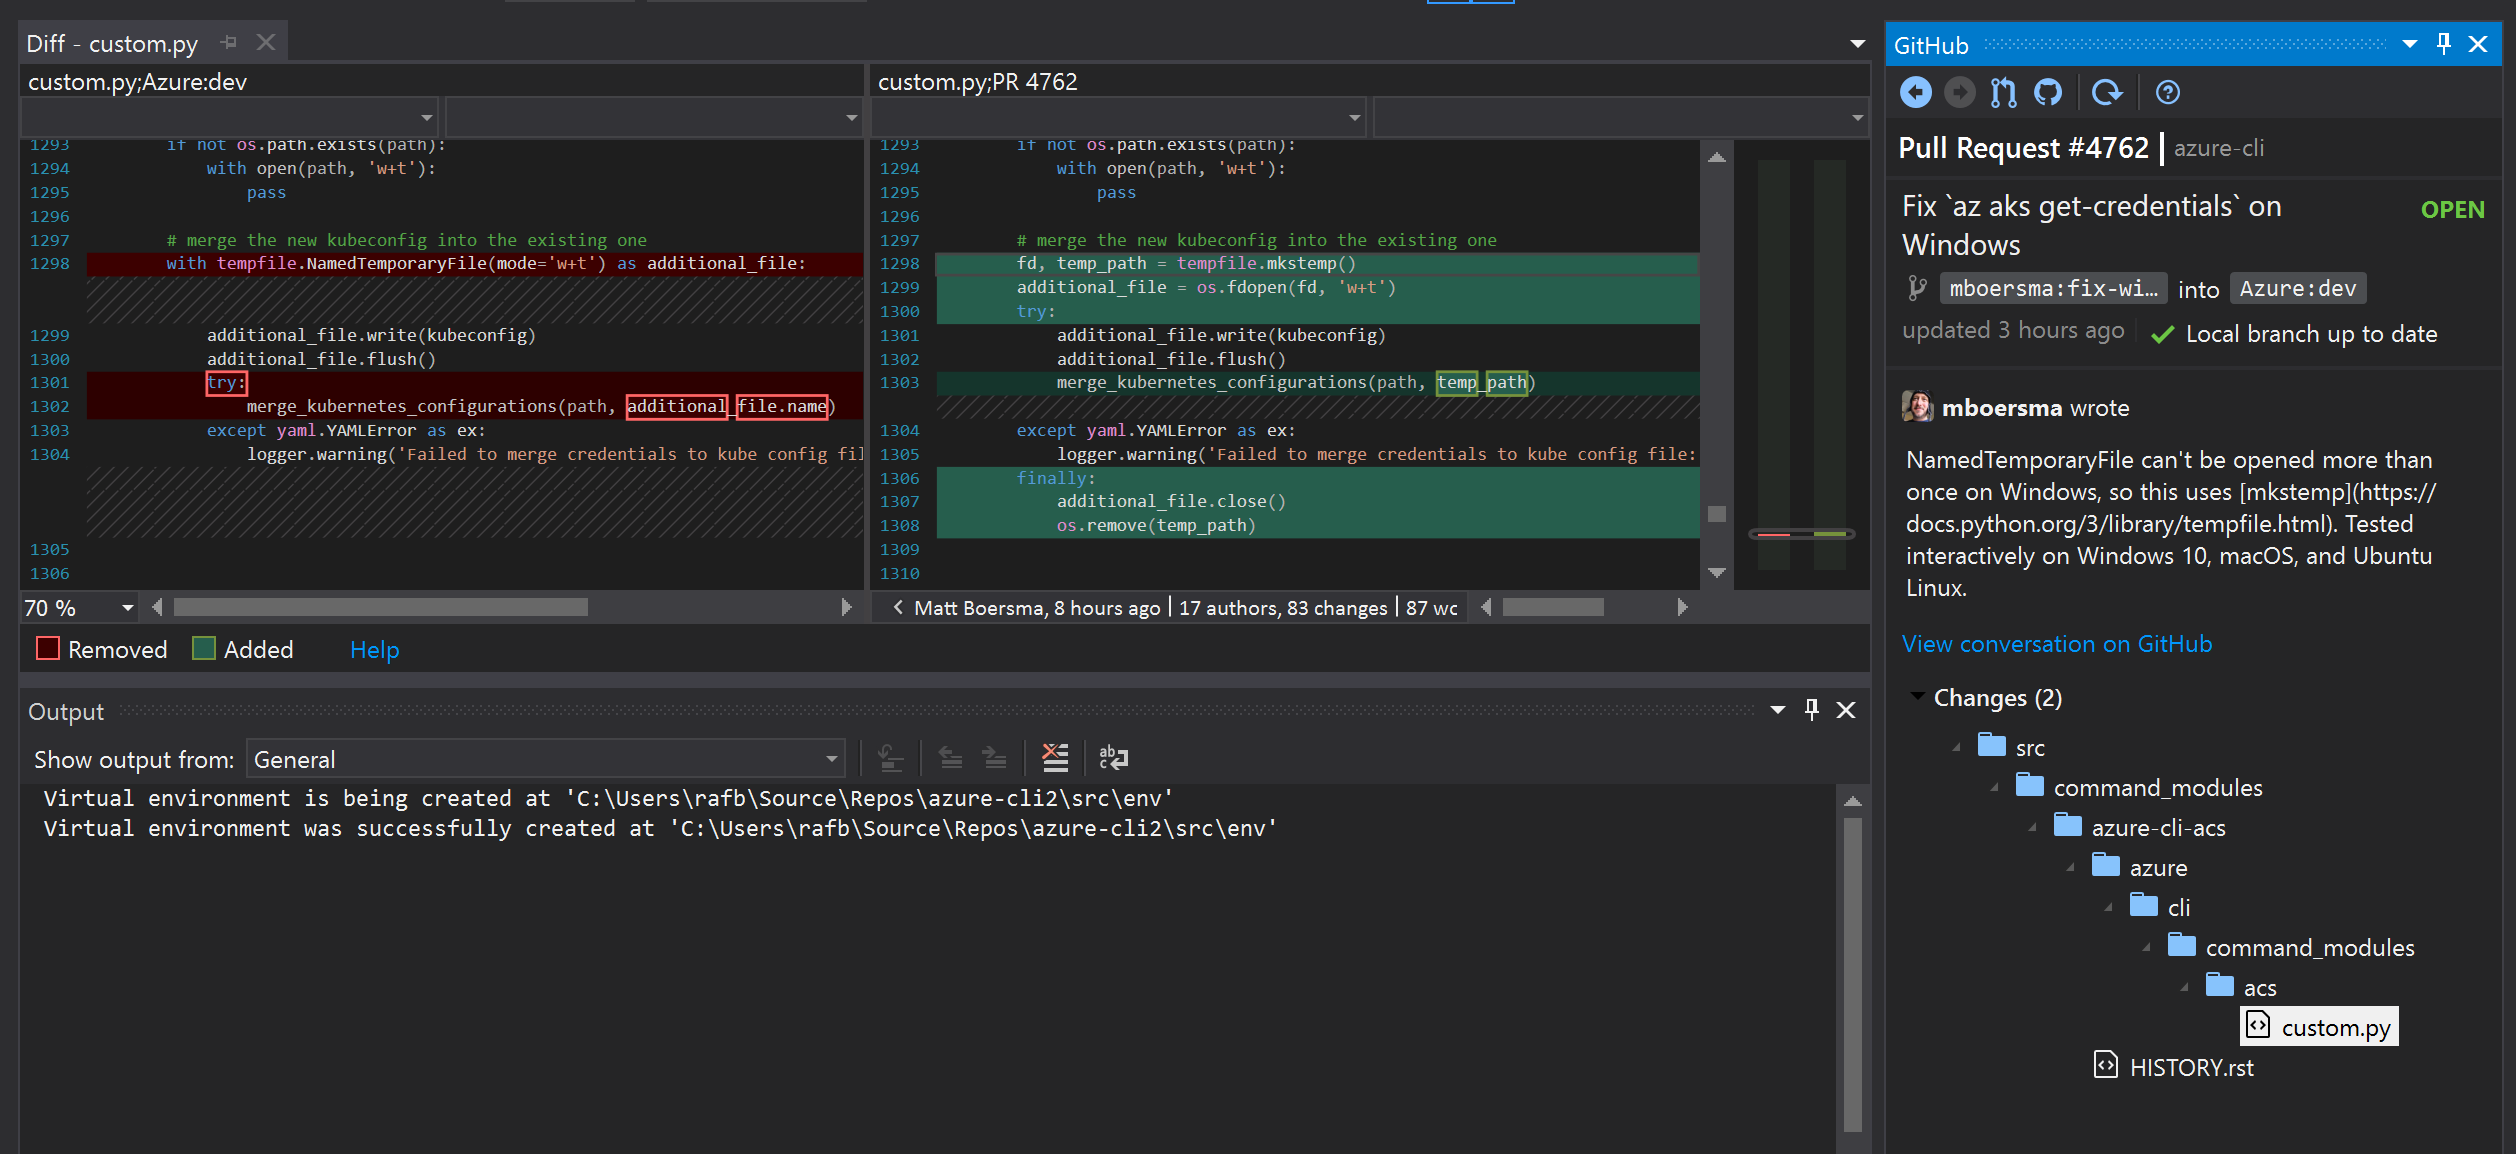
You can also easily visualise the differences between the code in dev and PR branches, which is a good way to learn from others 🙂
The same environment can probably be used to create Pull Requests straight from Visual Studio although I haven’t tried this yet.
