Azure Functions allow developers to write discrete units of work and run these without having to deal with hosting or application infrastructure concerns. Azure Functions are Microsoft’s answer to server-less computing on the Azure Platform and together with Azure ServiceBus, Azure Logic Apps, Azure API Management (to name just a few) has become an essential part of the Azure iPaaS offering.
The problem
Integration solutions often require connecting legacy systems using deprecating protocols such as SOAP and WS-*. It’s not all REST, hypermedia and OData out there in the enterprise integration world. Development frameworks like WCF help us deliver solutions rapidly by abstracting much of the boiler plate code away from us. Often these frameworks rely on custom configuration sections that are not available when developing solutions in Azure Functions. In Azure Functions (as of today at least) we only have access to the generic appSettings and connectionString sections of the configuration.
How do we bridge the gap and use the old boiler plate code we are familiar with in the new world of server-less integration?
So let’s set the scene. Your organisation consumes a number of legacy B2B services exposed as SOAP web services. You want to be able to consume these services from an Azure Function but definitely do not want to be writing any low level SOAP protocol code. We want to be able to use the generated WCF client proxy so we implement the correct message contracts, transport and security protocols.
In this post we will show you how to use a generated WCF client proxy from an Azure Function.
Start by generating the WCF client proxy in a class library project using Add Service Reference, provide details of the WSDL and build the project.
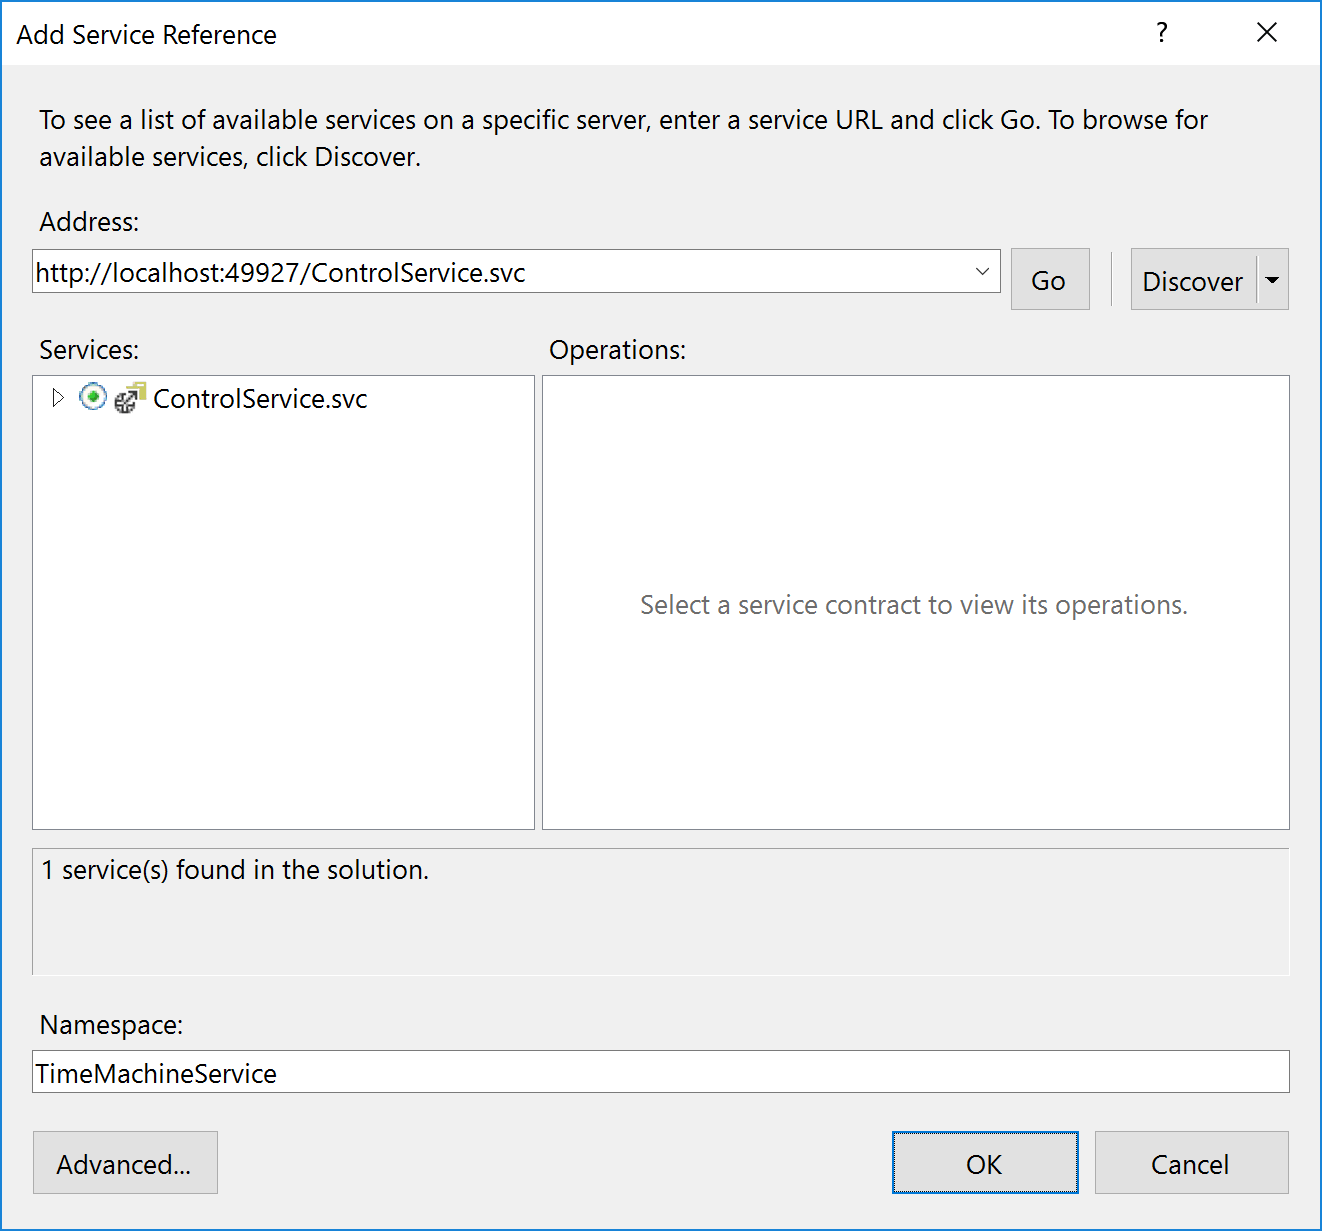
Examine the generated bindings to determine the binding we need and what policies to configure in code within our Azure Function.
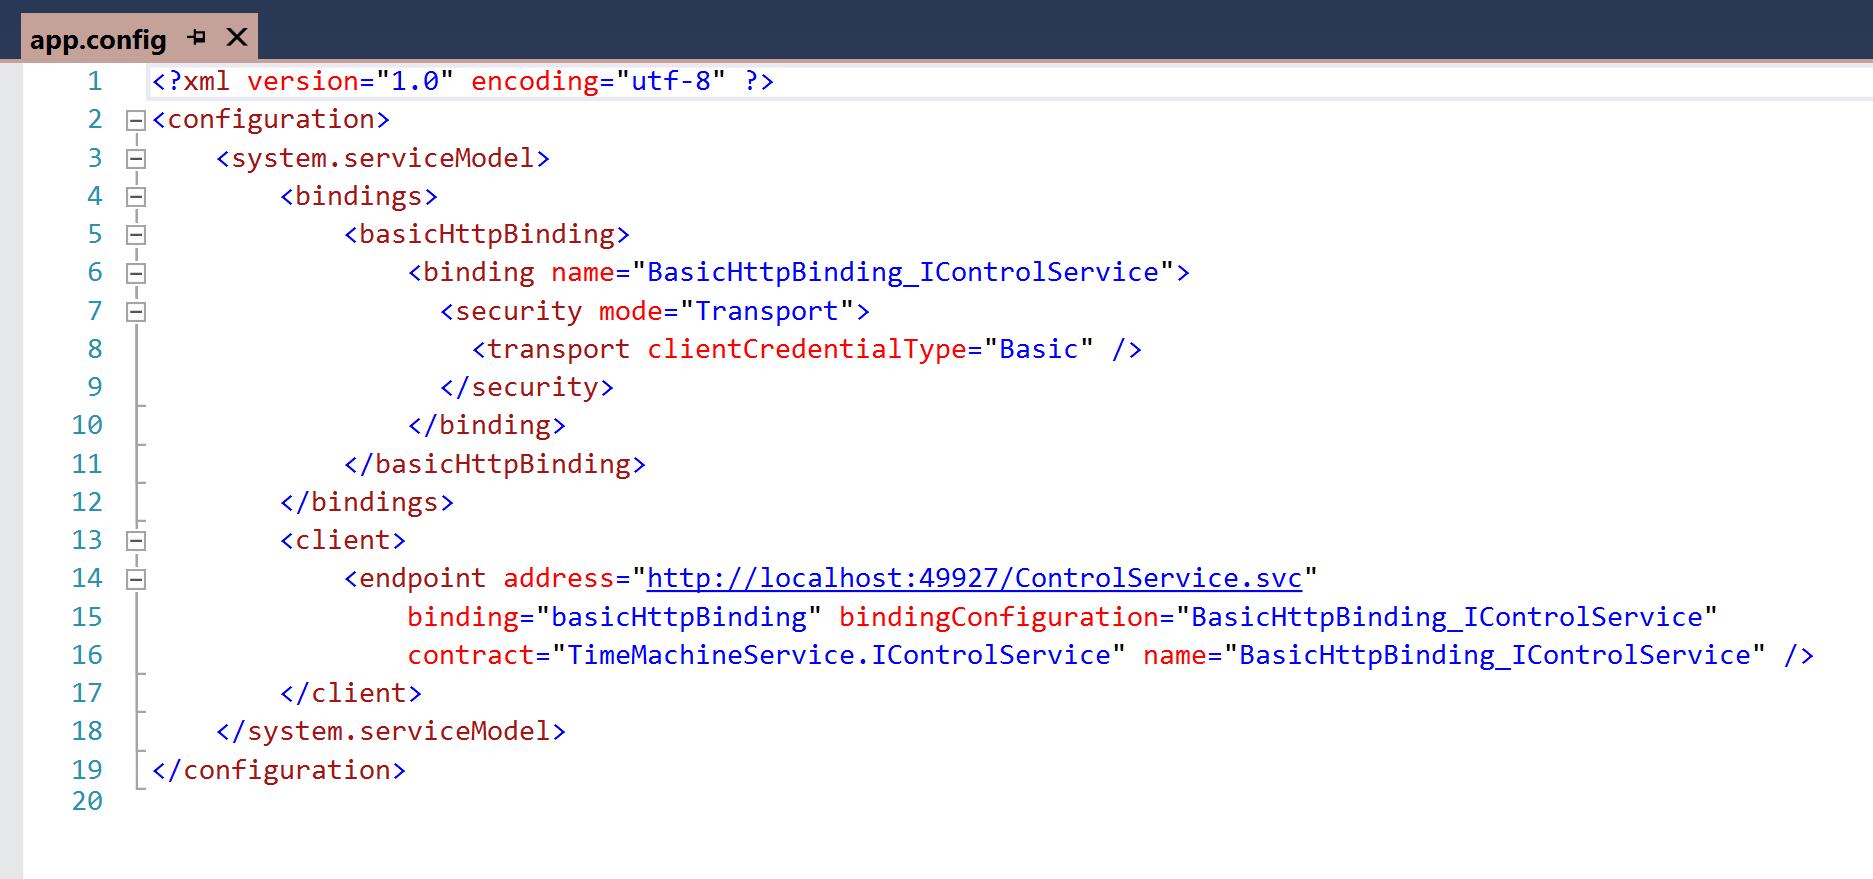
In our sample service above we need to create a basic http binding and configure basic authentication.
Create an Azure Function App using an appropriate template for your requirements and follow the these steps to call your WCF client proxy:
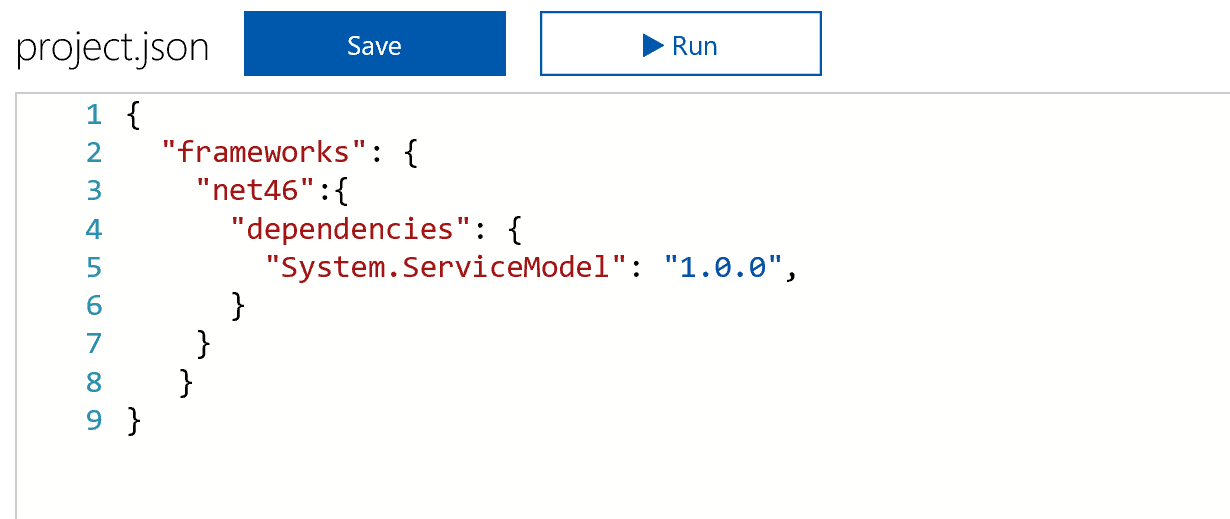
Add the System.ServiceModel NuGet package to the function via the project.json file so we can create and configure the WCF bindings in our function
Add the WCF client proxy assembly to the ./bin folder of our function. Use Kudo to create the folder and then upload your assembly using the View Files panel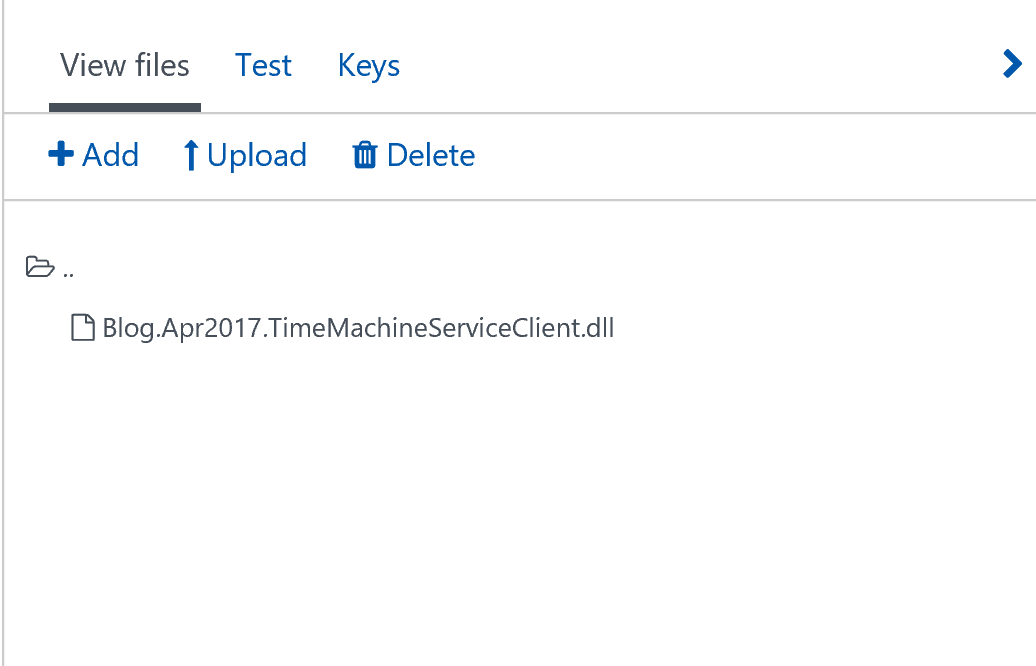
In your function, add references to both the System.ServiceModel assembly and your WCF client proxy assembly using the #r directive
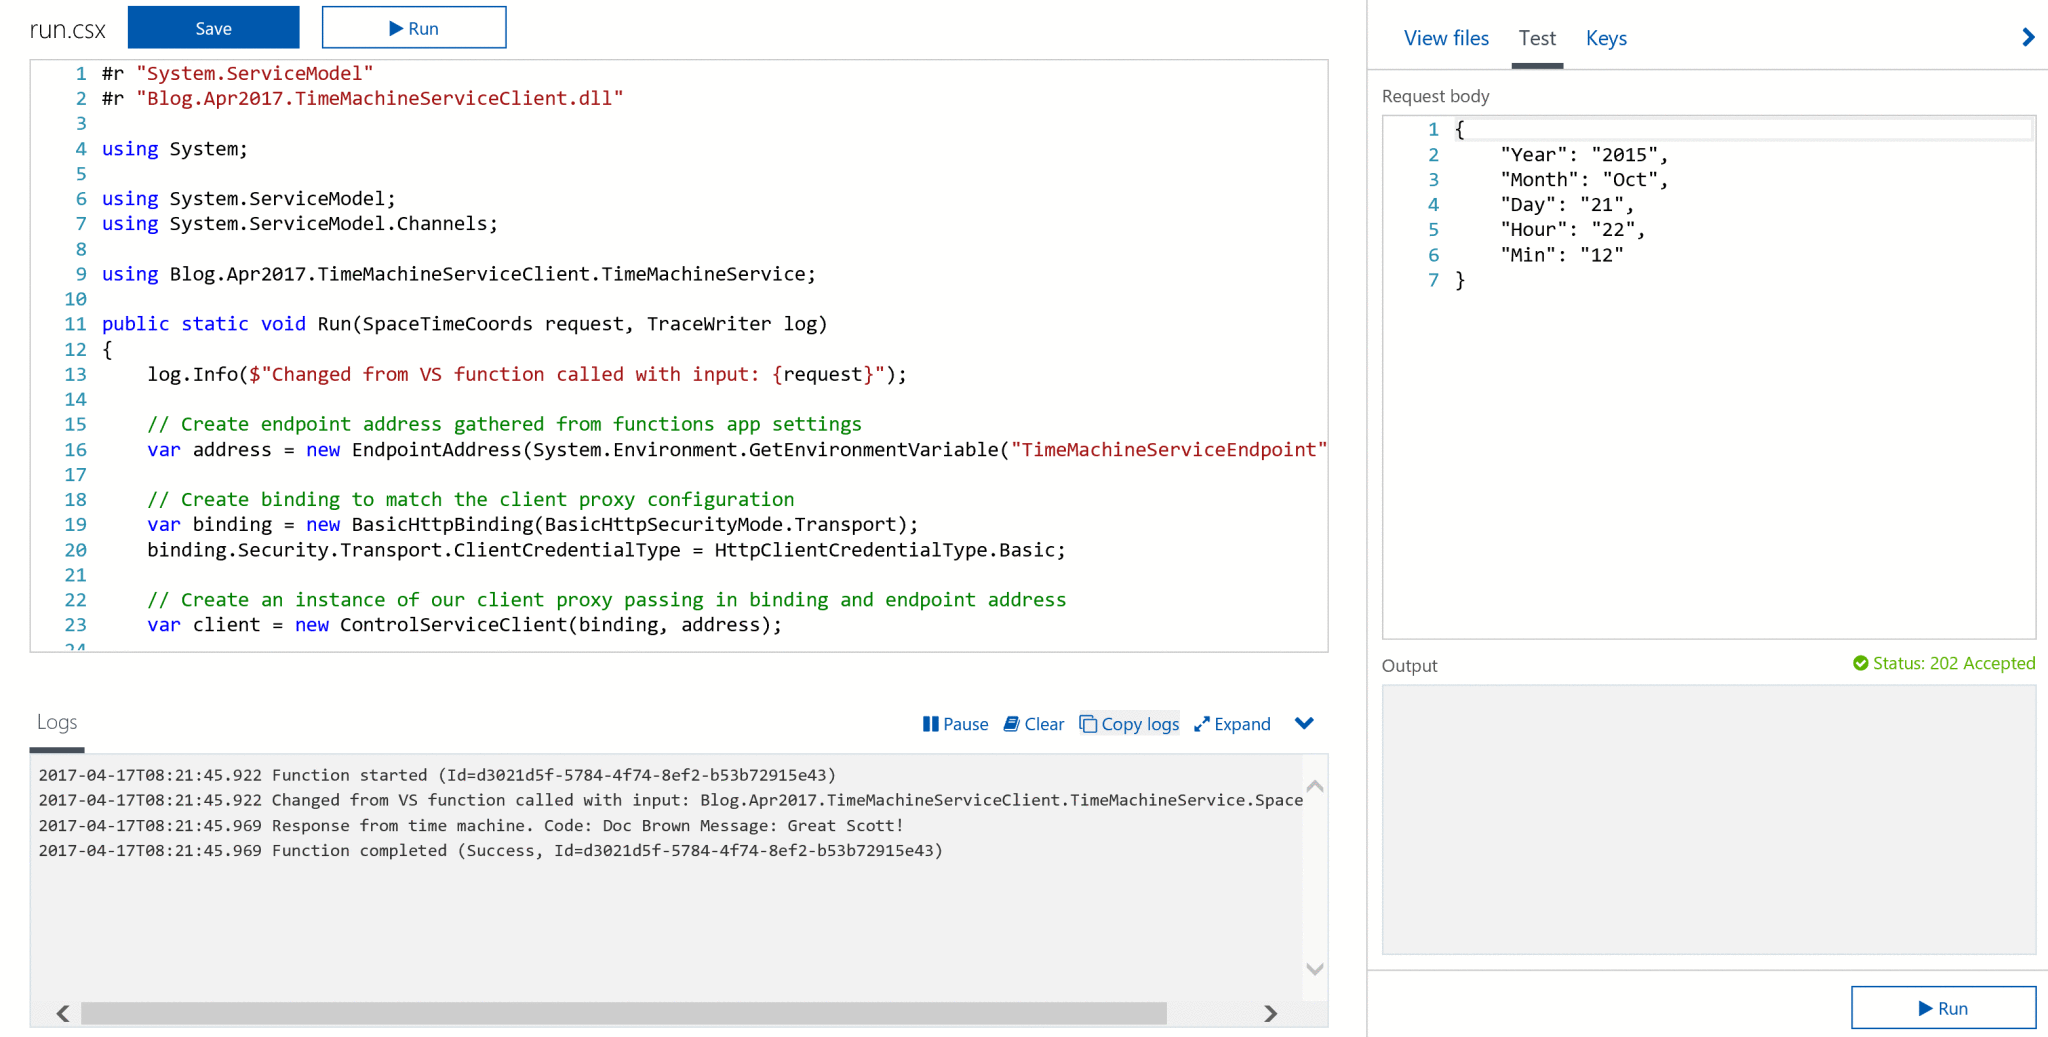
When creating an instance of the WCF client proxy, instead of specifying the endpoint and binding in a config file, create these in code and pass to the constructor of the client proxy.
Your function will look something like this
Lastly, add endpoint address and client credentials to appSettings of your Azure Function App.
Test the function using the built-in test harness to check the function executes ok
Conclusion
The suite of integration services available on the Azure Platform are developing rapidly and composing your future integration platform on Azure is a compelling option in a maturing iPaaS marketplace.
In this post we have seen how we can continue to deliver legacy integration solutions using emerging integration-platform-as-a-service offerings.

Can you please help me on a couple of points.
1. I added the reference to the class library project. Where will I find the dll. Or do I need to write some more code at this point.
2. I have created the bin folder in the same place as run.csx. Is this right?’
3. I have created projects.json in the same place as above.