Cosmos DB is a fantastic database service for many different types of applications. But it can also be quite expensive, especially if you have a number of instances of your database to maintain. For example, in some enterprise development teams you may need to have dev, test, UAT, staging, and production instances of your application and its components. Assuming you’re following best practices and keeping these isolated from each other, that means you’re running at least five Cosmos DB collections. It’s easy for someone to accidentally leave one of these Cosmos DB instances provisioned at a higher throughput than you expect, and before long you’re racking up large bills, especially if the higher throughput is left overnight or over a weekend.
In this post I’ll describe an approach I’ve been using recently to ensure the Cosmos DB collections in my subscriptions aren’t causing costs to escalate. I’ve created an Azure Function that will run on a regular basis. It uses a managed service identity to identify the Cosmos DB accounts throughout my whole Azure subscription, and then it looks at each collection in each account to check that they are set at the expected throughput. If it finds anything over-provisioned, it sends an email so that I can investigate what’s happening. You can run the same function to help you identify over-provisioned collections too.
Step 1: Create Function App
First, we need to set up an Azure Functions app. You can do this in many different ways; for simplicity, we’ll use the Azure Portal for everything here.
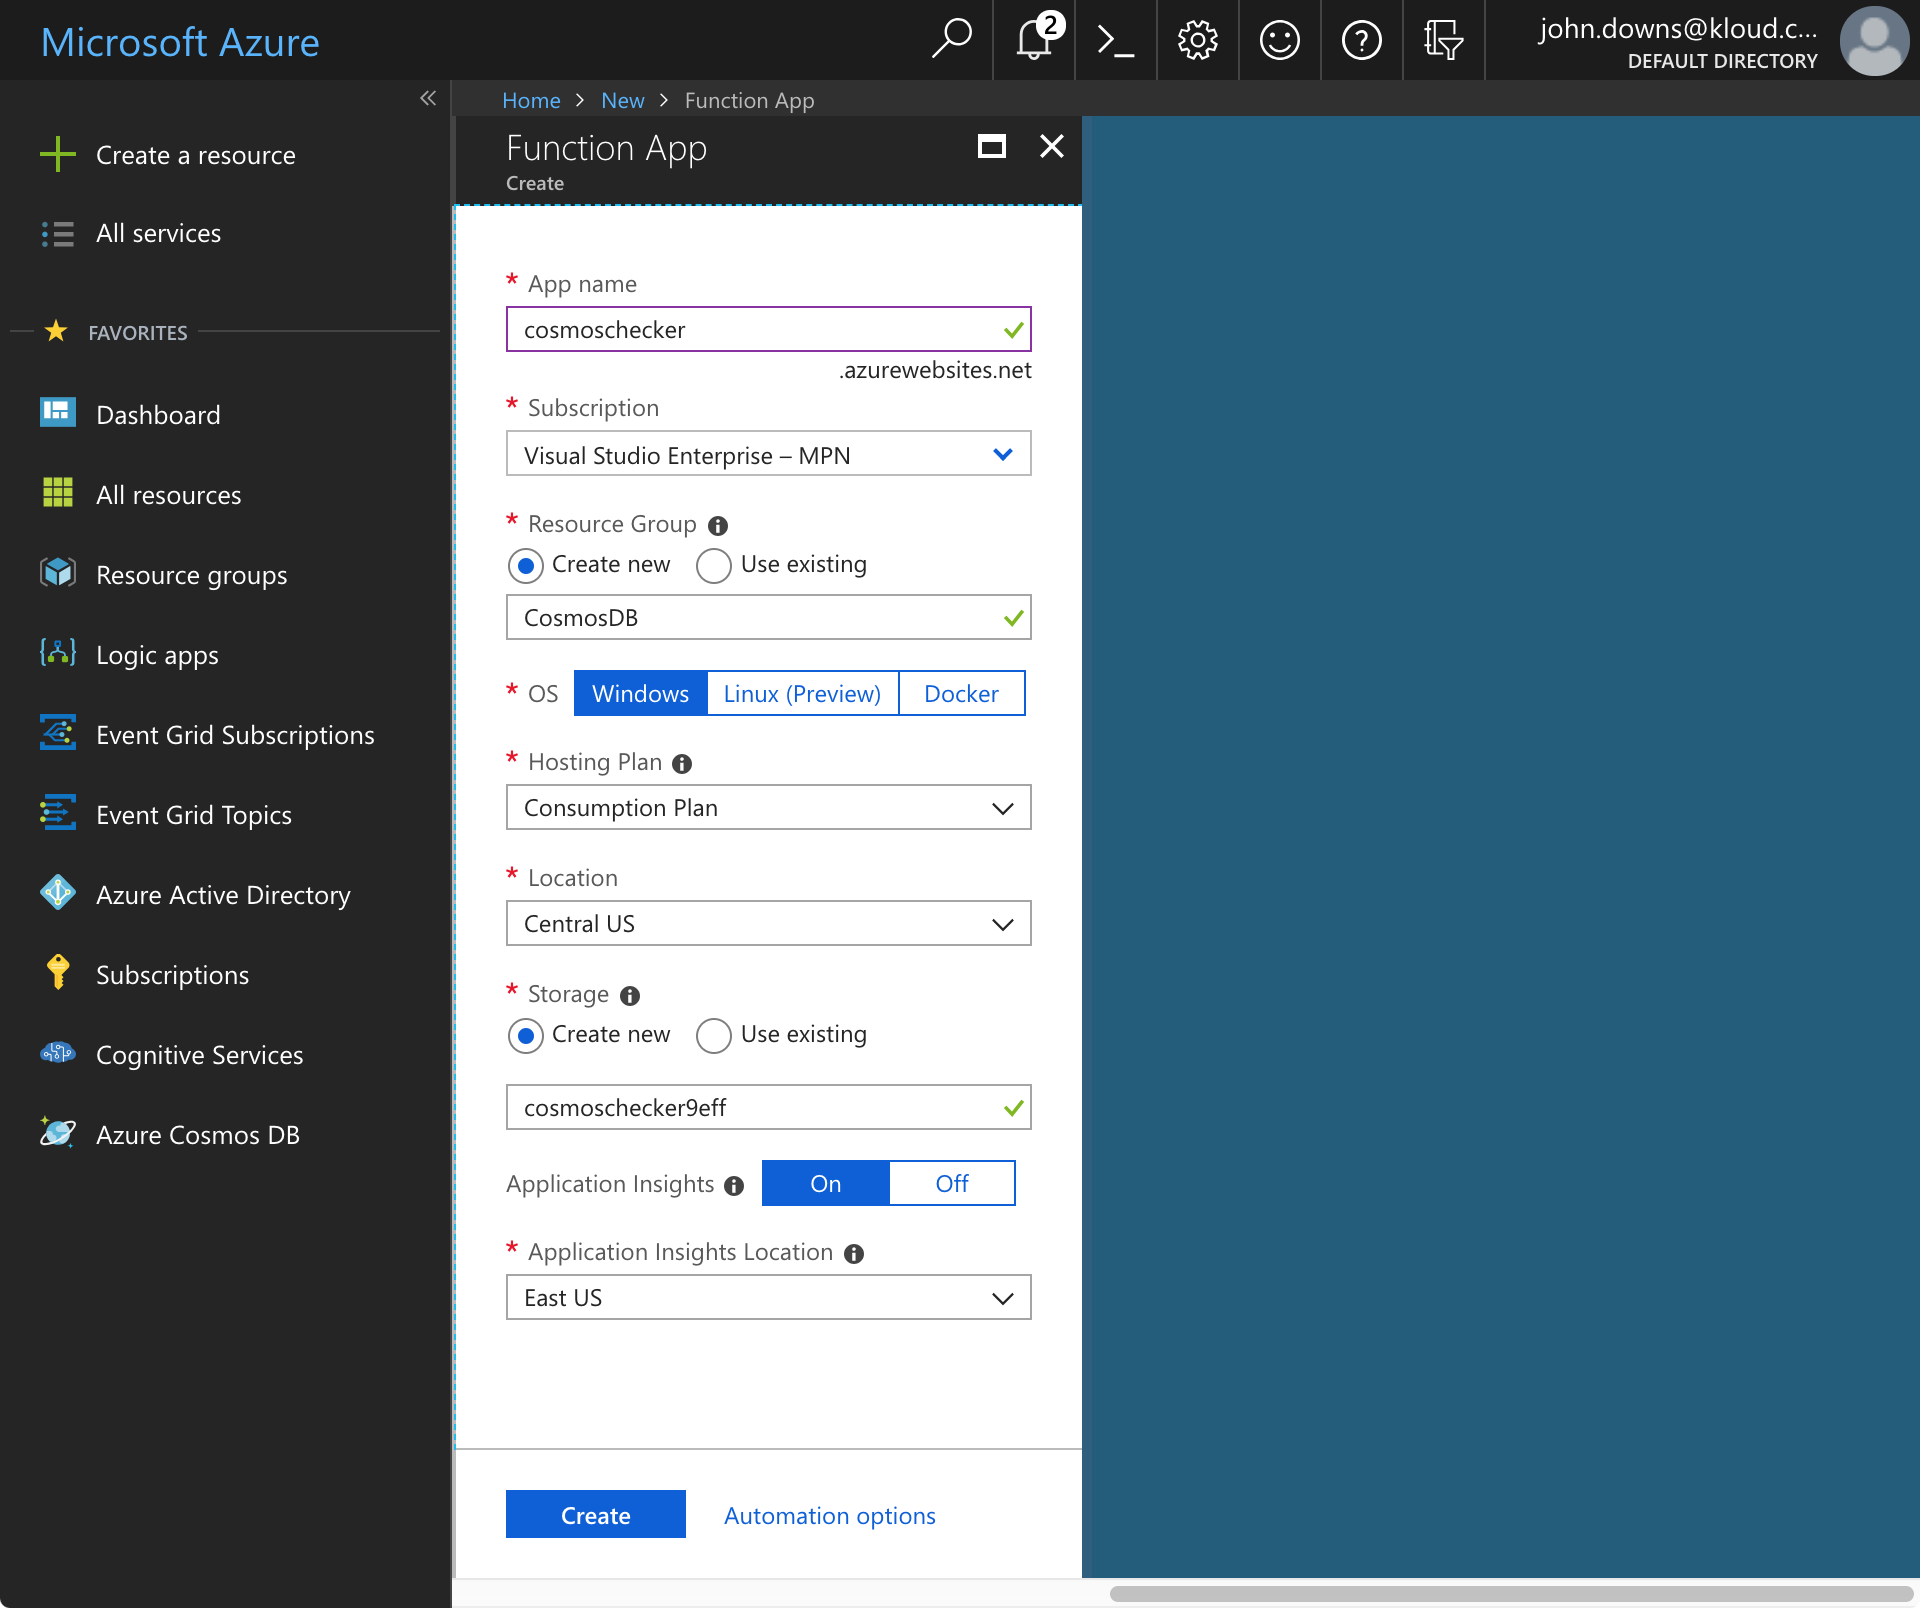
Click Create a Resource on the left pane of the portal, and then choose Serverless Function App. Enter the information it prompts for – a globally unique function app name, a subscription, a region, and a resource group – and click Create.
Step 2: Enable a Managed Service Identity
Once we have our function app ready, we need to give it a managed service identity. This will allow us to connect to our Azure subscription and list the Cosmos DB accounts within it, but without us having to maintain any keys or secrets. For more information on managed service identities, check out my previous post.
Open up the Function Apps blade in the portal, open your app, and click Platform Features, then Managed service identity:
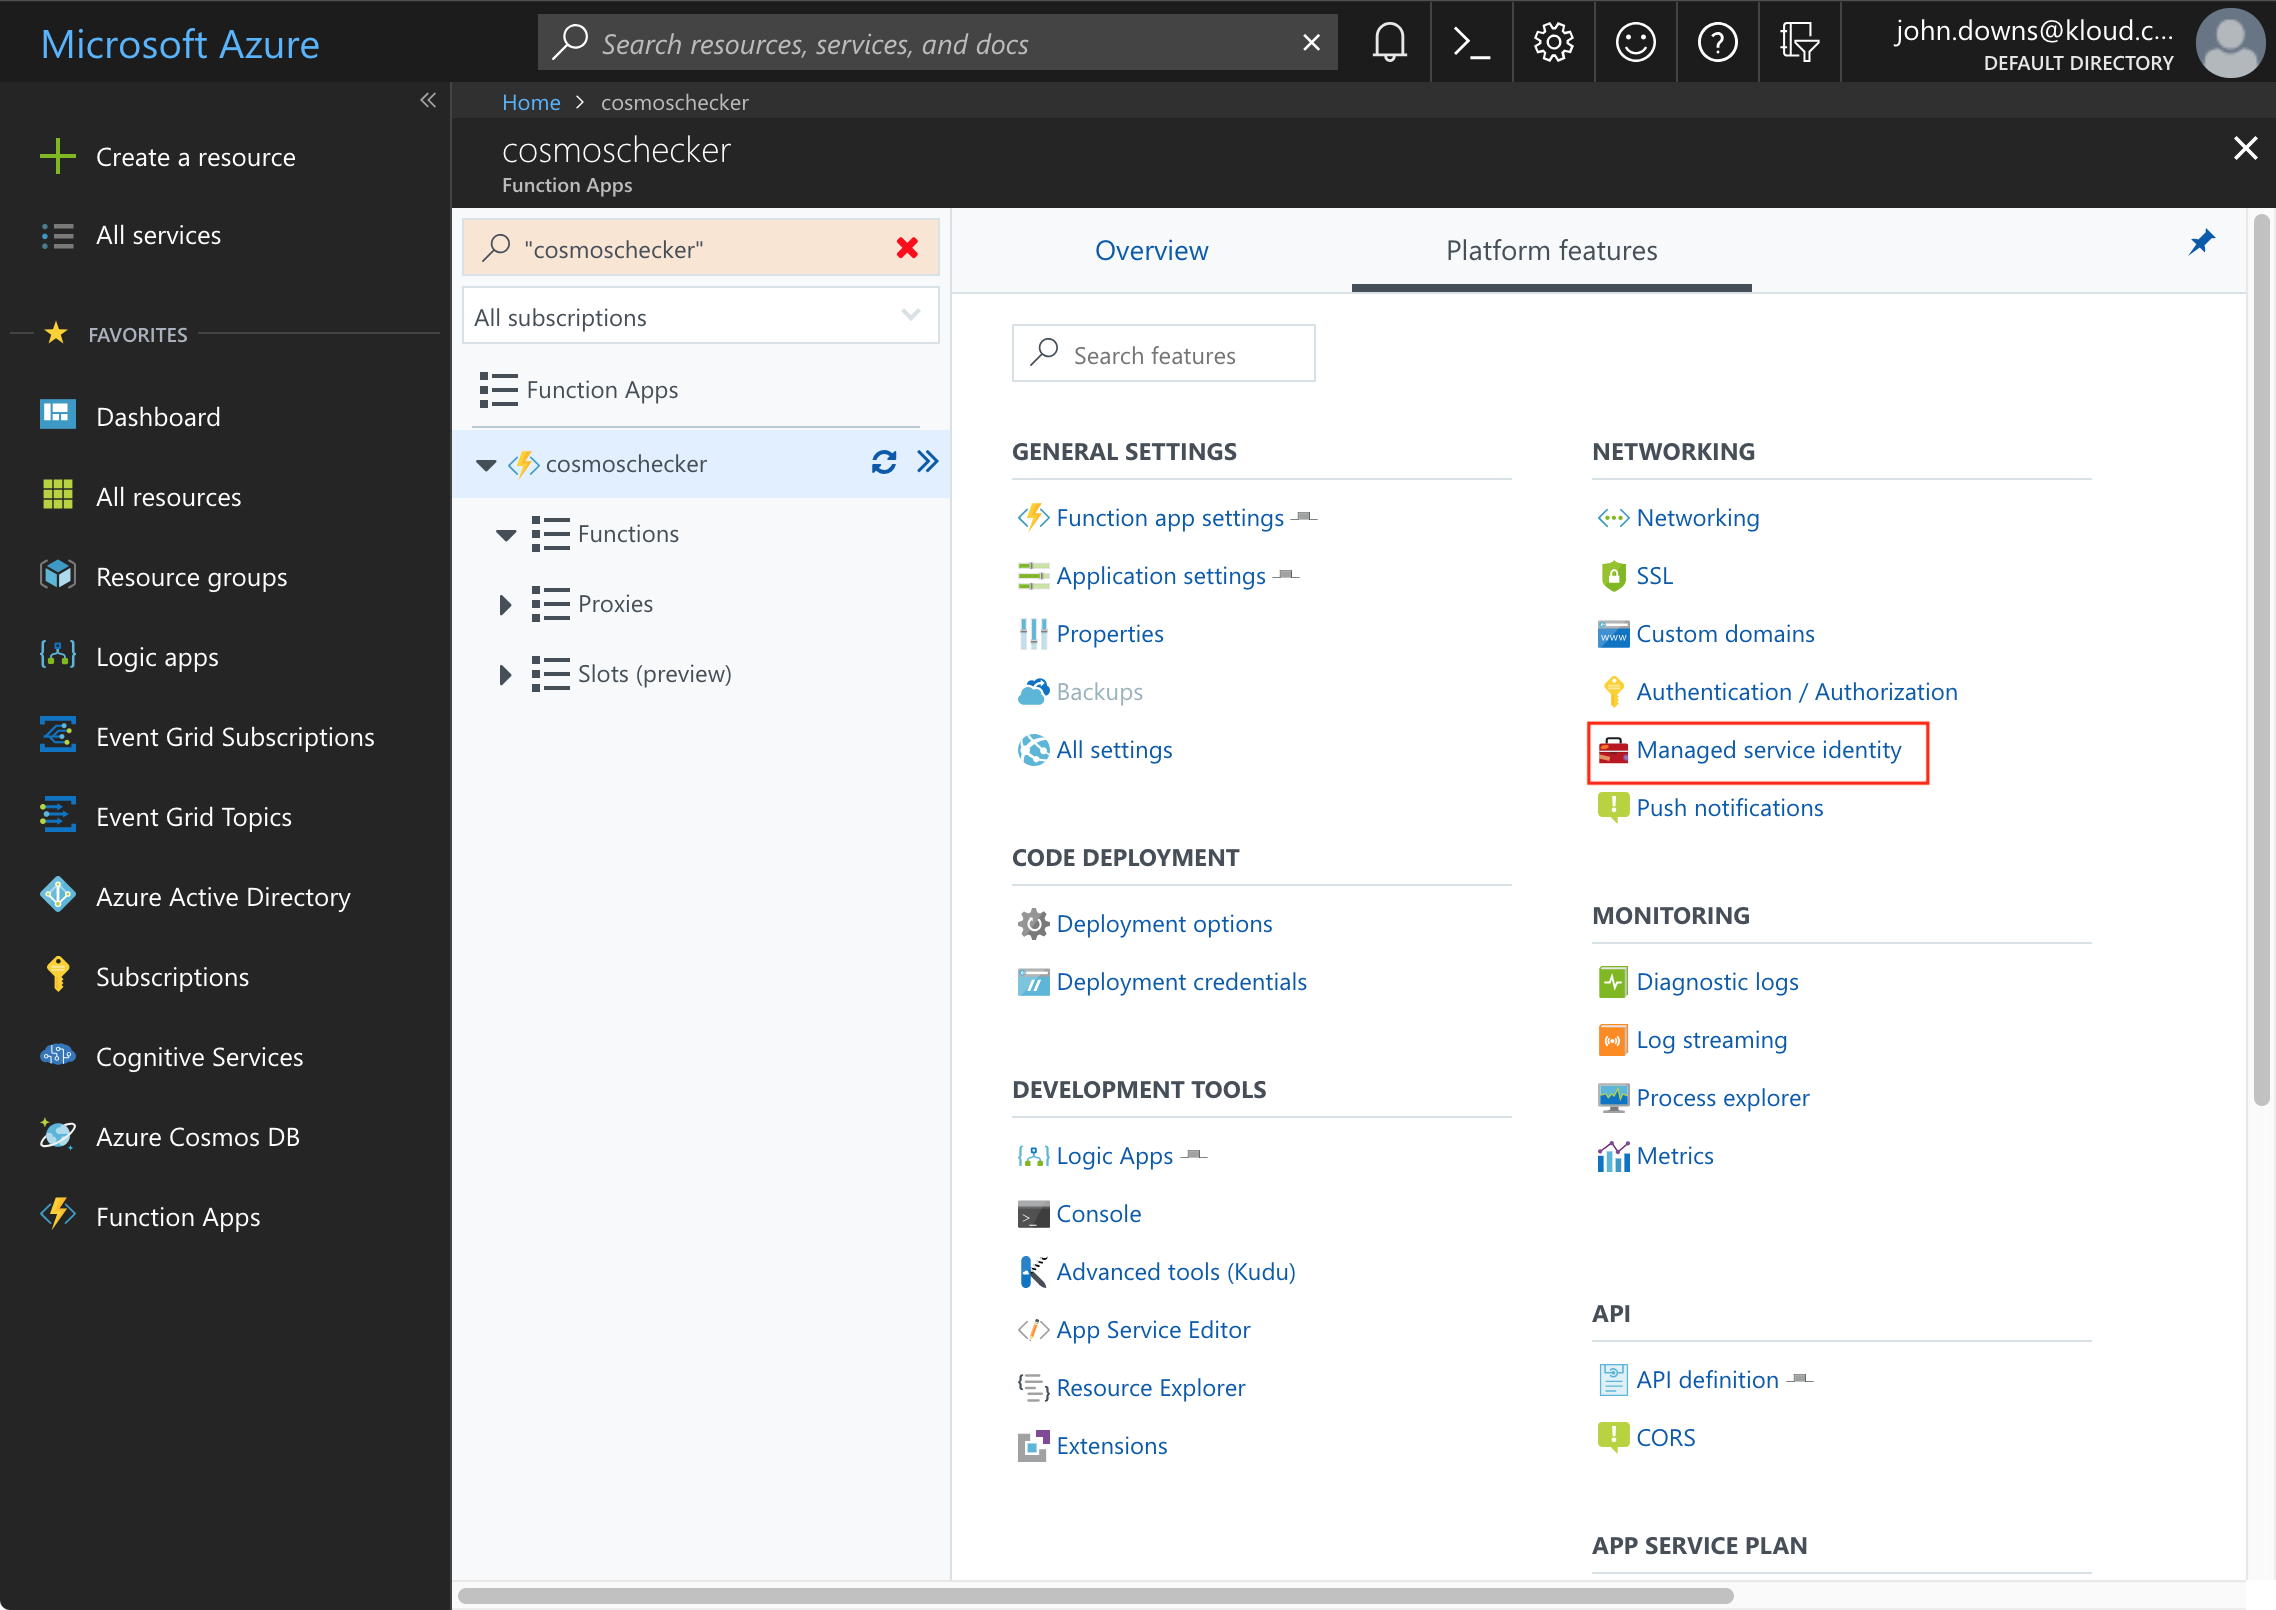
Switch the feature to On and click Save.
Step 3: Create Authorisation Rules
Now we have an identity for our function, we need to grant it access to the parts of our Azure subscription we want it to examine for us. In my case I’ll grant it the rights over my whole subscription, but you could just give it rights on a single resource group, or even just a single Cosmos DB account. Equally you can give it access across multiple subscriptions and it will look through them all.
Open up the Subscriptions blade and choose the subscription you want it to look over. Click Access Control (IAM):
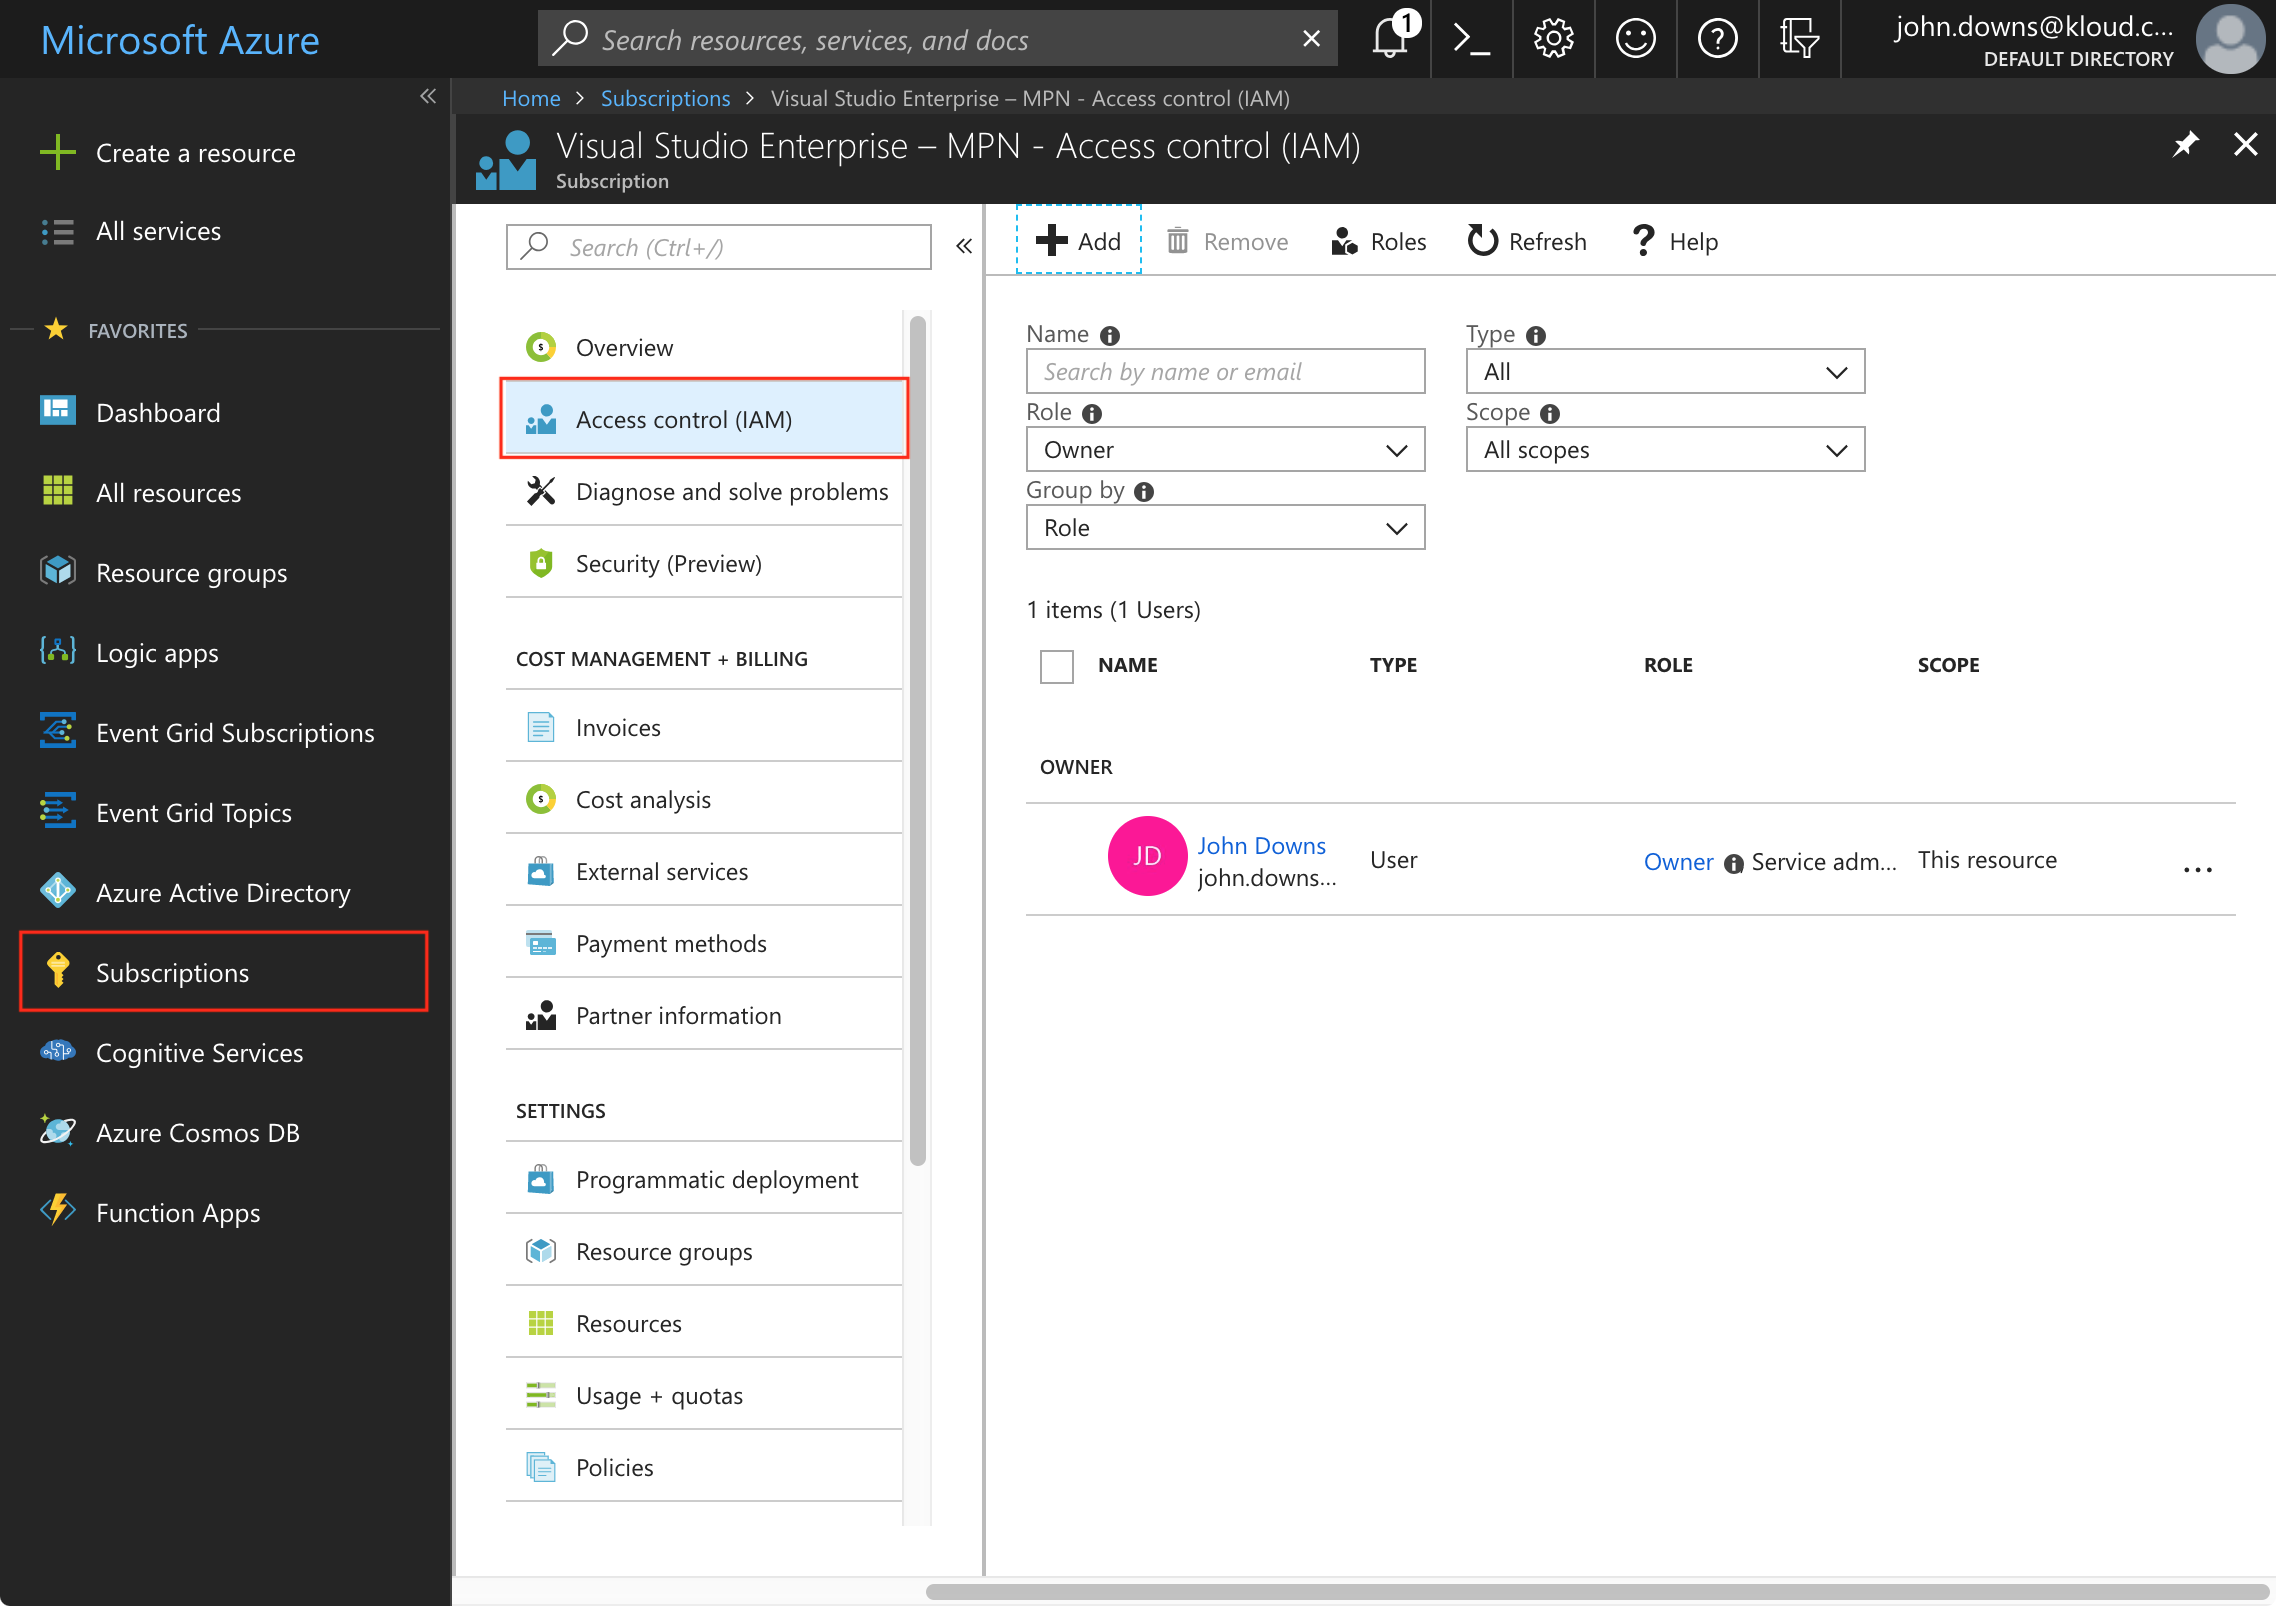
Click the Add button to create a new role assignment.
The minimum role we need to grant the function app is called Cosmos DB Account Reader Role. This allows the function to discover the Cosmos DB accounts, and to retrieve the read-only keys for those accounts, as described here. The function app can’t use this role to make any changes to the accounts.
Finally, enter the name of your function app, click it, and click Save:
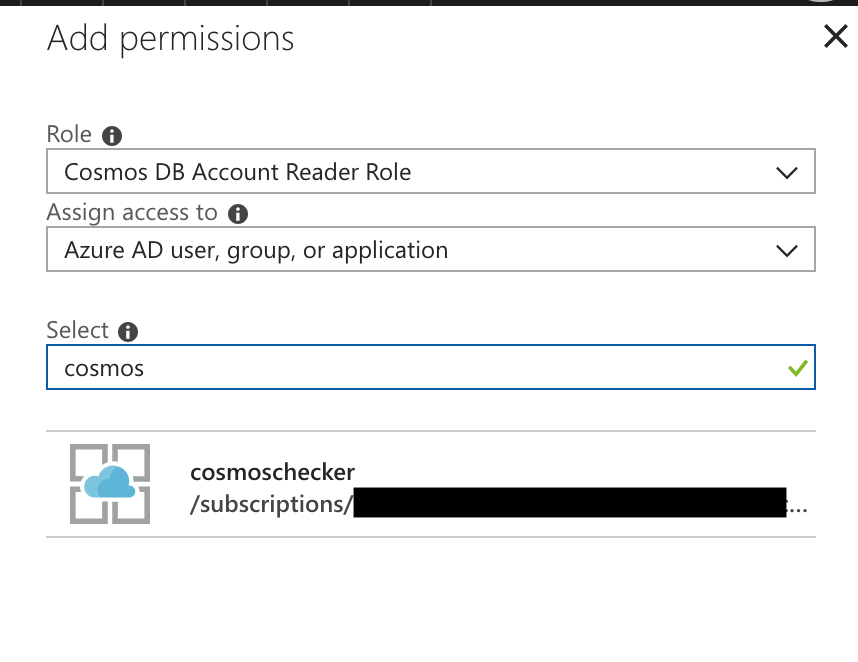
This will create the role assignment. Your function app is now authorised to enumerate and access Cosmos DB accounts throughout the subscription.
Step 4: Add the Function
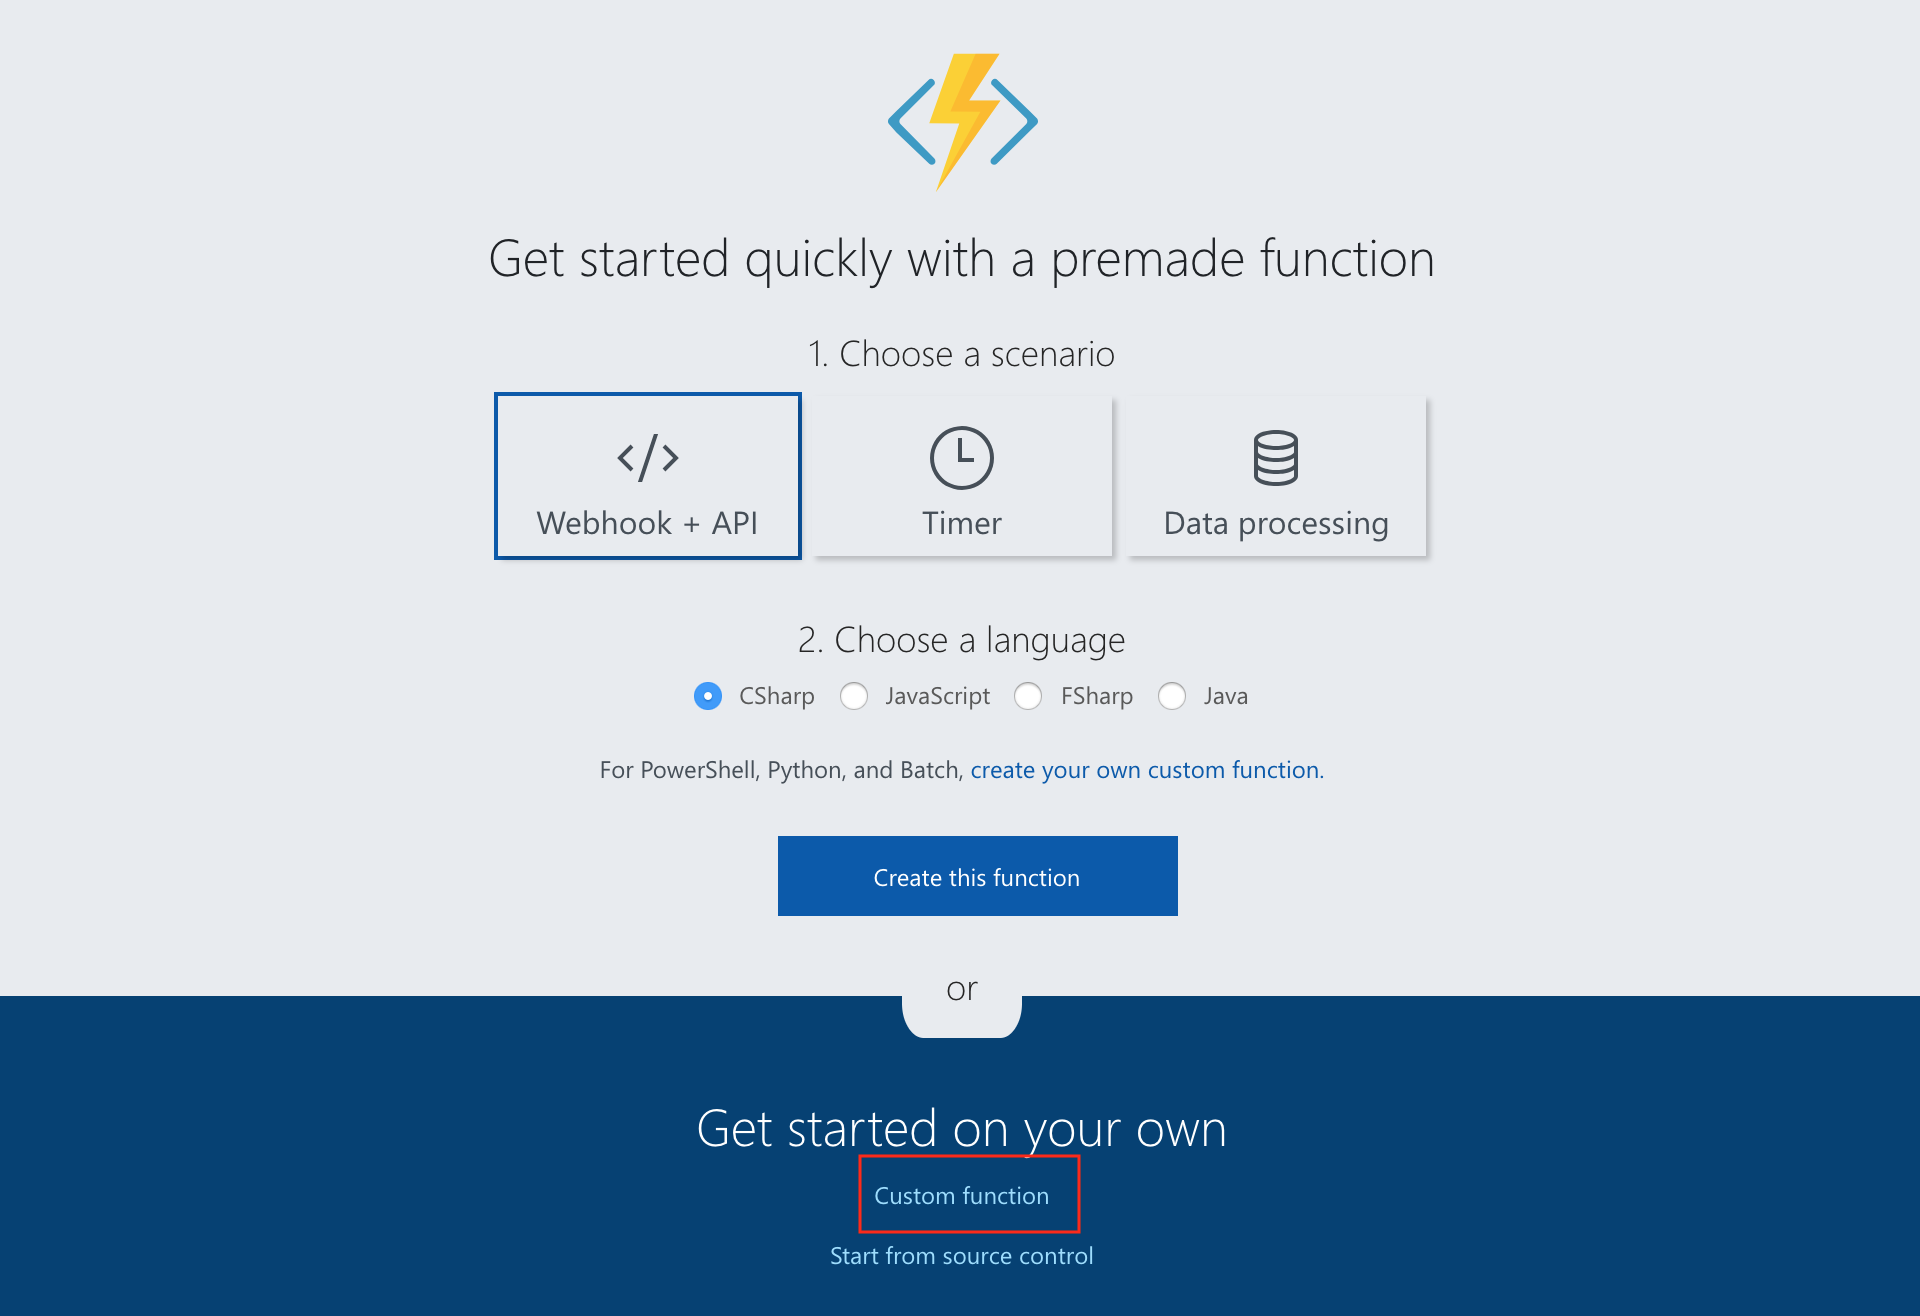
Next, we can actually create our function. Go back into the function app and click the + button next to Functions. We’ll choose to create a custom function:
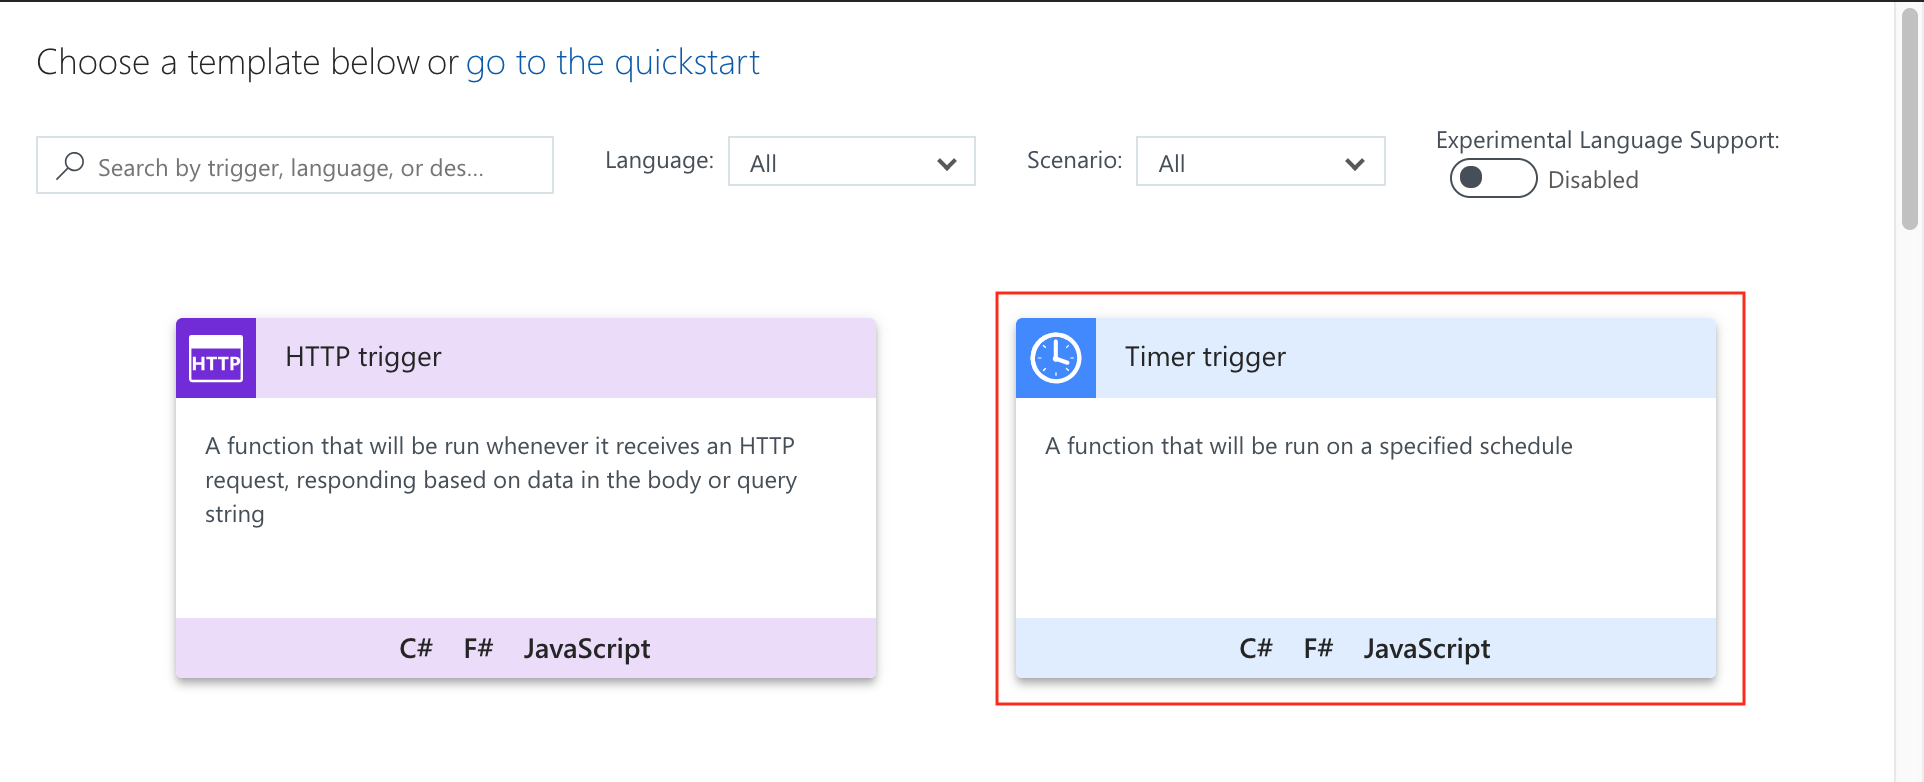
Then choose a timer trigger:
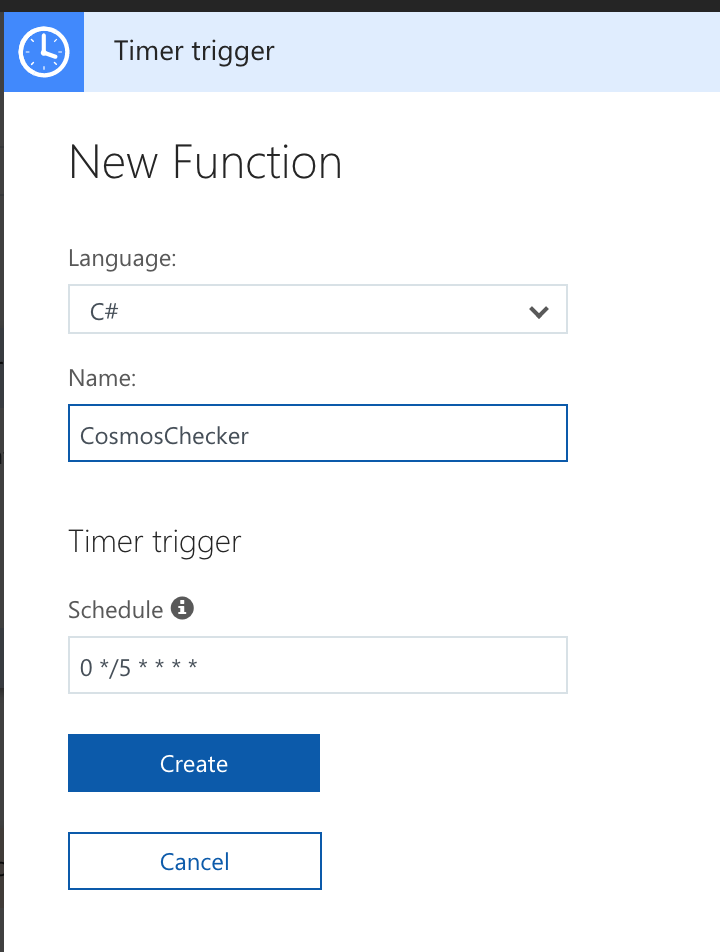
Choose C# for the language, and enter the name CosmosChecker. (Feel free to use a name with more panache if you want.) Leave the timer settings alone for now:
Your function will open up with some placeholder code. We’ll ignore this for now. Click the View files button on the right side of the page, and then click the Add button. Create a file named project.json, and then open it and paste in the following, then click Save:
This will add the necessary package references that we need to find and access our Cosmos DB collections, and then to send alert emails using SendGrid.
Now click on the run.csx file and paste in the following file:
I won’t go through the entire script here, but I have added comments to try to make its purpose a little clearer.
Finally, click on the function.json file and replace the contents with the following:
This will configure the function app with the necessary timer, as well as an output binding to send an email. We’ll discuss most of these settings later, but one important setting to note is the schedule setting. The value I’ve got above means the function will run every hour. You can change it to other values using CRON expressions, such as:
- Run every day at 9.30am UTC:
0 30 9 * * * - Run every four hours:
0 0 */4 * * * - Run once a week:
0 0 * * 0
You can decide how frequently you want this to run and replace the schedule with the appropriate value from above.
Step 5: Get a SendGrid Account
We’re using SendGrid to send email alerts. SendGrid has built-in integration with Azure Functions so it’s a good choice, although you’re obviously welcome to switch out for anything else if you’d prefer. You might want an SMS message to be sent via Twilio, or a message to be sent to Slack via the Slack webhook API, for example.
If you don’t already have a SendGrid account you can sign up for a free account on their website. Once you’ve got your account, you’ll need to create an API key and have it ready for the next step.
Step 6: Configure Function App Settings
Click on your function app name and then click on Application settings:
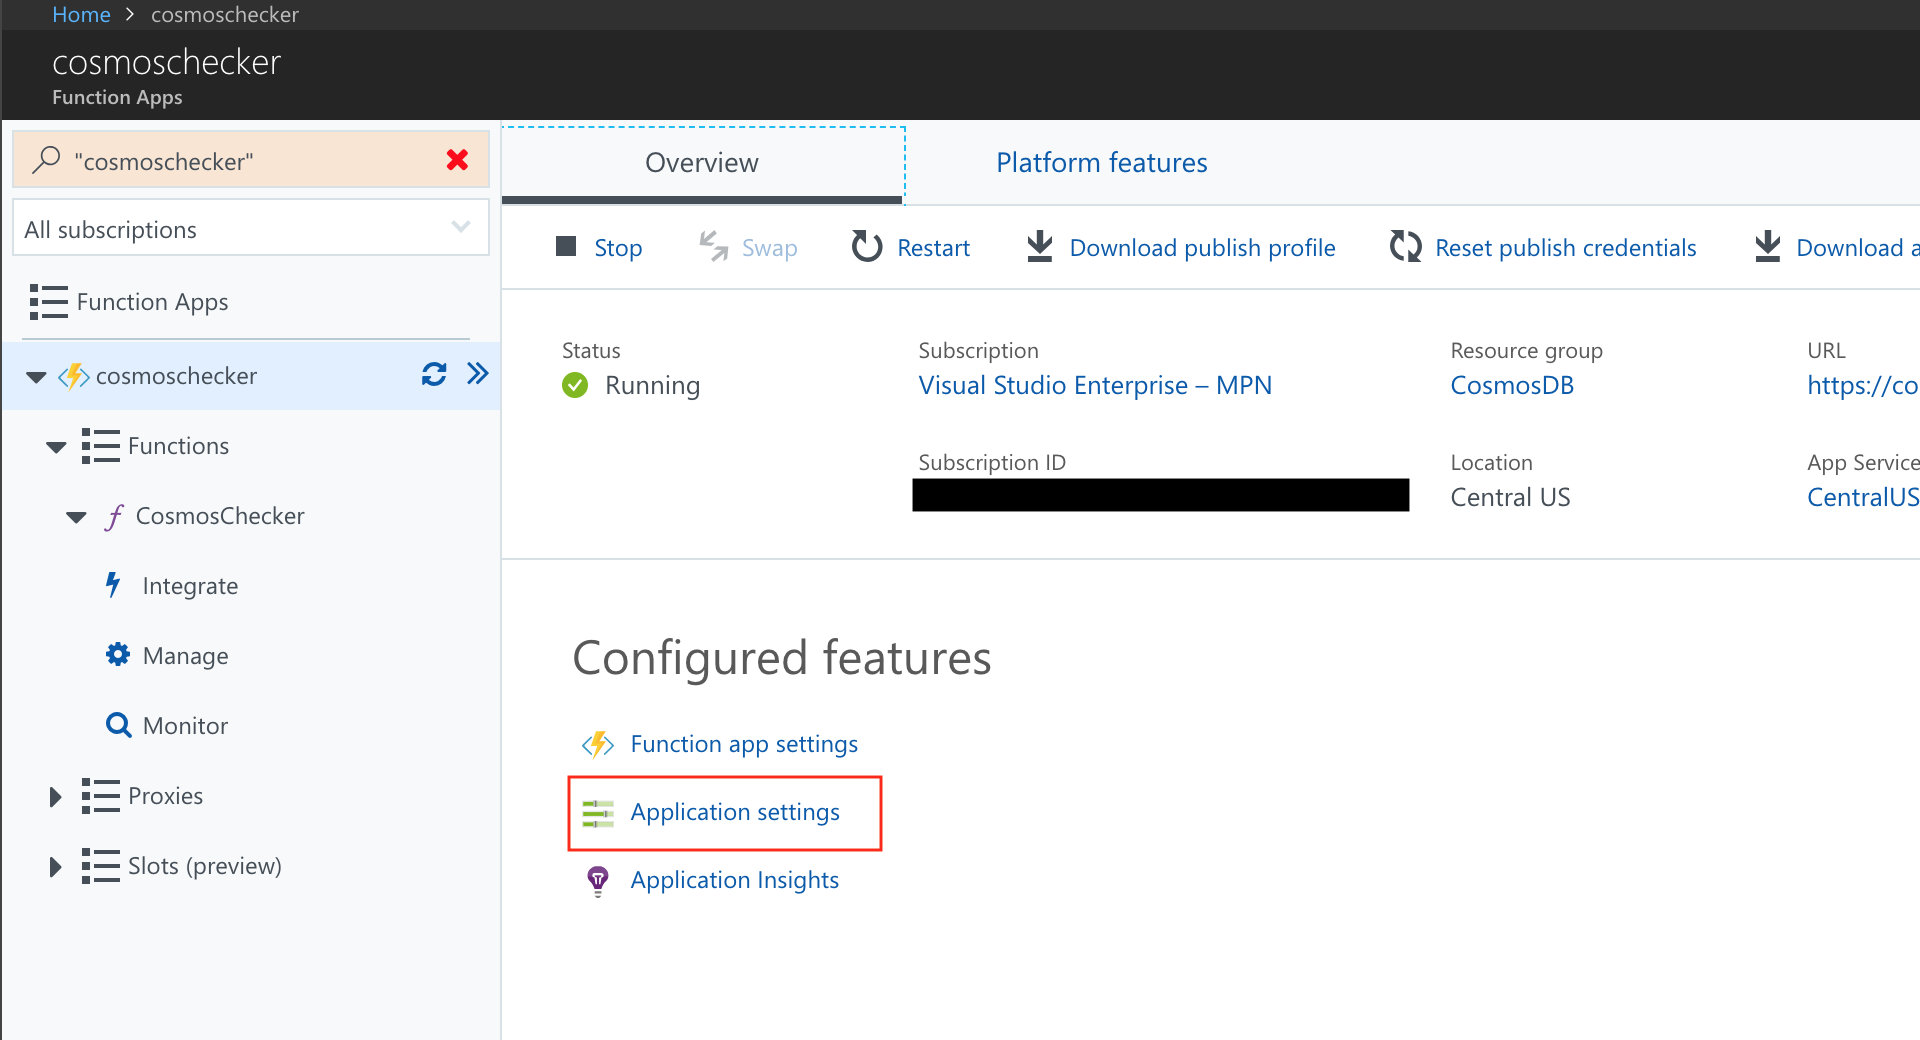
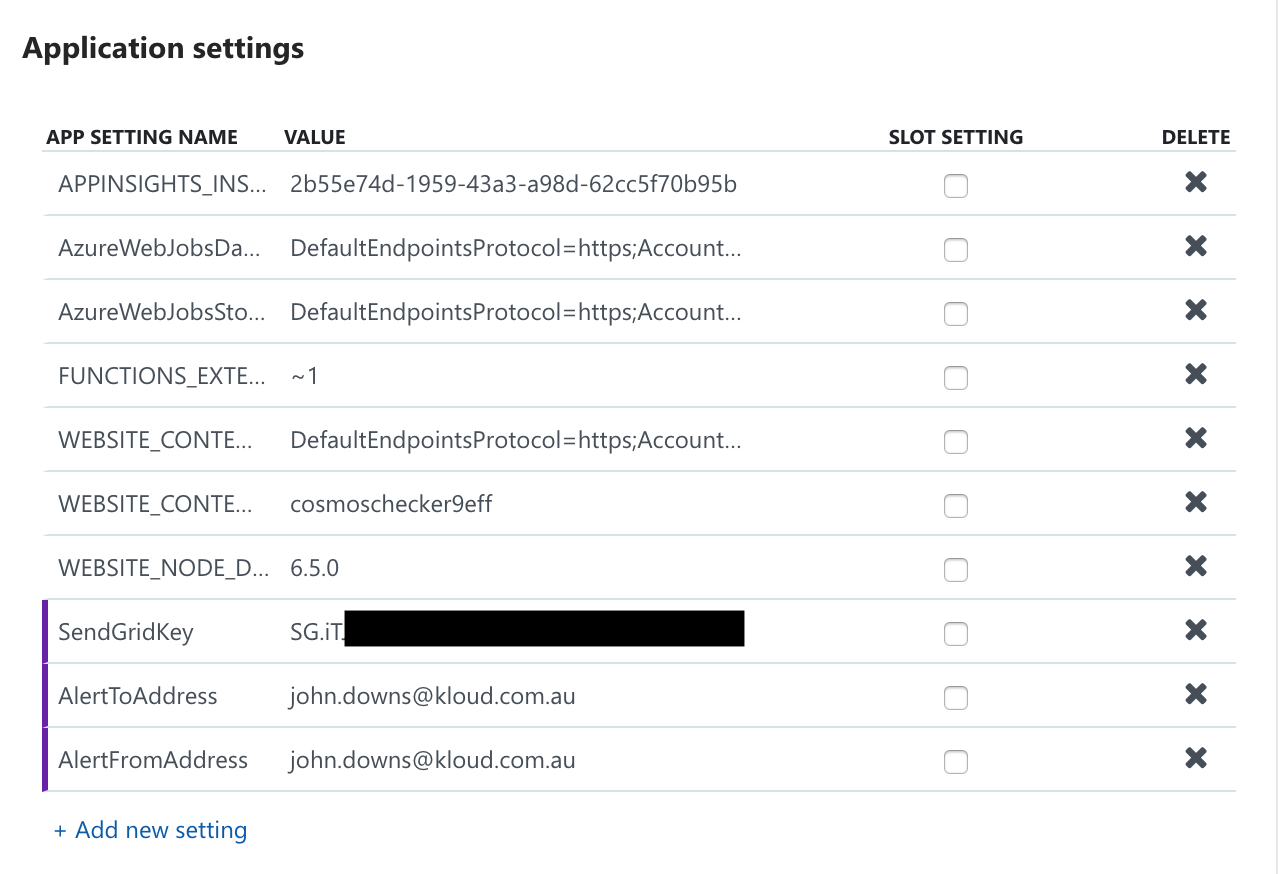
Scroll down to the Application settings section. We’ll need to enter three settings here:
- Setting name:
SendGridKey. This should have a value of your SendGrid API key from step 5. - Setting name:
AlertToAddress. This should be the email address that you want alerts to be sent to. - Setting name:
AlertFromAddress. This should be the email address that you want alerts to be sent from. This can be the same as the ‘to’ address if you want.
Your Application settings section should look something like this:
Step 7: Run the Function
Now we can run the function! Click on the function name again (CosmosChecker), and then click the Run button. You can expand out the Logs pane at the bottom of the screen if you want to watch it run:
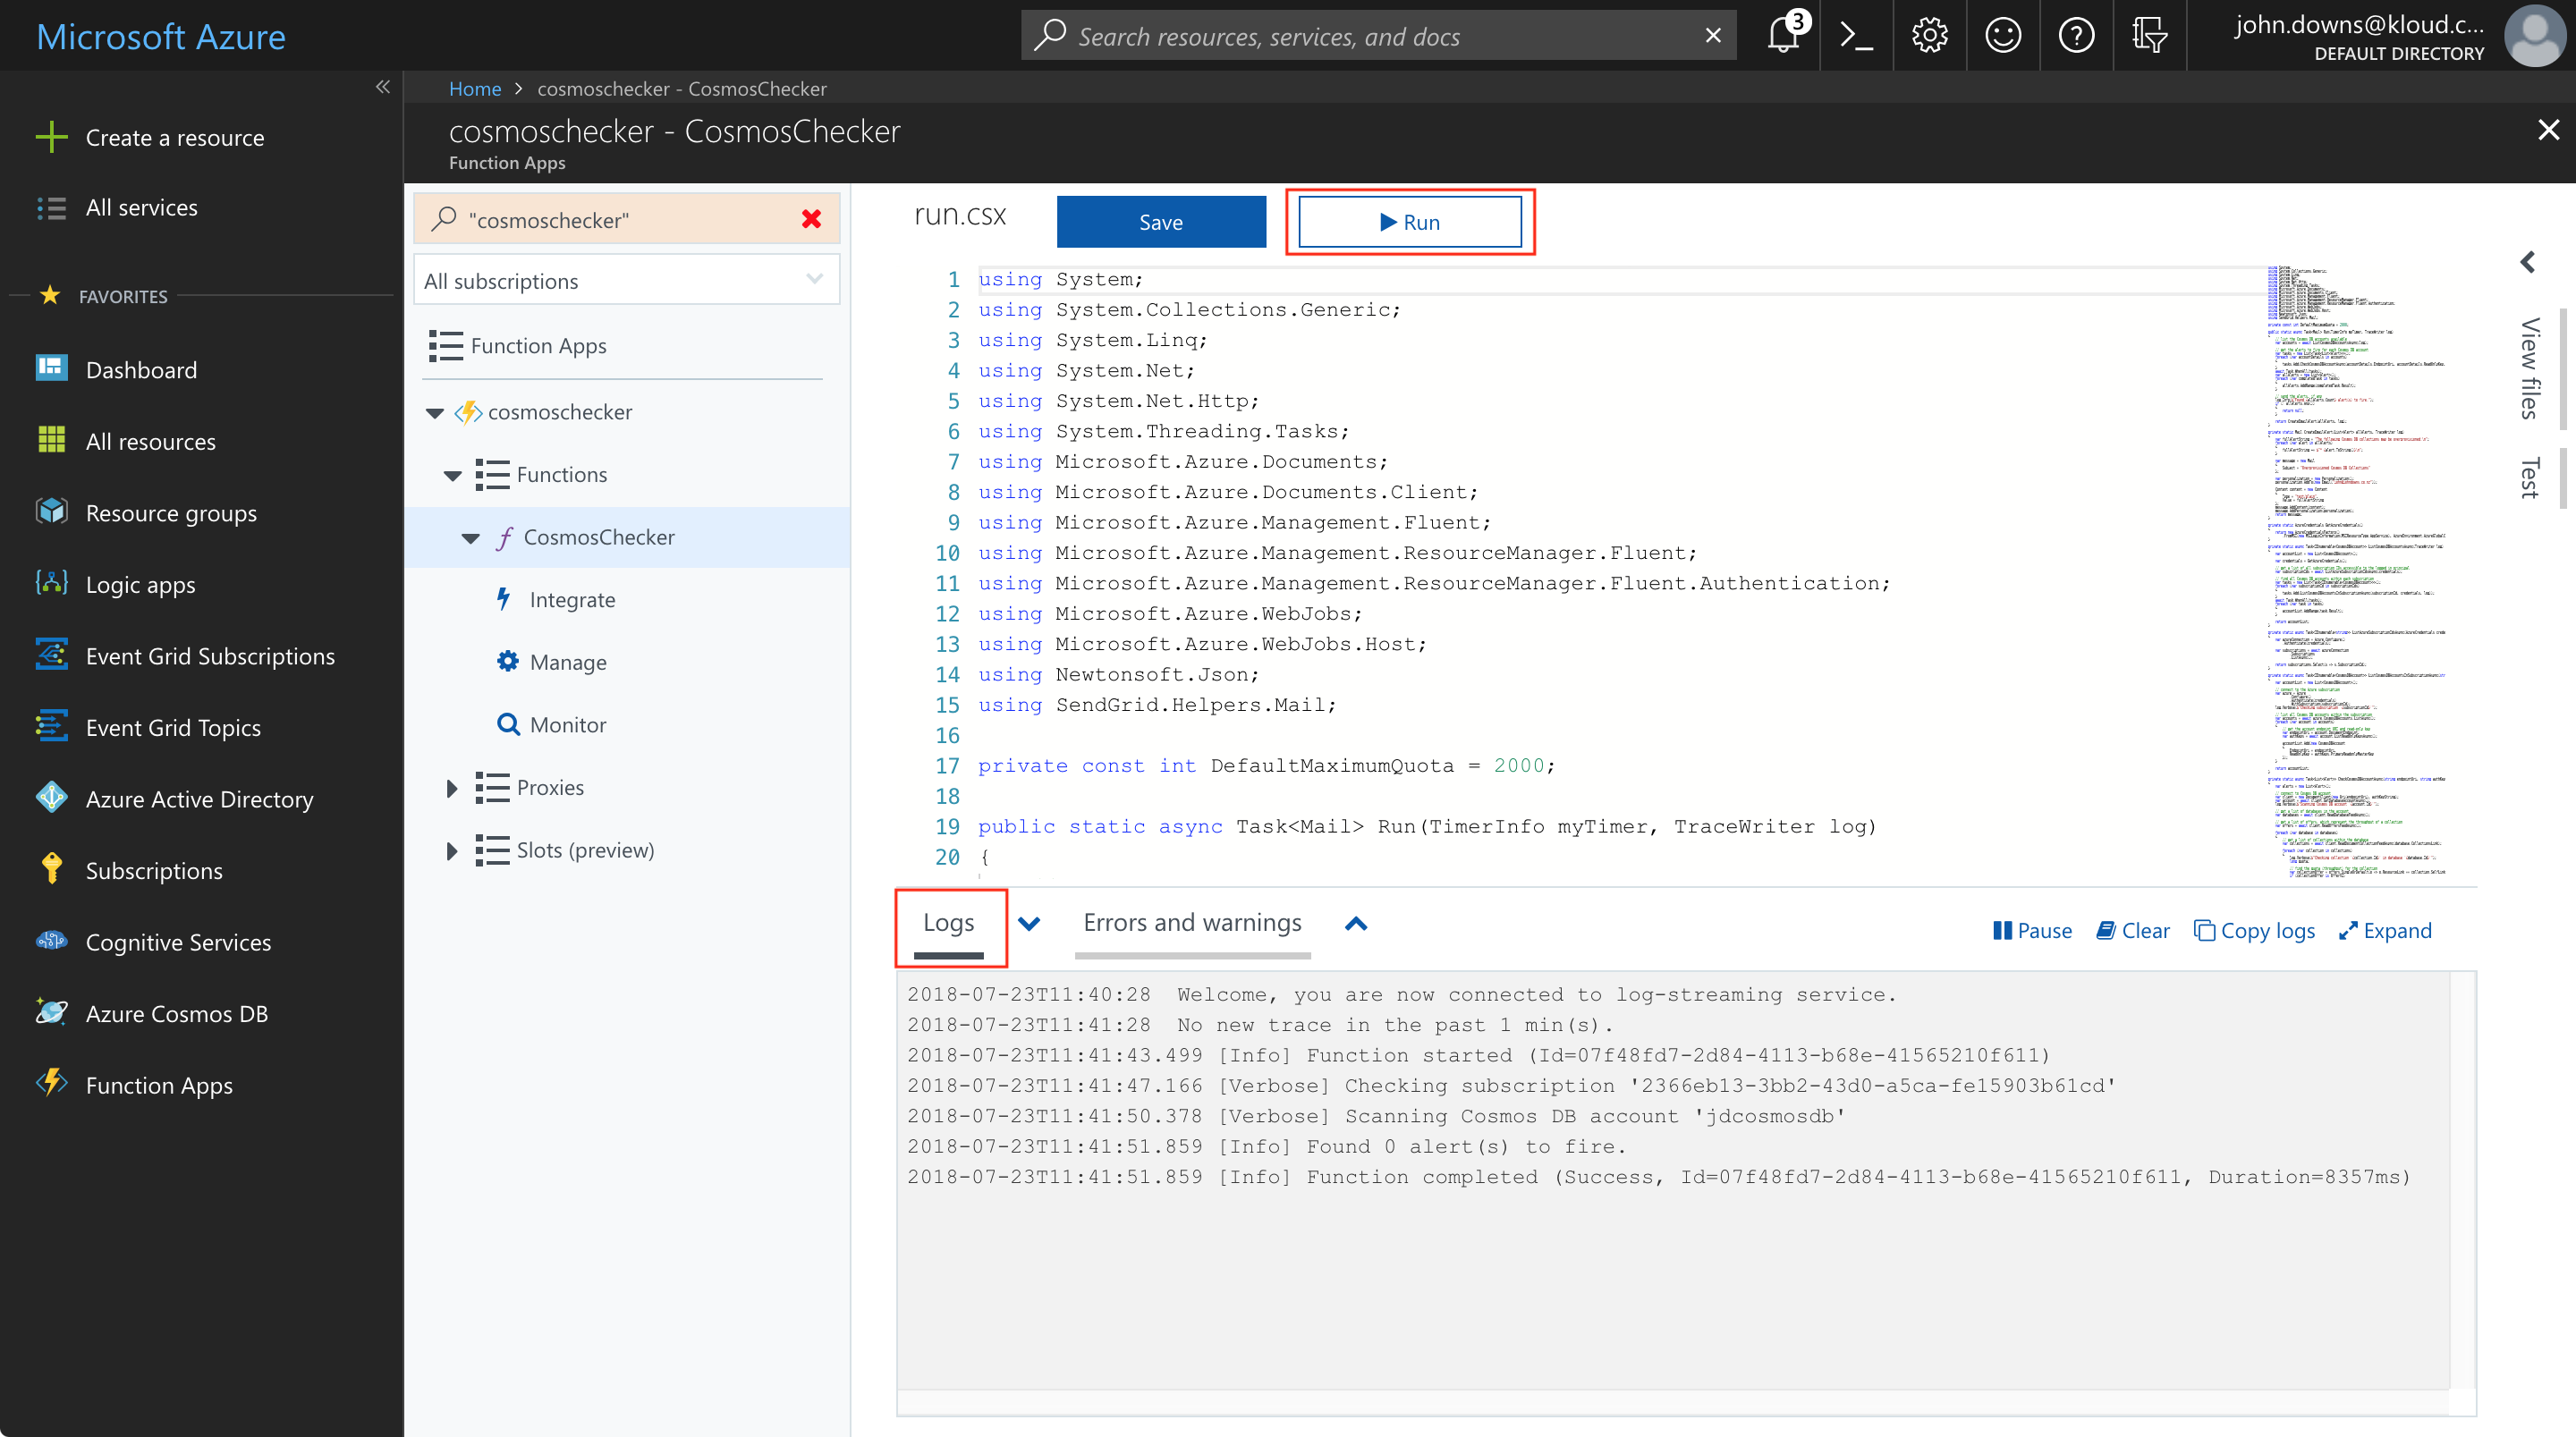
Depending on how many Cosmos DB accounts and collections you have, it may take a minute or two to complete.
If you’ve got any collections provisioned over 2000 RU/s, you should receive an email telling you this fact:

Configuring Alert Policies
By default, the function is configured to alert whenever it sees a Cosmos DB collection provisioned over 2000 RU/s. However, your situation may be quite different to mine. For example, you may want to be alerted whenever you have any collections provisioned over 1000 RU/s. Or, you may have production applications that should be provisioned up to 100,000 RU/s, but you only want development and test collections provisioned at 2000 RU/s.
You can configure alert policies in two ways.
First, if you have a specific collection that should have a specific policy applied to it – like the production collection I mentioned that should be allowed to go to 100,000 RU/s – then you can create another application setting. Give it the name MaximumThroughput:{account_name}:{database_name}:{collection_name}, and set the value to the limit you want for that collection.
For example, a collection named customers in a database named customerdb in an account named myaccount-prod would have a setting named MaximumThroughput:myaccount-prod:customerdb:customers. The value would be 100000, assuming you wanted the function to check this collection against a limit of 100,000 RU/s.
Second, by default the function has a default quota of 2000 RU/s. You can adjust this to whatever value you want by altering the value on line 17 of the function code file (run.csx).
ARM Template
If you want to deploy this function for yourself, you can also use an ARM template I have prepared. This performs all the steps listed above except step 3, which you still need to do manually.
Of course, you are also welcome to adjust the actual logic involved in checking the accounts and collections to suit your own needs. The full code is available on GitHub and you are welcome to take and modify it as much as you like! I hope this helps to avoid some nasty bill shocks.

Yeah, welcome back the John Downs blog