Azure AD apps provide a faster and secure way to connect to the Office 365 tenancy and carry out automation tasks. There are many advantages of using Azure AD apps and could be used to authenticate for various Microsoft services such as Graph, Office 365 Management Api, SharePoint etc.
In this blog, we will look at the steps to set up an Azure AD app for Office 365 Management API, however the steps are mostly the same for other Office 365 services too.
In order to create an Azure AD App, first we need to have an Azure AD setup for Office 365. For more information about setting up Azure AD, please check the article here.
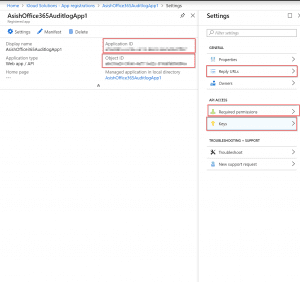
Note: Screenshots and examples used in this blog are referring to the latest App registrations (preview) page. The same is also possible through the old App registrations page too, but might be different names and locations of controls. Below is the front pages from both the App registration pages.
App Registrations (preview)
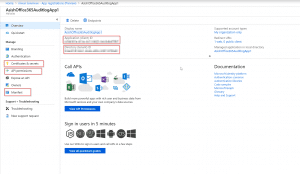
App Registrations
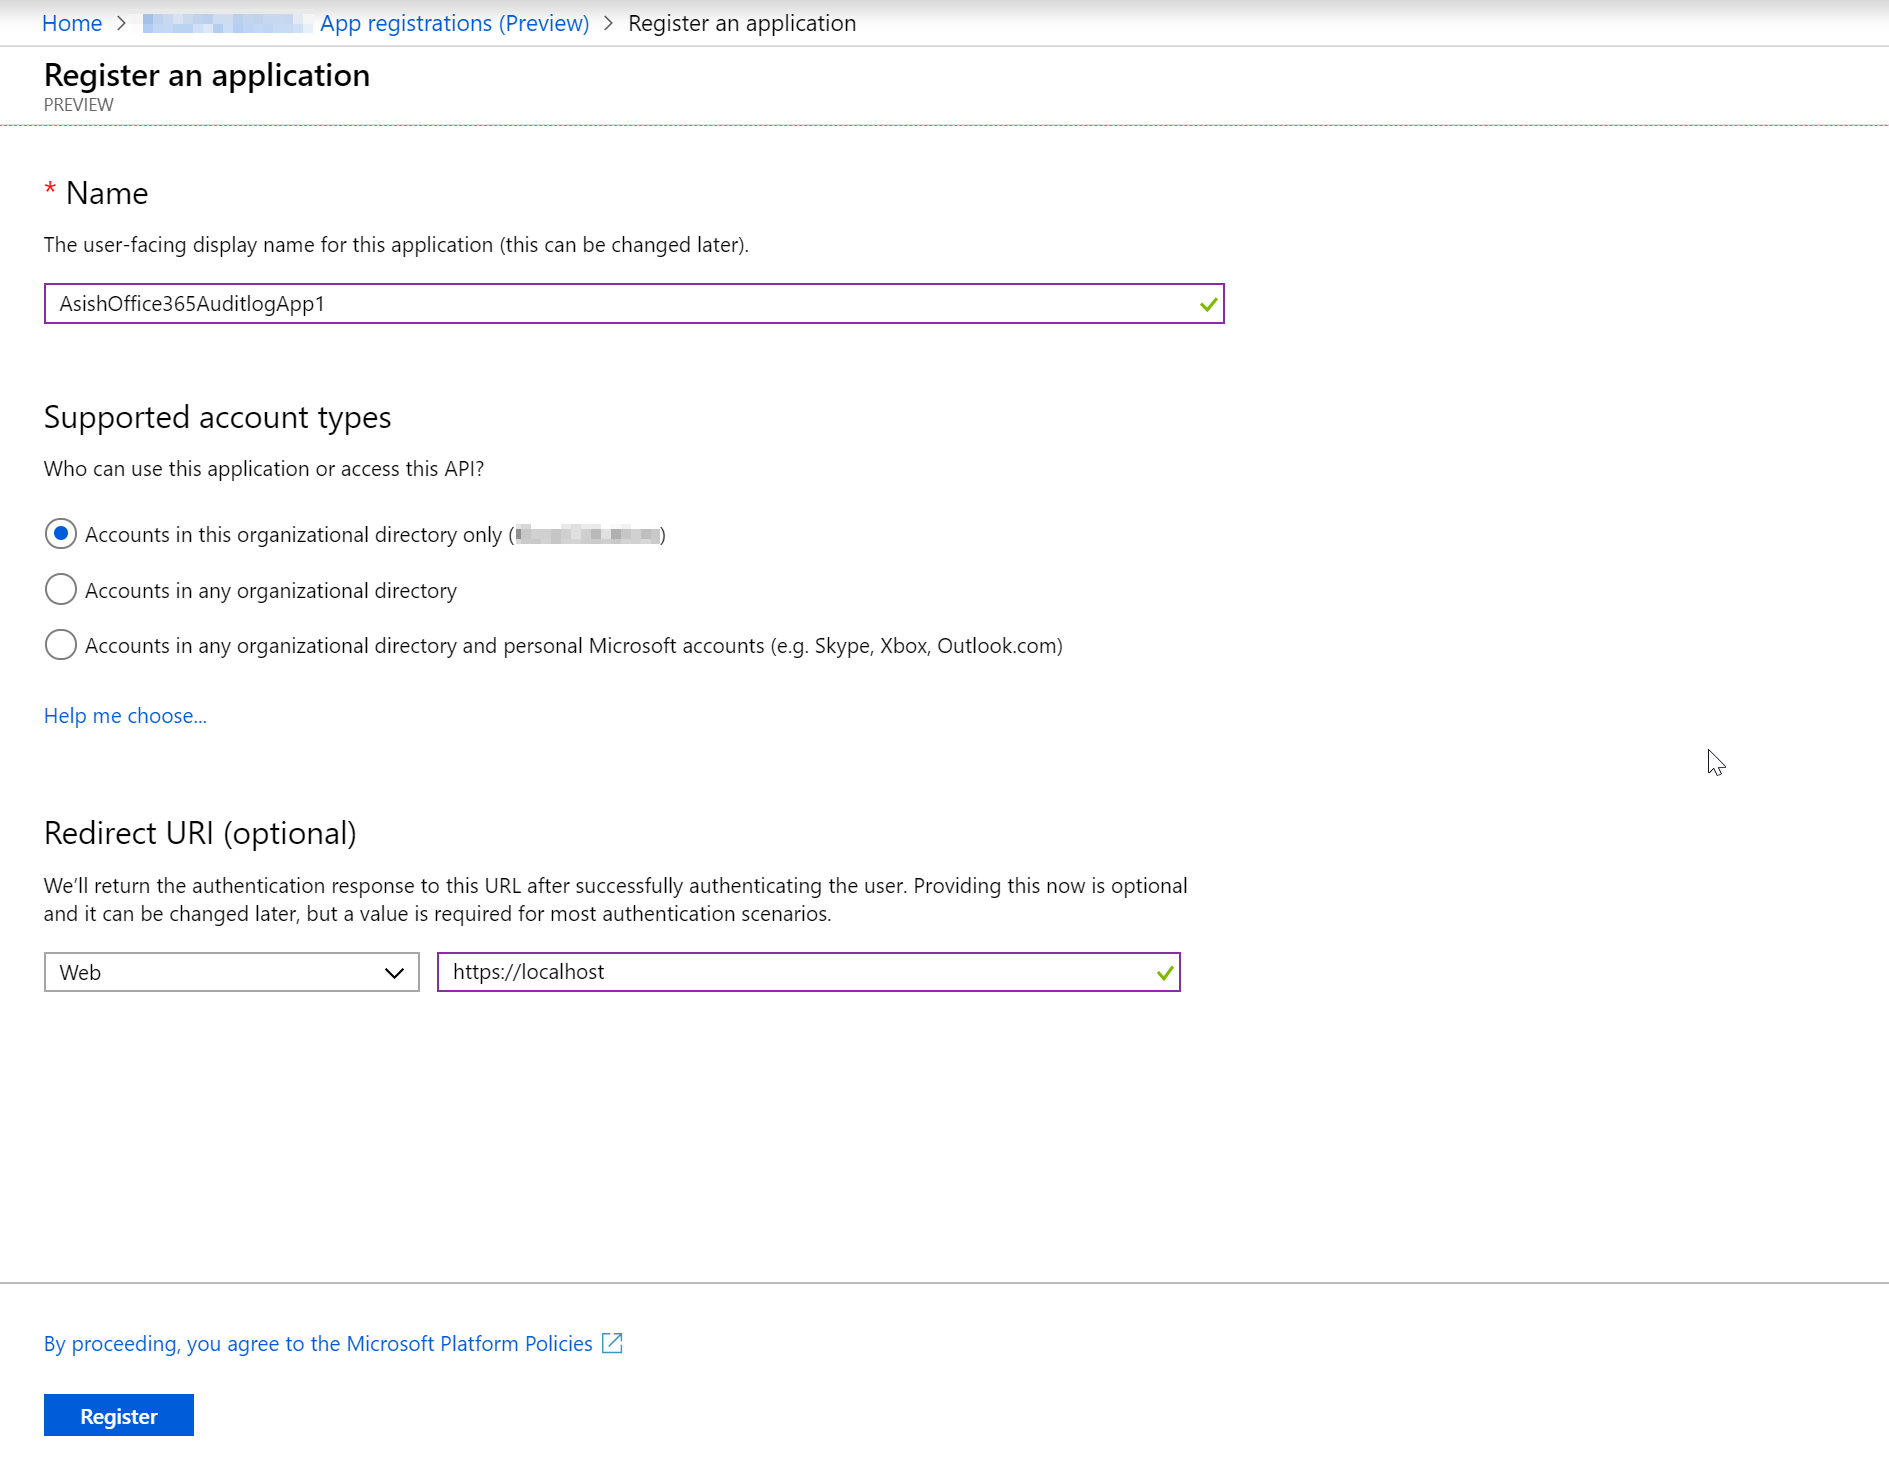
After the Azure AD is set up, we will open the latest App registrations (preview) section to set up the new app. This is also possible through the old App registrations page but from a personal opinion, I feel the new one is much better laid out than the older one.
In the App Registrations page, let’s create a new registration. For account types, lets’ leave it to the default current organisation only. We can leave the redirect api blank or set it to localhost for now. We will change the Redirect API later when the app is ready.
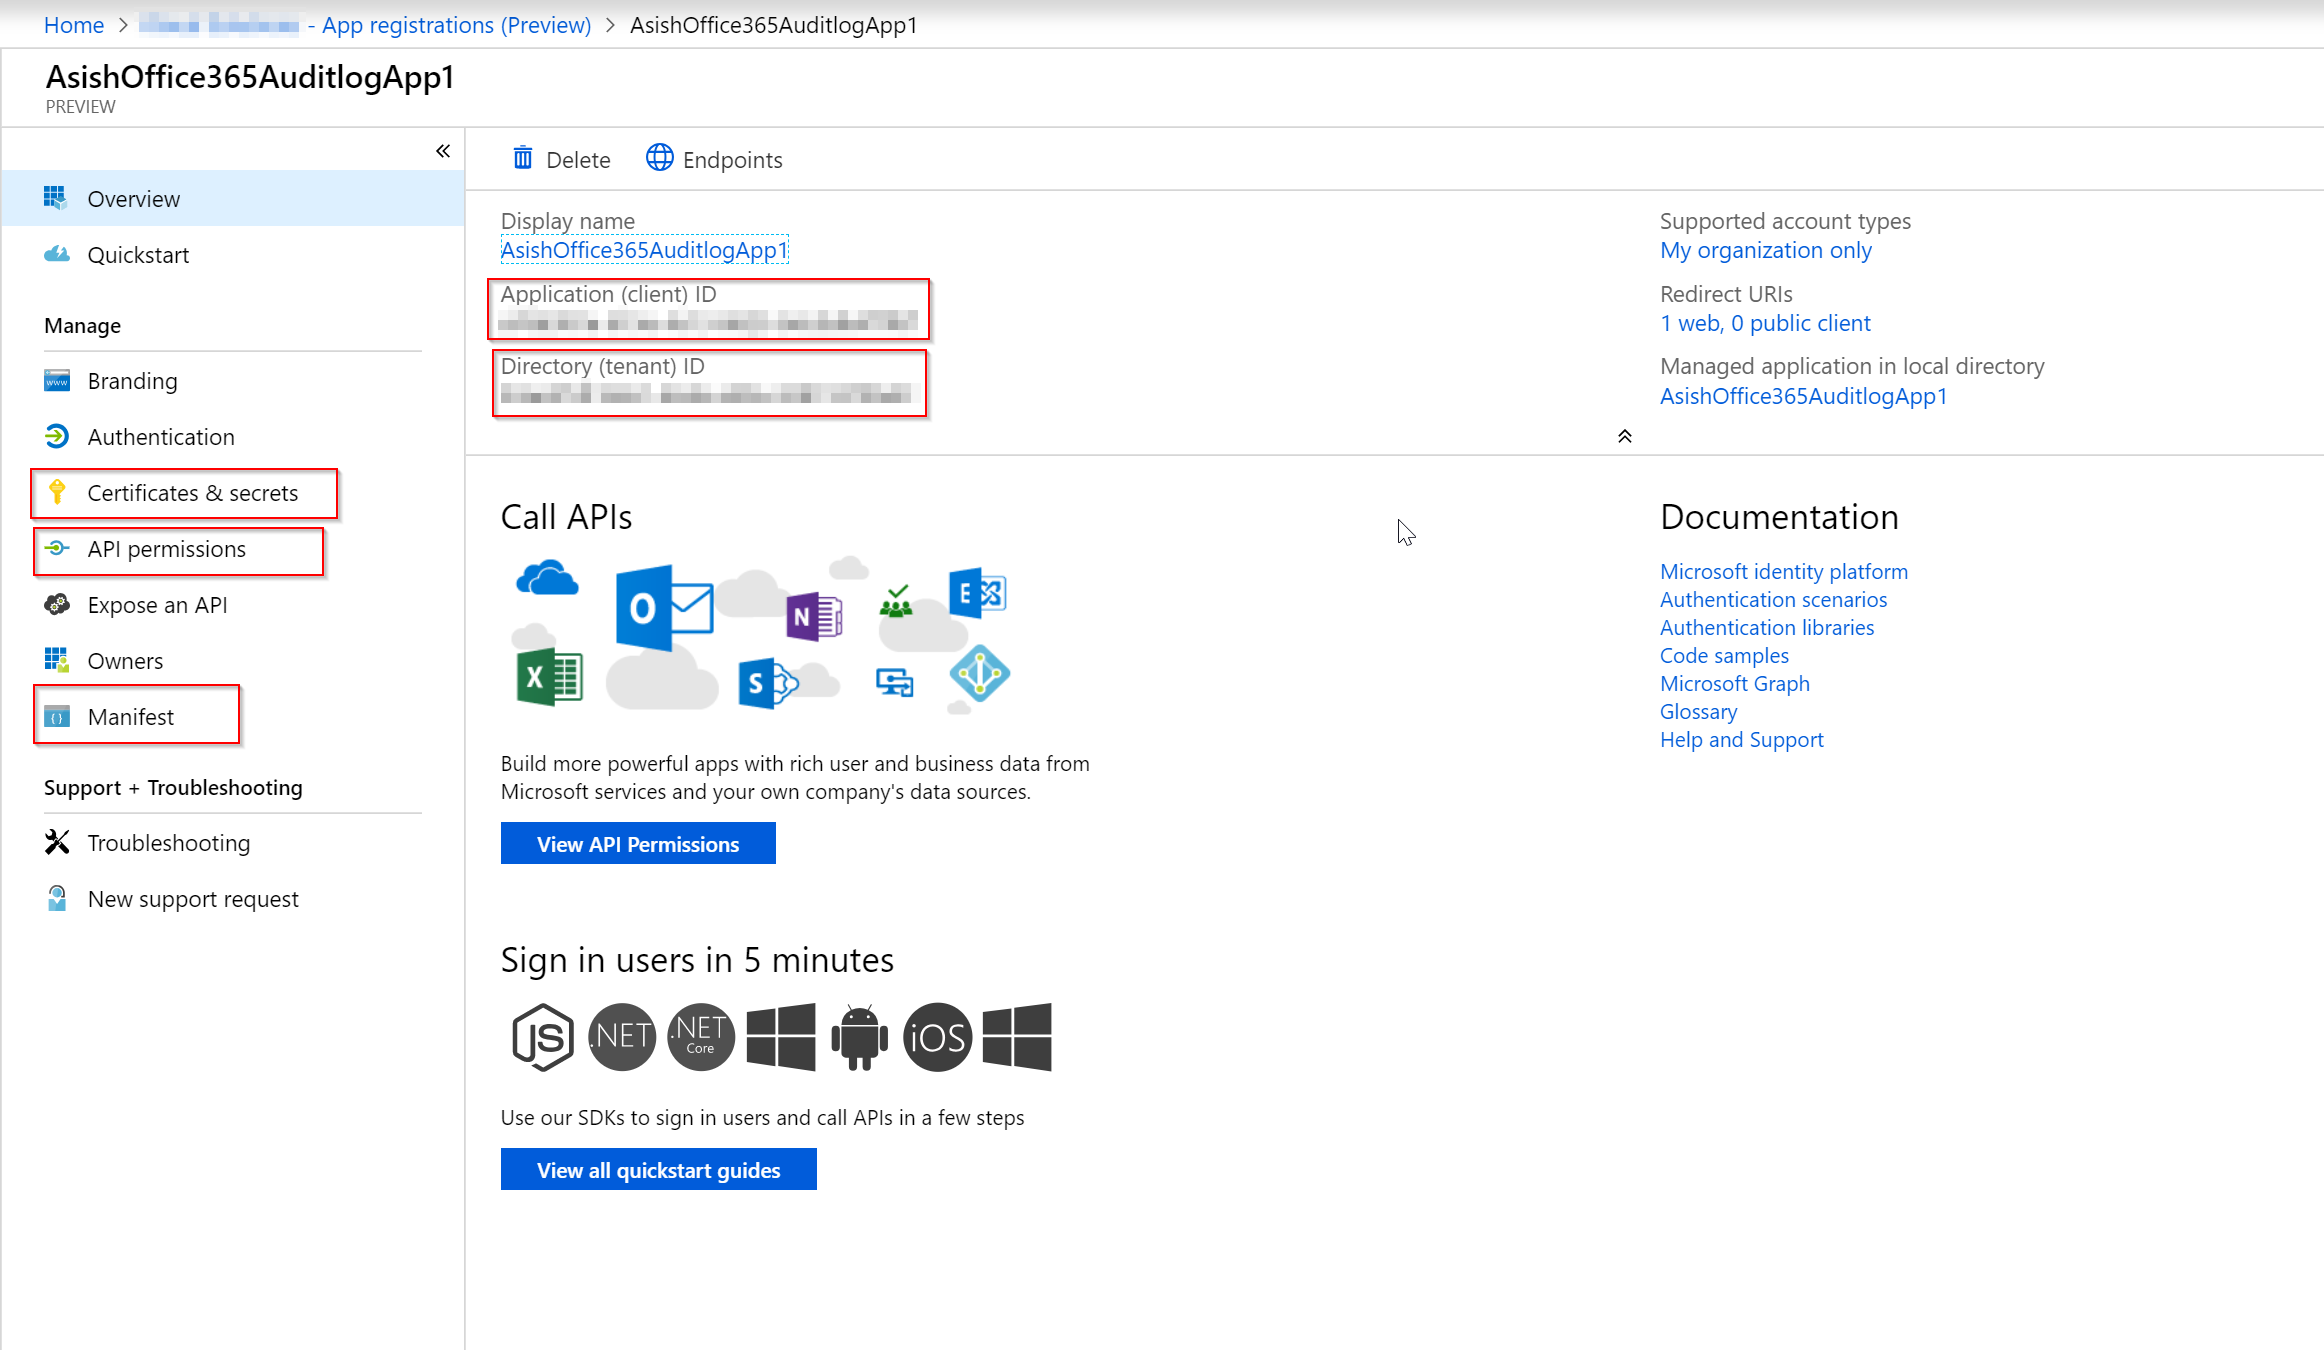
After the App is created, there are few important sections to note. Below is a screenshot of the same.
- Application ID – This is the identity of the Azure AD app and will be used to connect to Office 365 using this App.
- Application secret – This is password of the App. Please note that in the password
- Api Permissions – The permissions granted to the API for accessing various Office 365 services. The services could be accessed as a standalone App or delegated to user permissions.
- Reply URLs – Reply urls are important to redirect to the correct page after authentication is successful. If building in a custom application, then put the redirect to the App authentication redirect page.
- Directory ID or Tenant ID – This is the Azure AD Directory ID for the tenancy
The next step in the process would be to create a secret (password) for the App. Click on Certificates and Secret link, and then click on New Client Secret. While creating the secret select “Never” as expiry (if not needed to expire the secret) and then click create.
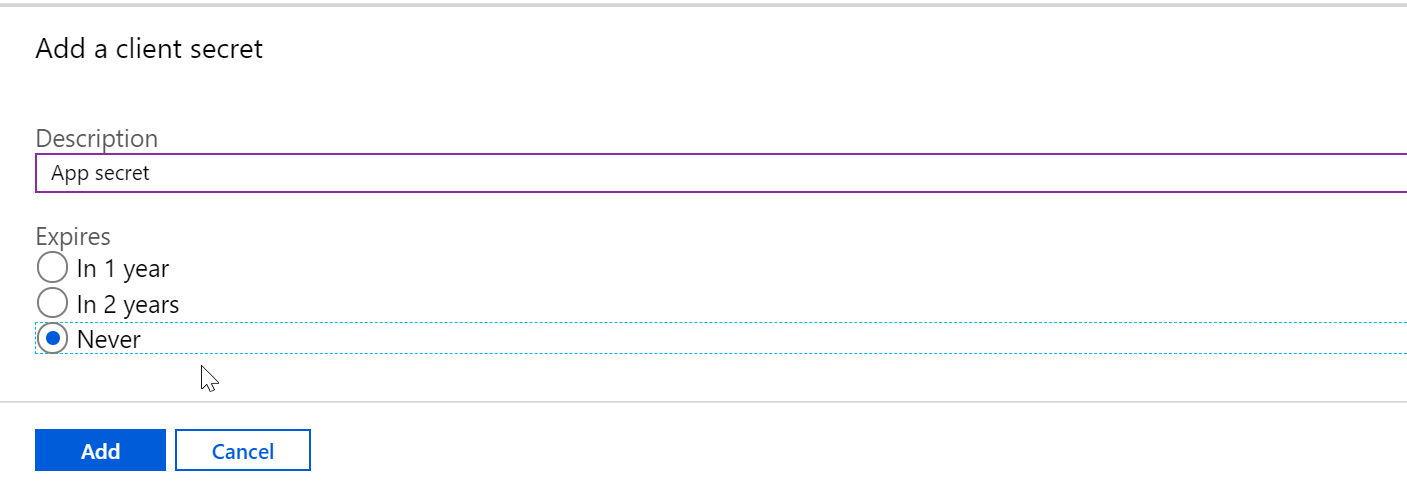
Note: It is important to note that the secret is only displayed on the page once, so copy the secret to use it later.
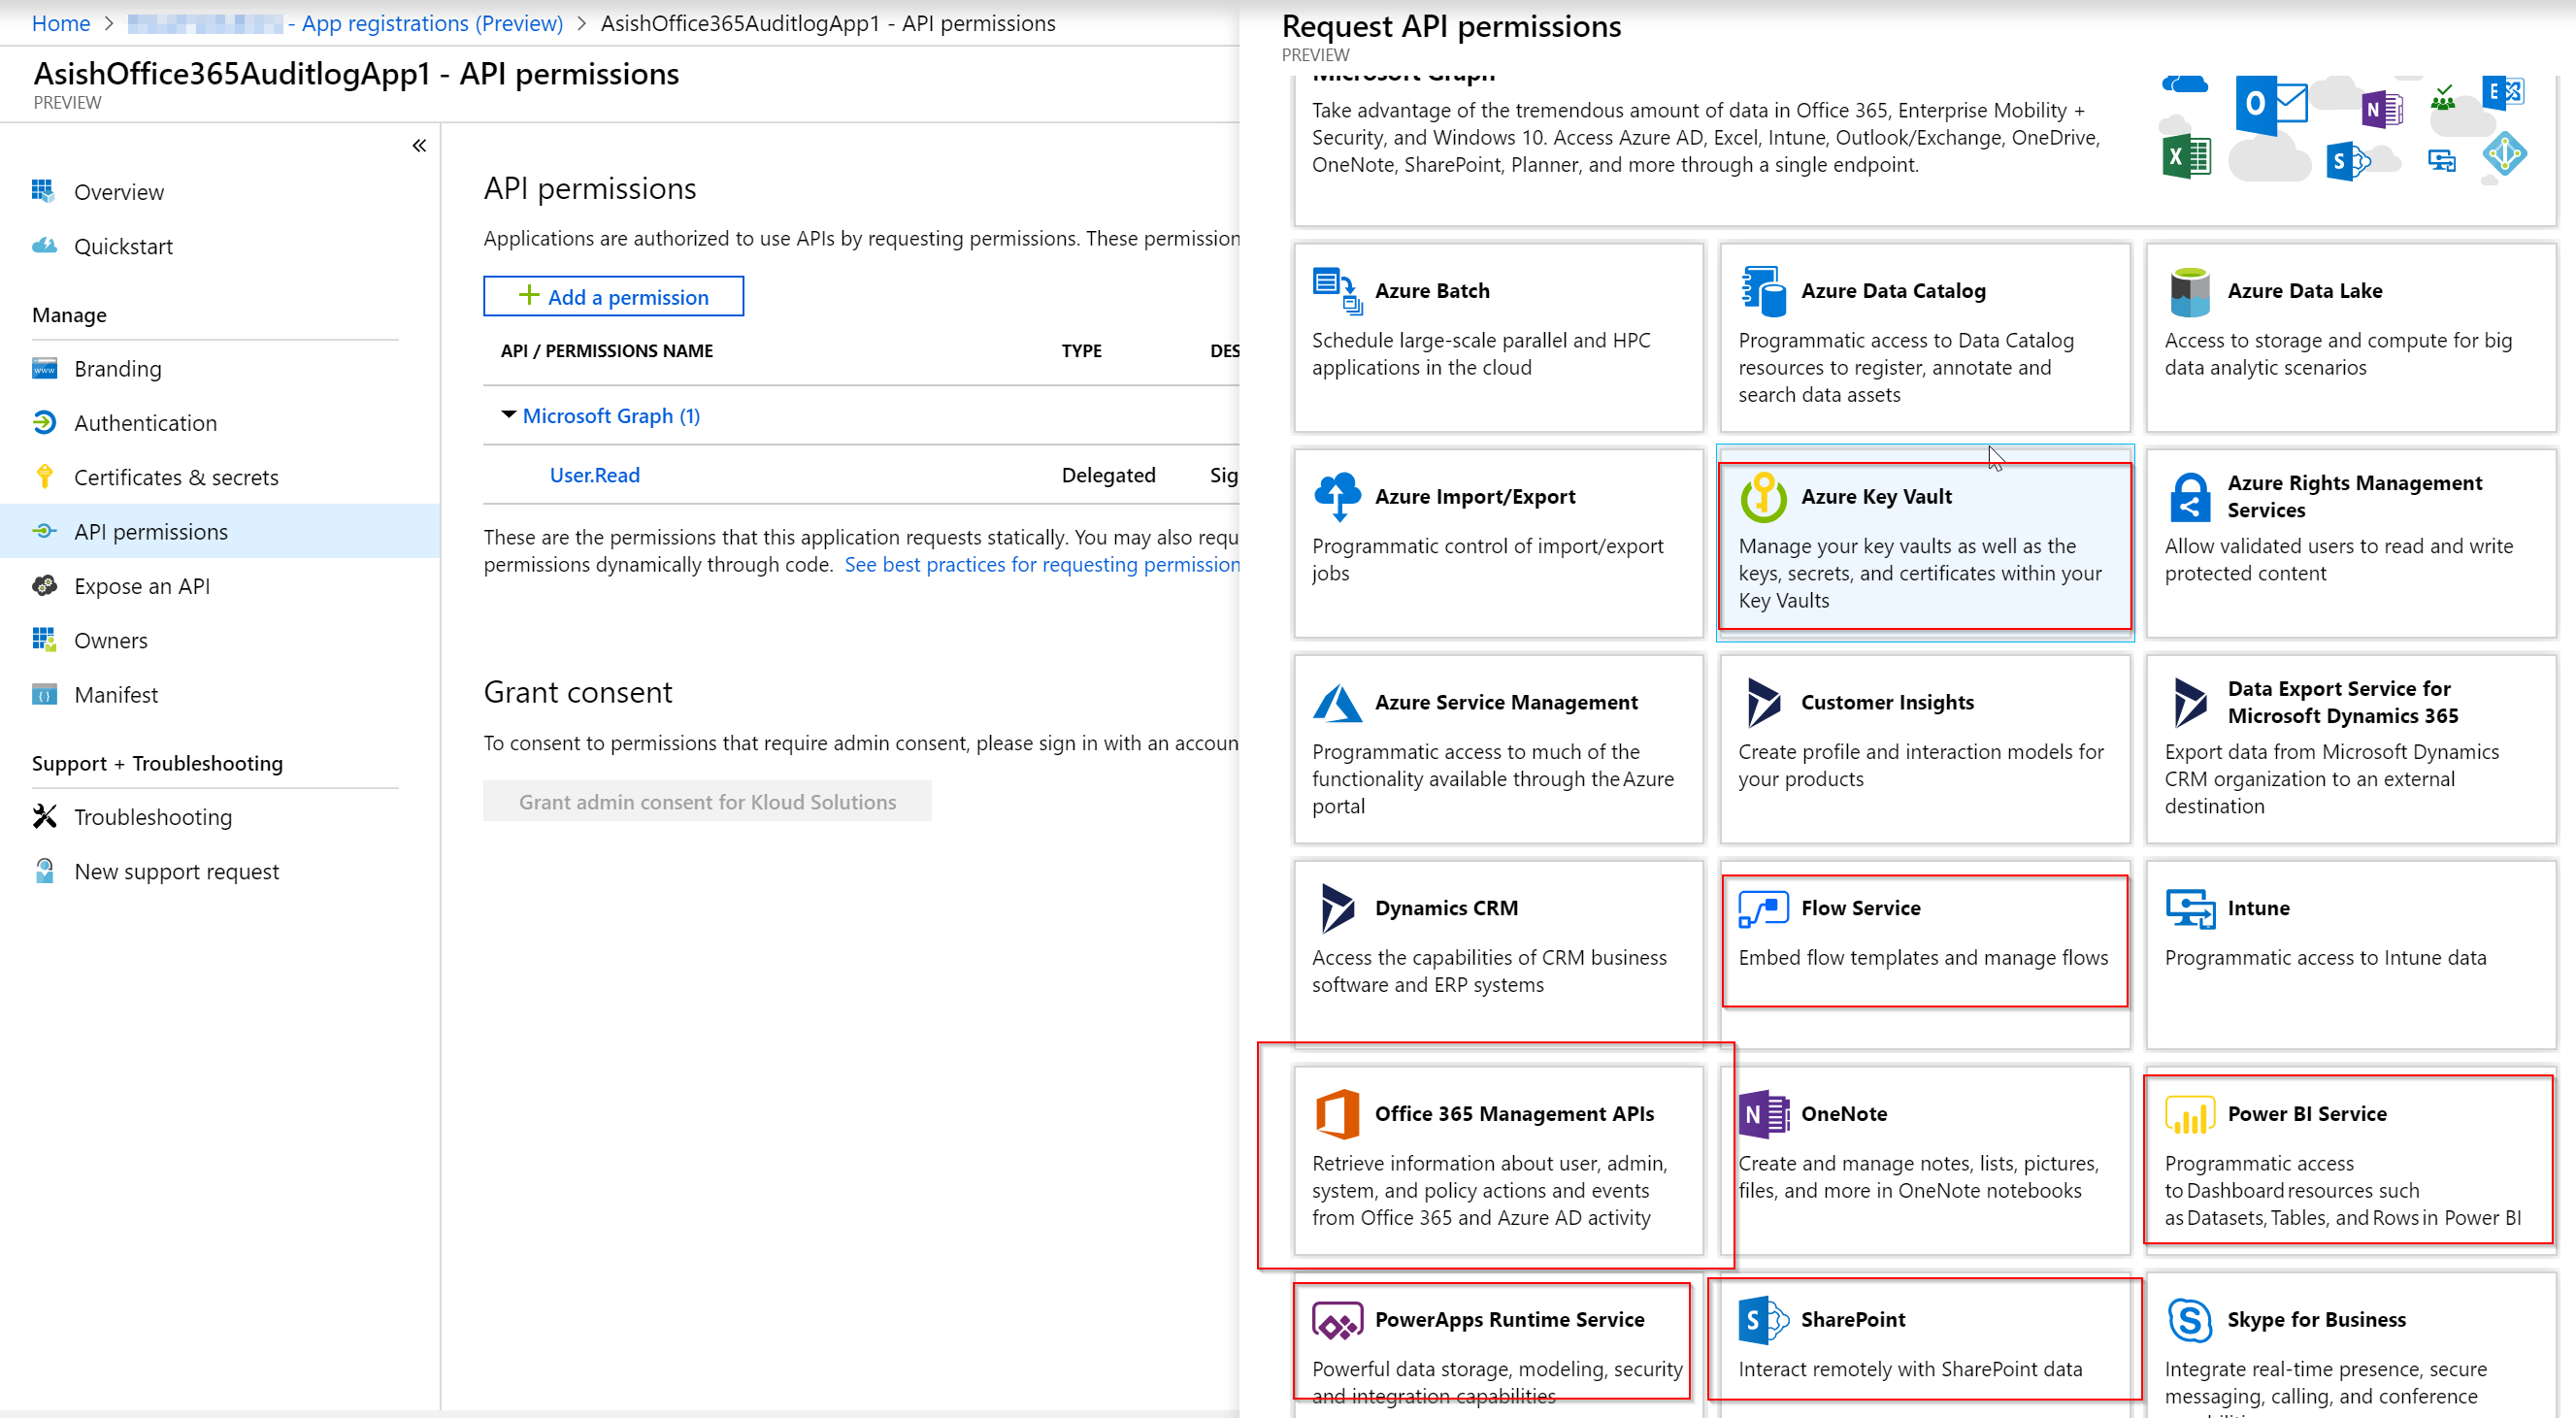
For Api permissions, click on Api Permissions and then click on Add permission. This will display a list of pre-set services and permissions required to access those services. Some of the office 365 services are highlighted in the below screenshot.
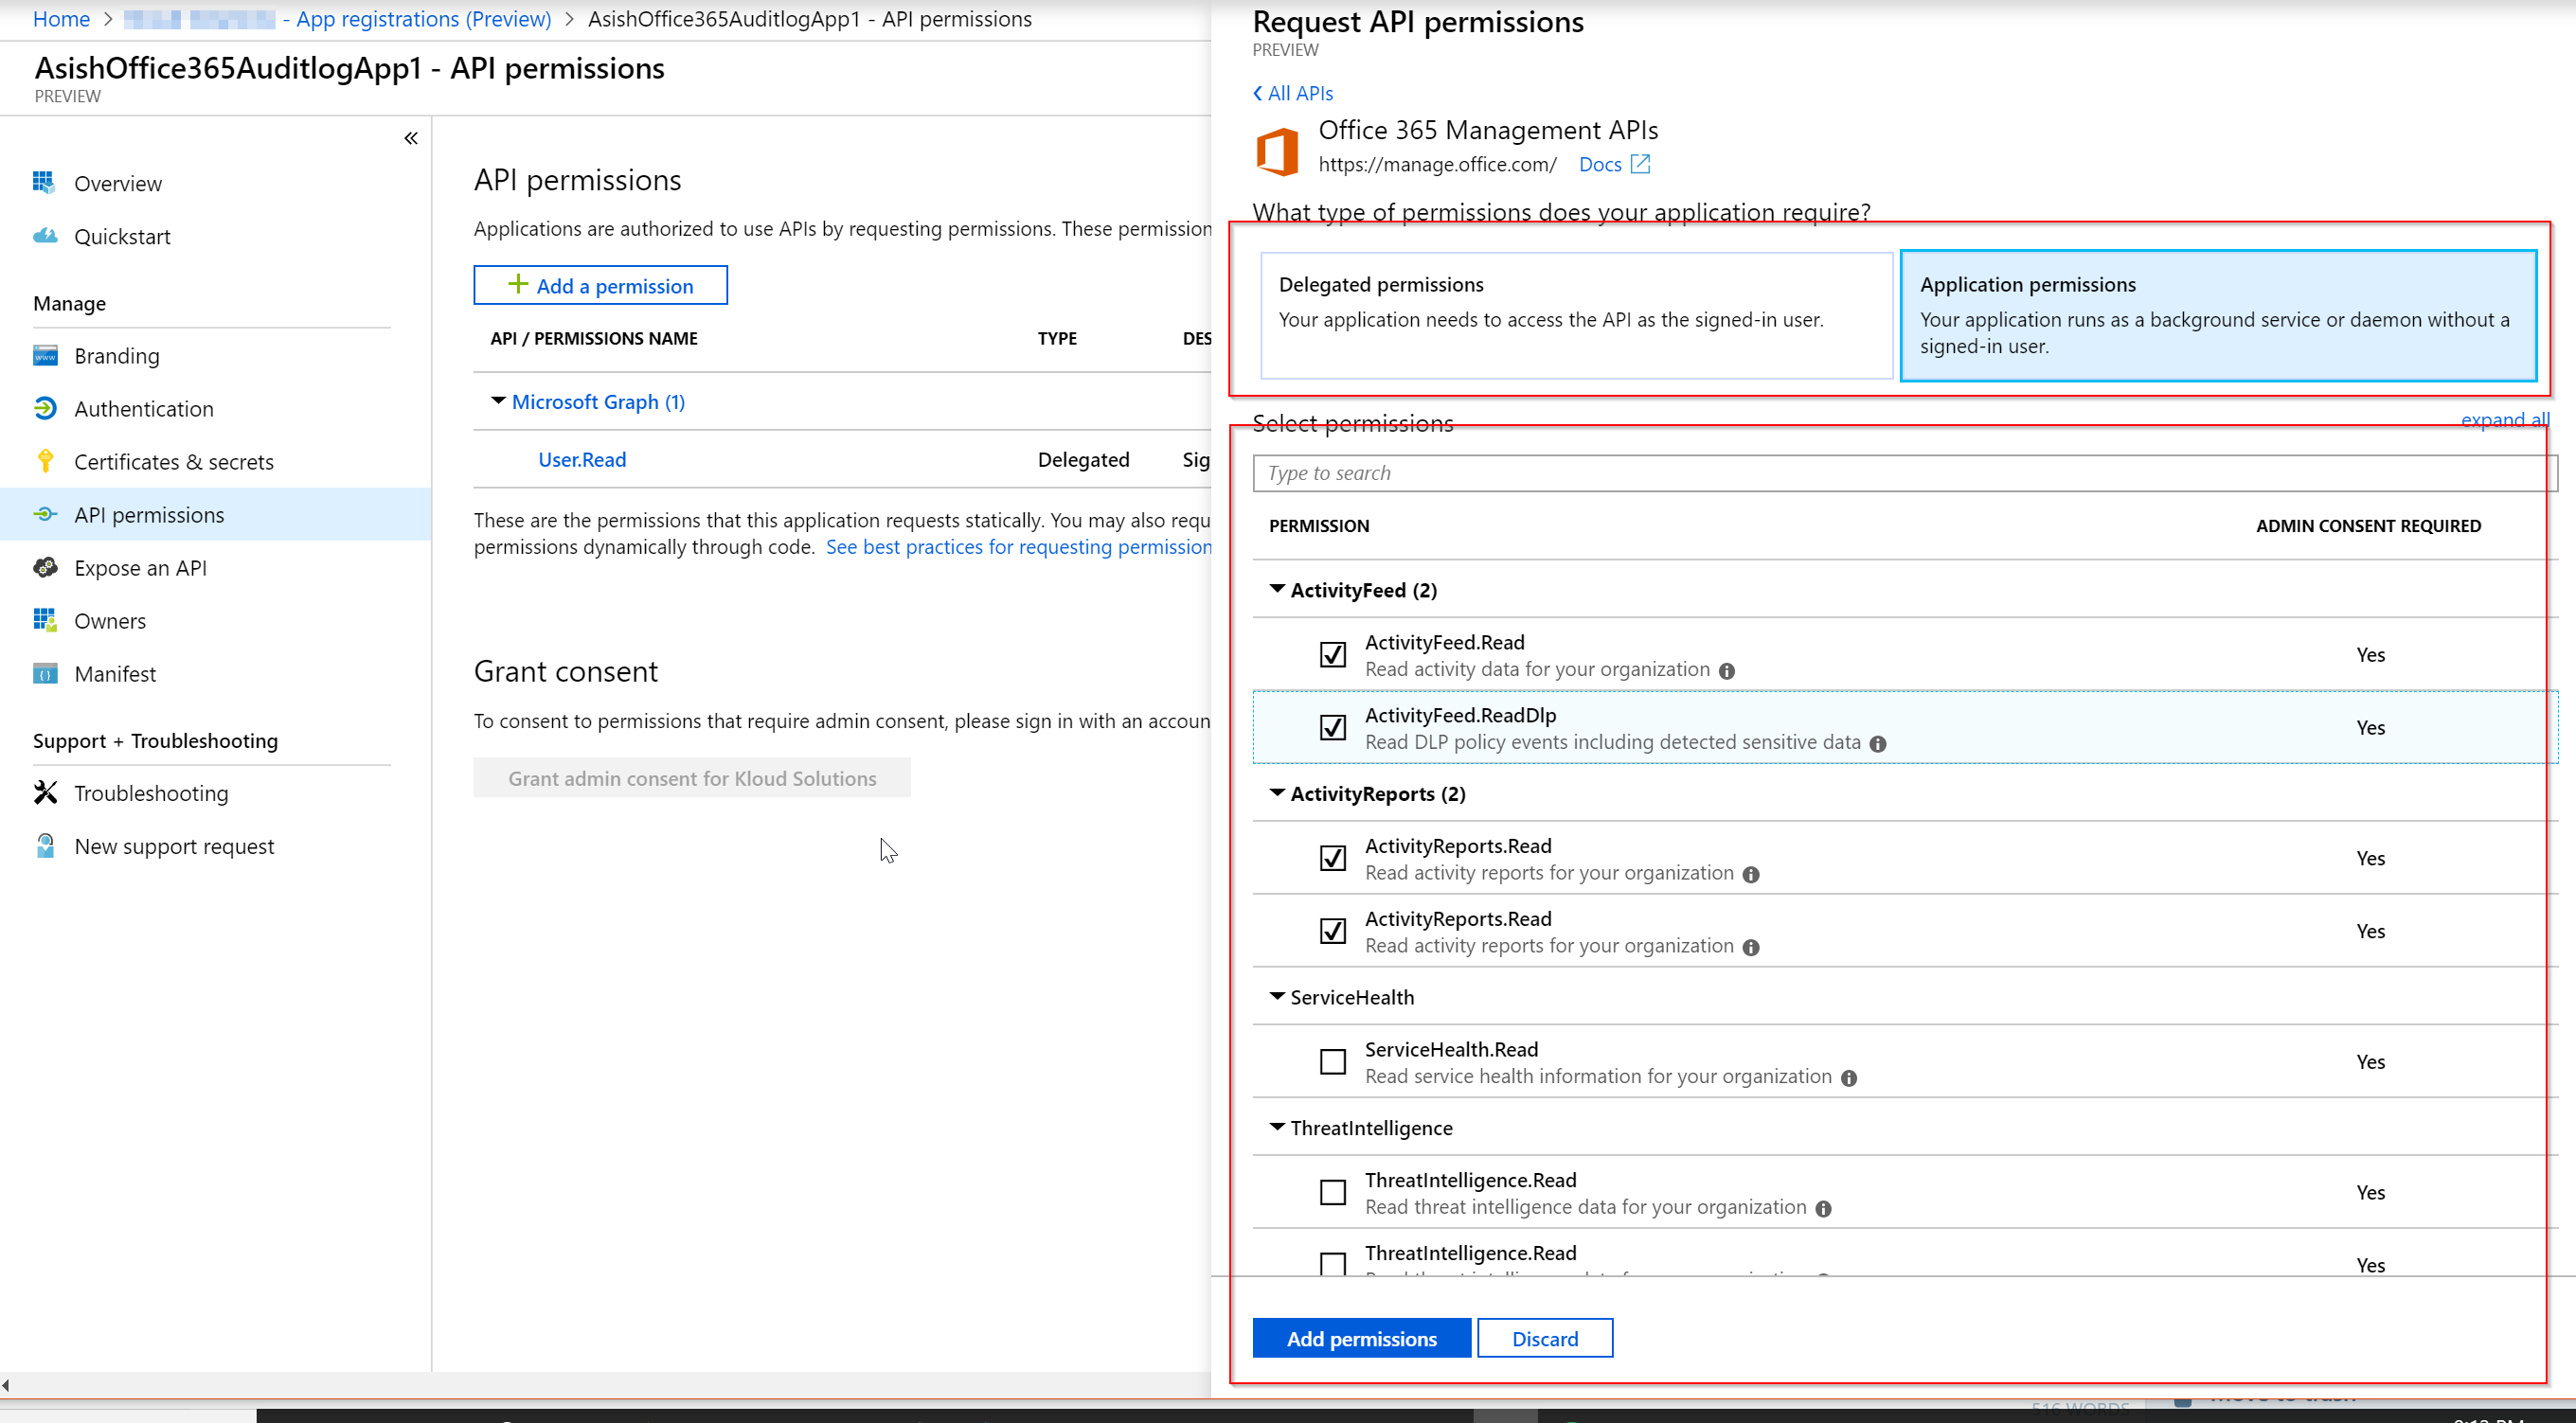
After the API is selected, select the permissions to run the Azure AD app i.e. with user permissions (delegated) or run as a service without an user as show in teh screenshot below.
Next steps is to grant permissions to the Azure App by a Tenant Administrator for accessing the services. This could be done from the Azure AD Directory or through an Admin consent URL For the Office 365 Management API, here is the admin consent URL is of the below format. Please make sure the reply back URL is a valid url and added to the Authentication.
https://login.windows.net/common/oauth2/authorize?response_type=code&resource=https%3A%2F%2Fmanage.office.com&client_id={your_client_id}&redirect_uri={your_redirect_url }
After the consent is provided, the app is ready to connect to the office 365 services now.
Conclusion
After the App is created, this could be used in applications and development code to access Office 365 services set up in the Azure AD app.
