At Kloud, we have Surface Hubs in our Melbourne, Adelaide and Sydney regional offices. It makes sense to monitor them using a central service, to which monitoring and diagnostic information can be aggregated.
This blog post covers the process of connecting your Surface Hub devices to Microsoft Operations Management Suite (OMS).
Before you start:
- You need a Surface Hub (yes, obvious I know) set up and connected to your network. It’s a good idea to setup the device account before you connect it to OMS.
- You’ll need to have registered an OMS workspace. Select a pricing scheme (there is a free option) suitable for you. (New to OMS?)
- You’ll need read access to your Azure Subscription (else you won’t be able to add solutions to your workspace).
- Ensure your Surface Hub device (network) names can be used to differentiate the devices if your enterprise has more than one Surface Hub. The hubs will be listed by device name (not device account) via OMS dashboards. You can change the device name via Settings > Device management > About)
- You’ll need the administrator credential for your Surface Hub so that you can connect it (it will ask for this when you launch the Settings app)
Step 1: Add the Surface Hub Solution to your OMS Workspace
Sign-in to OMS at <workspace>.portal.mms.microsoft.com. Open the solution gallery. Look for the Surface Hub Solution:
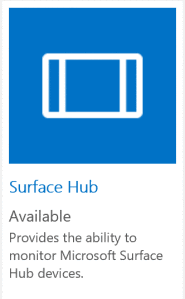
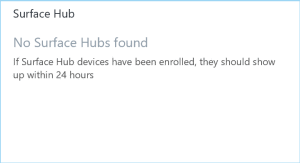
You can add Solutions to your Workspace providing you have read-access to your Azure subscription. It’s going to add a new tile to your Workspace’s Home Dashboard, but you won’t be able to interact with it until you’ve connected at least one Surface Hub, so you’ll see this:
You’ll need the workspace id and workspace key. Get these from Operations Management Suite via Settings > Connected Services > Windows Servers (you can use either primary key or secondary key as your workspace key. I recommend you make this information accessible from the Surface Hub as you’ll need to copy/paste it. Use OneNote, a text file on your OneDrive, or email it to yourself, whatever works.
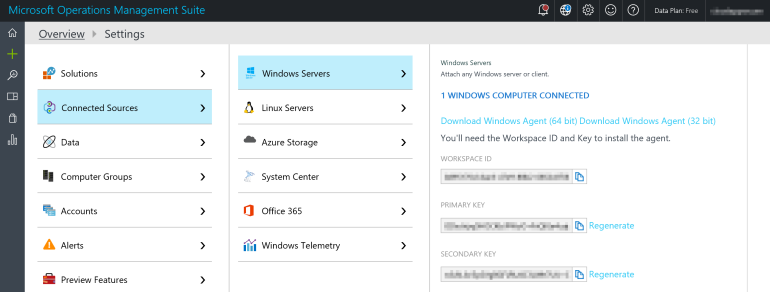
Note this view denotes the number of connected Windows Computers. Surface Hubs are Windows Computers, so adding a new one will increase the number of connected Windows Computers by 1.
Step 2: Connect your Surface Hub
Now, fire up your Surface Hub and open the Settings app. You’ll need the Administrative account to access the Settings app on a Surface Hub.
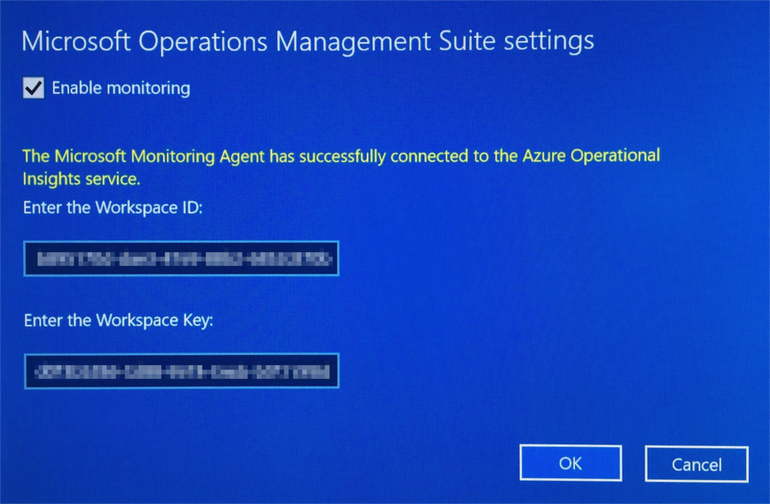
From the Settings app, browse to Device management, then tap Configure OMS Settings.
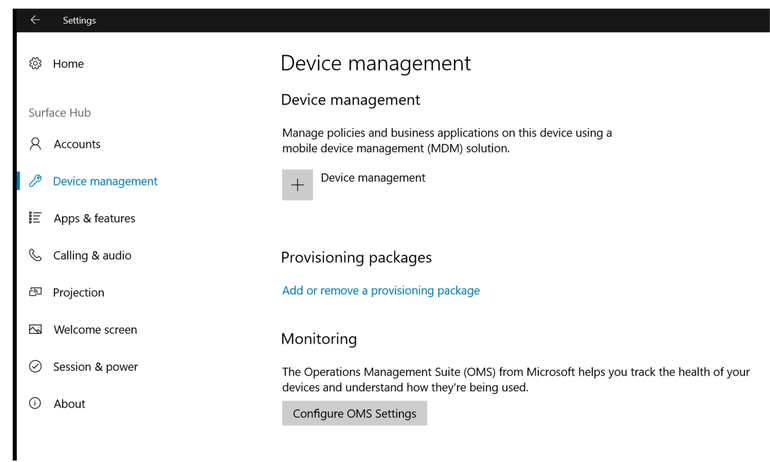
Enter your workspace ID and workspace (primary/secondary) key. Tapping apply will kick-off the enrolment process. This will provision an agent on the Surface Hub which is going to talk to your OMS service.
Step 3: Back to Operations Management Suite
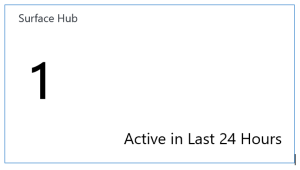
It may take some time for each Surface Hub to register with OMS. The tile says ’up to 24 hours’ but for us it happened within minutes. You’ll know the device has enrolled because the tile on your home page will update:
Next, you can fine tune the information an installed agent will send to OMS. These agents are installed automatically on Surface Hubs when you connect them to OMS.
From Home > Settings > Data, you can select items from the Windows Event Logs you want sent from devices to OMS. The example below will push logged entries with a level of Error in both Application and System logs.

Things to note:
- If you change the device name after the Surface Hub has been enrolled, OMS will treat the renamed device as a new device, since it differentiates by device name). It’s a good idea to set a proper device name (and settle on a naming convention for all your devices) before you connect one.
- OMS will not collate historical diagnostic logs from these devices. It will start collecting new information as soon as the local agent configuration is updated (i.e. you tell OMS to start collecting additional information from the device.)
