Windows Azure empowers everyone access to world-class Cloud computing and its potential. Few questions came up from enterprises:
- How do we delegate authority on my Enterprise Azure subscription?
- How do we create a user role with the authority to carry out specific tasks?
- How do we provide self-service portal with Active Directory integration?
App Controller can be the answer for all the questions above. App Controller is one of the System Center family products. App Controller provides a single interface for admins to manage both public and private clouds. Some of the App Controller features as follow:
- Upload a VHD or Image to Windows Azure from SCVMM library or network share
- Add VM to a deployed Cloud Service in Windows Azure
- Start, Stop and Connect to VM in Windows Azure
- Copy a VM from VMM to Windows Azure
- Deploy VM in Windows Azure to create Cloud Service
- Service-centric access to Windows Azure resources with configurable role-based access to ensure compliance with Enterprise IT Standards and Policies
App Controller Installation
The App Controller Evaluation can be downloaded here.
The system requirements for installing App Controller server, The App Controller Web console and the Windows PowerShell Module for App Controller can be found on TechNet.
| Note: Domain User account with local Administrator privileges is required. The user account installing App Controller must have at least database owner (DBO) permissions on the database associated with App Controller installation. |
Creating self-signed Management Certificate
A management certificate is needed to maintain a secure connection between App Controller and Windows Azure.
It is not recommended to use self-signed Management Certificate for Production environment. Typically, the management certificate will be provisioned via internal PKI so that certificate can be easily managed and renewed on a centralized basis. For Production environment, Windows Server 2012 can be configured with the AD CS (Active Directory Certificate Services) role to host an internal PKI. For more info in regards AD CS can be found on here. The self-signed certificate does not provide the level of trust and management as full PKI (Public Key Infrastructure), however it is suitable for Test and Dev environment.
IIS Manager Tool can be utilized to set-up a self-signed certificate. Below are the steps to create a self-signed certificate using Windows Server 2012:
-
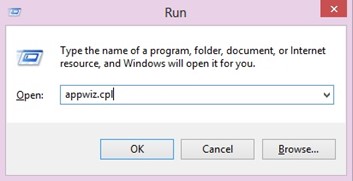
Run>Type appwiz.cpl> Enter
-
This will open the Program and Features from Control Panel. Click Turn Windows Features On or Off > Check Internet Information Services > OK
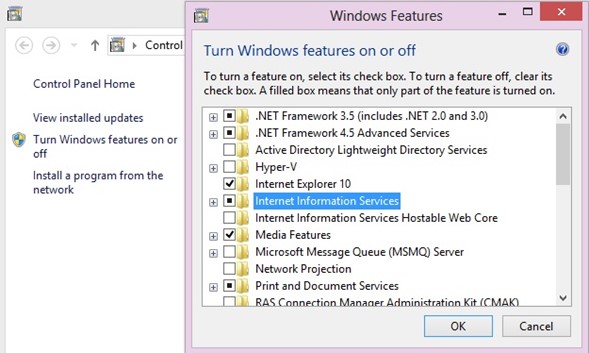
- Click OK
-
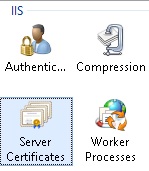
Once it is installed, Go to IIS > Server Certificates

-
Click Create Self-Signed Certificate > Named the new Certificate > Next > OK

- The steps above will create and place the certificate in the local machine. Go to mmc.exe and add Certificates Snap-In.
-
Locate the certificates under Trusted Root Certification Authorities

-
Highlight the Certificate > Right Click > Export > Firstly we need to export it to .CER, choose the option below:
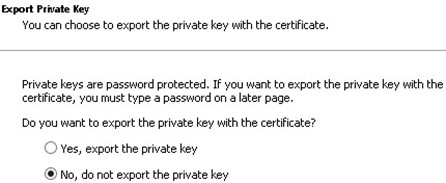
- Choose DER decoded binary and save it
-
Export the Certificate again to .PFX, choose the option below
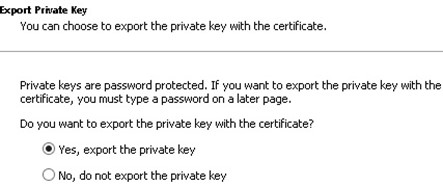
- Choose the PFX > Set the Certificate security password and save it
Uploading Management Certificate to Windows Azure subscription
The Management certificate here is used to authenticate the connection between App Controller and Windows Azure.
The next step will be uploading the CER file to the Windows Azure subscription that needs to be managed. Login via Windows Azure Login portal > Settings > On the Settings page, click the Management Certificate tab at the top of the page > Click Upload at the bottom toolbar and browse the CER file. The certificate file will be listed on the Management Certificate tab after it has been successfully uploaded.

| Note: Make a note of this subscription ID. This subscription ID is needed to establish a new connection from App Controller to Windows Azure subscription. |
Connecting App Controller to Windows Azure subscription
App Controller also needs to have a copy of the management certificate to authenticate the connection. However, App Controller will need to have both copy of the Private keys and the Public keys associated with the certificate.
Below are the steps to connect App Controller to Windows Azure subscription:
-
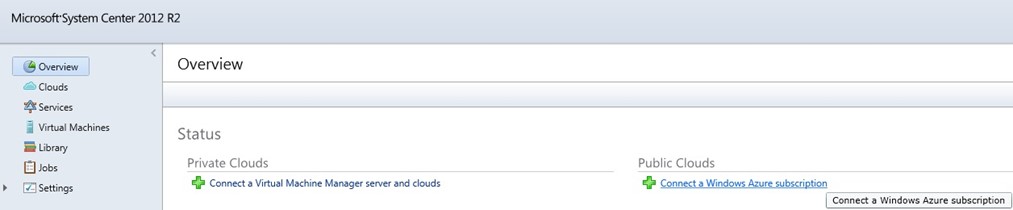
Run App Controller > Click Connect a Windows Azure
-
Enter Name and Description to identify the Azure subscription. Enter the Subscription ID from the previous section and specified the path and password for the .PFX certificate file

- The number of connected Windows Azure subscription will be displayed on the Overview page.
| Note: App Controller can support up to 20 Windows Azure subscriptions per user from a single management portal. For more details on Windows Azure subscription management, please follow this link. |
Delegating Active Directory users or groups access to Windows Azure
Integration with Active Directory and delegation is useful for enterprises in business scenario. Below are the steps to integrate and delegate existing Active Directory users or groups with self-service access to Windows Azure:
-
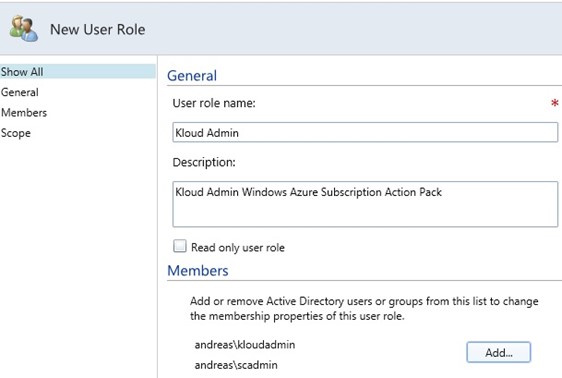
Go to App Controller > Click Settings > Click User Roles > Click New. Enter Name and Description to identify the User Roles > Click Add. Enter the existing Domain\User Name or Groups
-
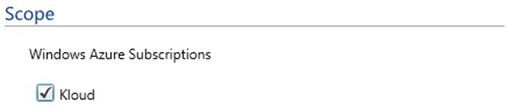
User Role also can be limited to specific Windows Azure subscriptions. Under Scope on the New User Role, select one or more Windows Azure subscription. Click OK
-
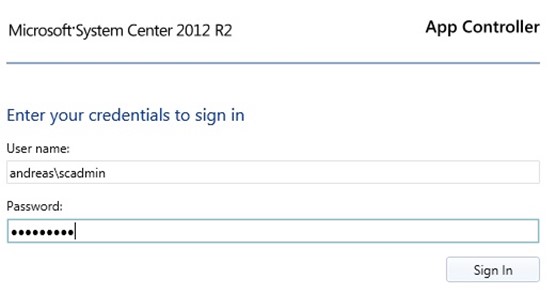
Sign Out from the App Controller and try to login with Active Directory account that has been added to App Controller User Role
With App Controller the System Administrators can administer Enterprise Azure subscriptions with their Active Directory accounts.